


Owner, Brown Dog Welding
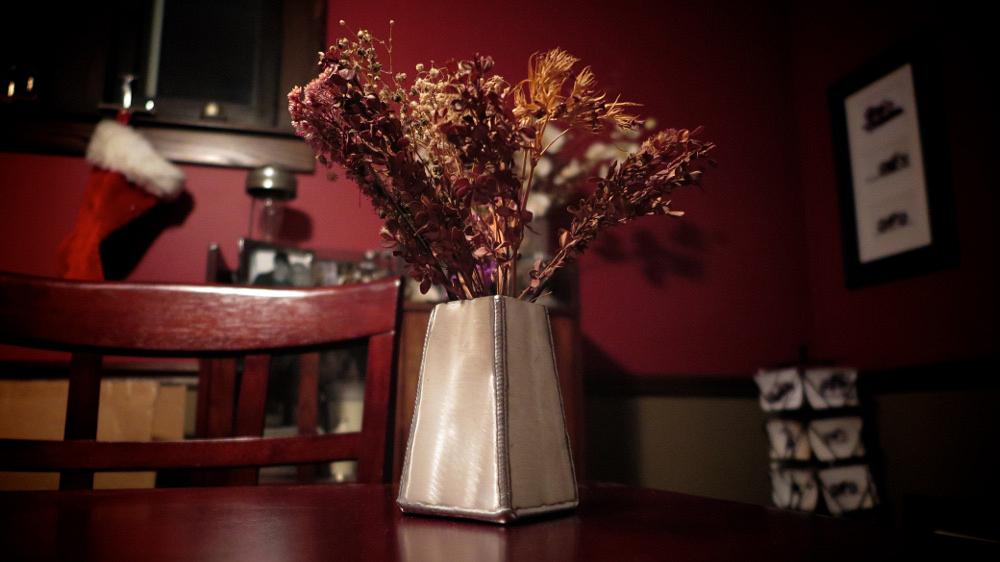
Figure 13: Gift-ready vase.
It’s the gift-giving season and we’re going back to the roots of Brown Dog Welding. I started the company in 2008 partially based on the feedback I received regarding key chains, a wine rack, and flower vases I fabricated as presents for family and friends. They are personalized, customized, and one-off gifts that your loved ones will appreciate.
Vases are great for your significant other, mom, or grandma, and they’re also excellent pieces to practice fabrication techniques on. You can get crazy or keep it easy. You can use mild steel, stainless steel, aluminum, or even titanium—whatever you happen to have on hand.
I’ve fabricated dozens of small, simple vases made primarily from aluminum. I’m going to walk you through the steps for putting your own together.
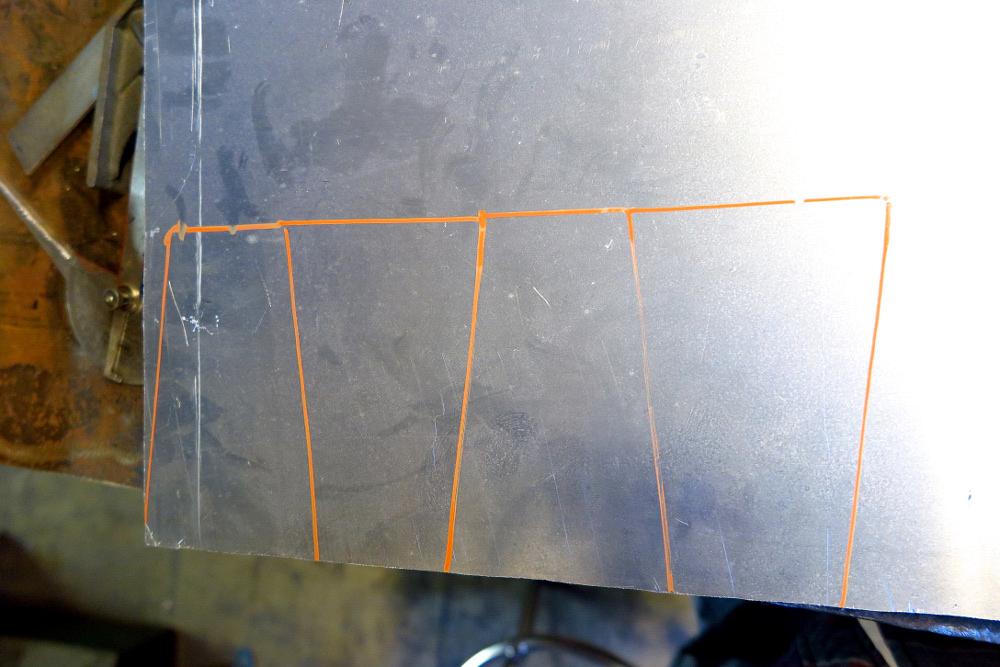
First you need to decide what shape your vase will have. Giving it a taper is easy and gives the piece a little flair. Here is a layout of a 5-in.-tall vase, with a base that’s 3 in. by 3 in. and a top opening of 2 in. by 2 in. (Figure 1).
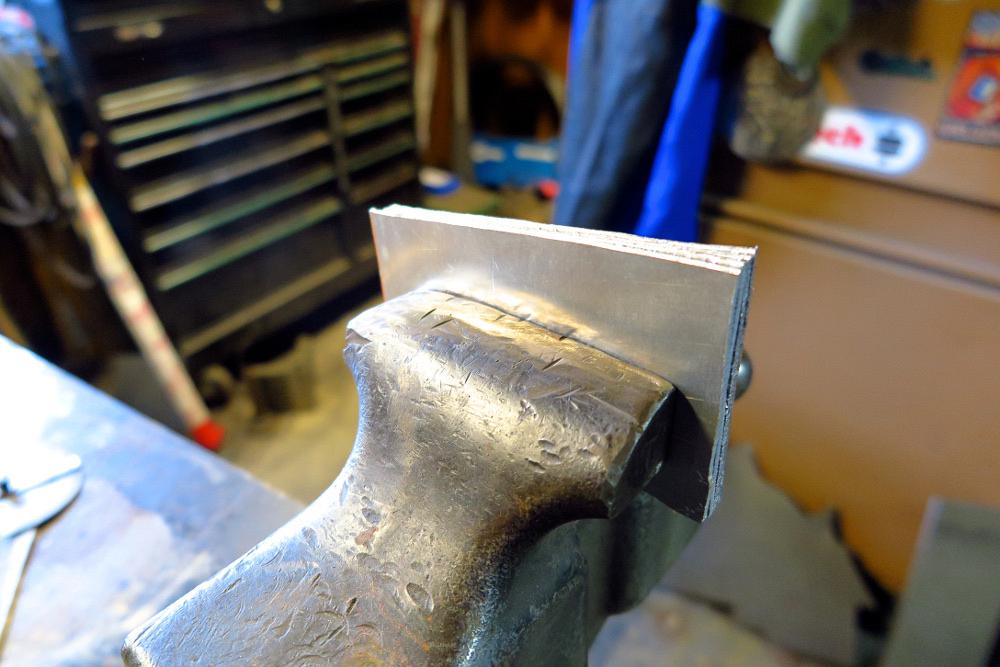
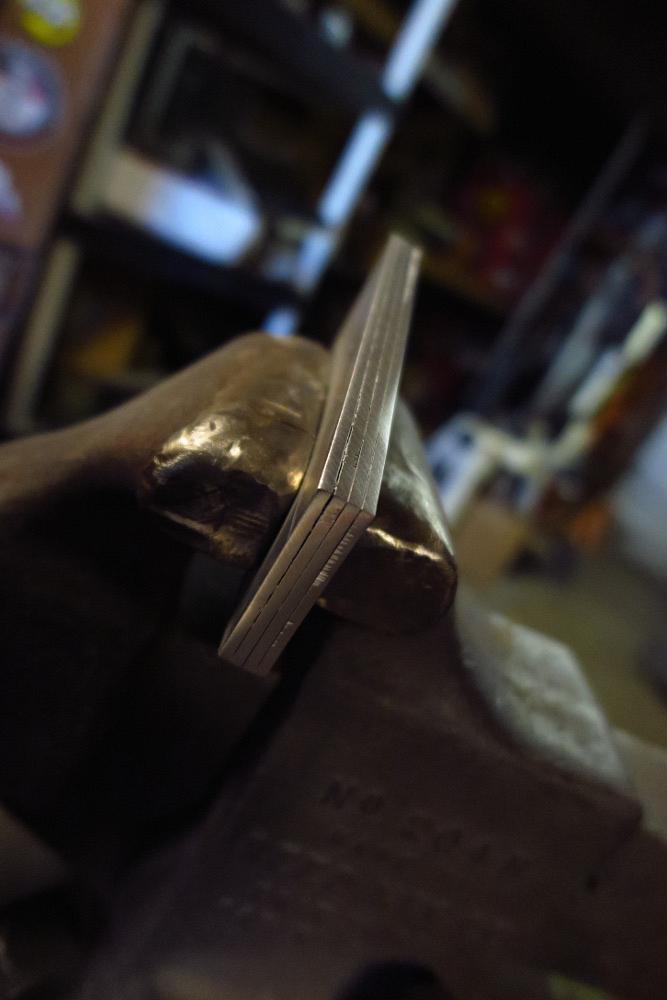
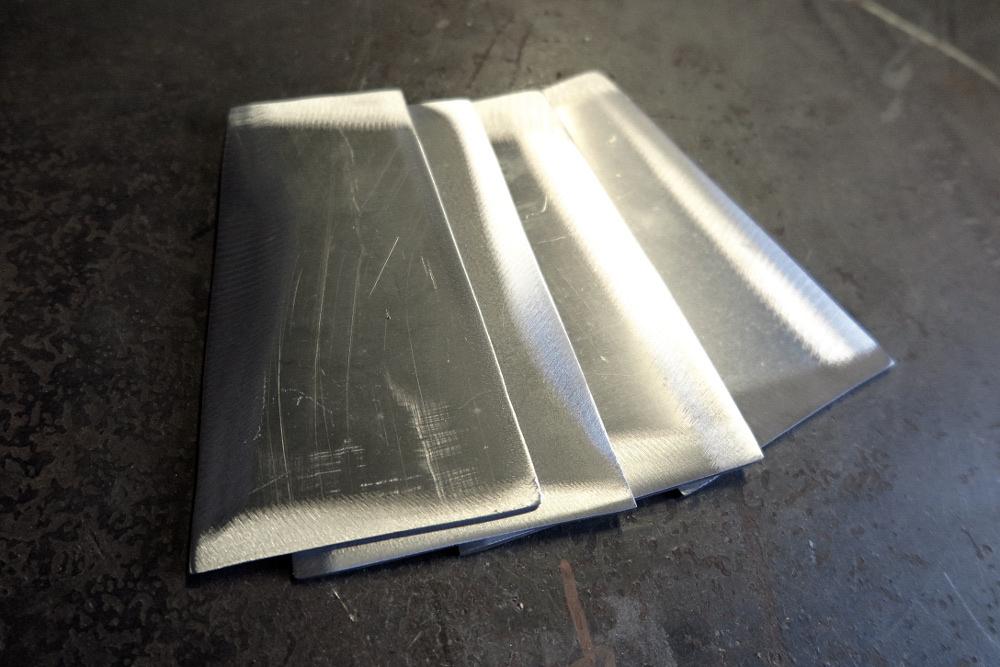
I’m using scrap 6061 aluminum, 1/8 in. thick, left over from another project. Once you cut out the four sides (Figure 2), clamp them together (Figure 3) and sand them down so that they are truly identical to each other (Figure 4).
Before tacking the pieces together, clean the edges and sides of each side where they’ll be welded and the potential heat-affected zone (Figure 5). You really don’t want to take shortcuts here as we’re making a watertight vessel.
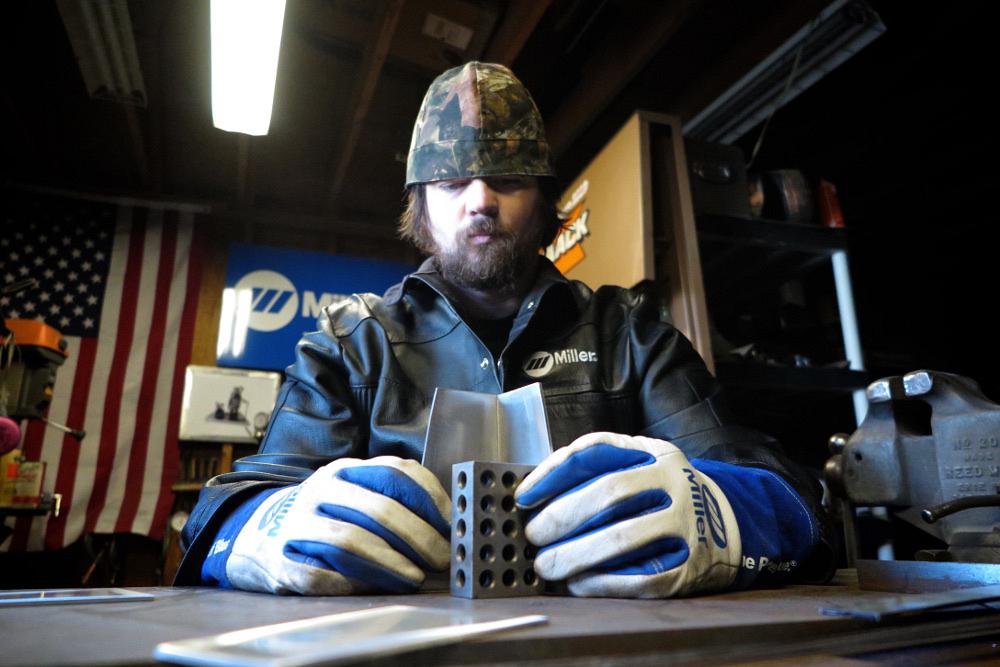
Stand up two of the pieces and lean them against a block or something of the sort to keep them tight along the tall edges and the bottom and top edges at a 90-degree angle (Figure 6). Tack weld them at the top and the bottom.
Now you can add the third side in a similar manner. Once the last side goes up, it should slide in so you can tack it in the same way (Figure 7).
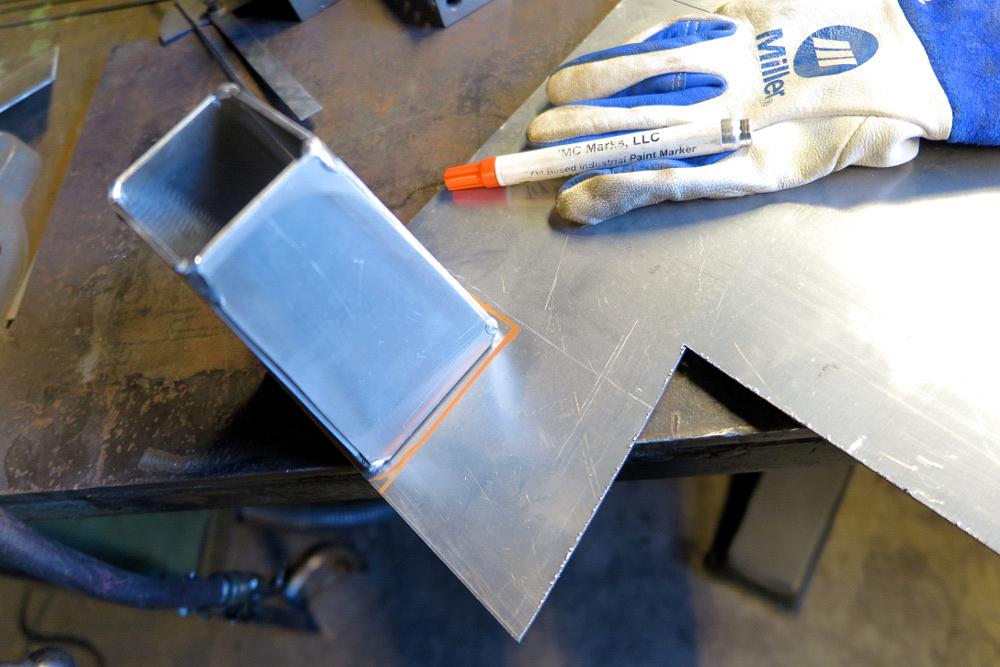
At this point you can either measure, lay out, and cut the piece for the base, or you can just trace the bottom of your tacked-up piece and cut that out (Figure 8).
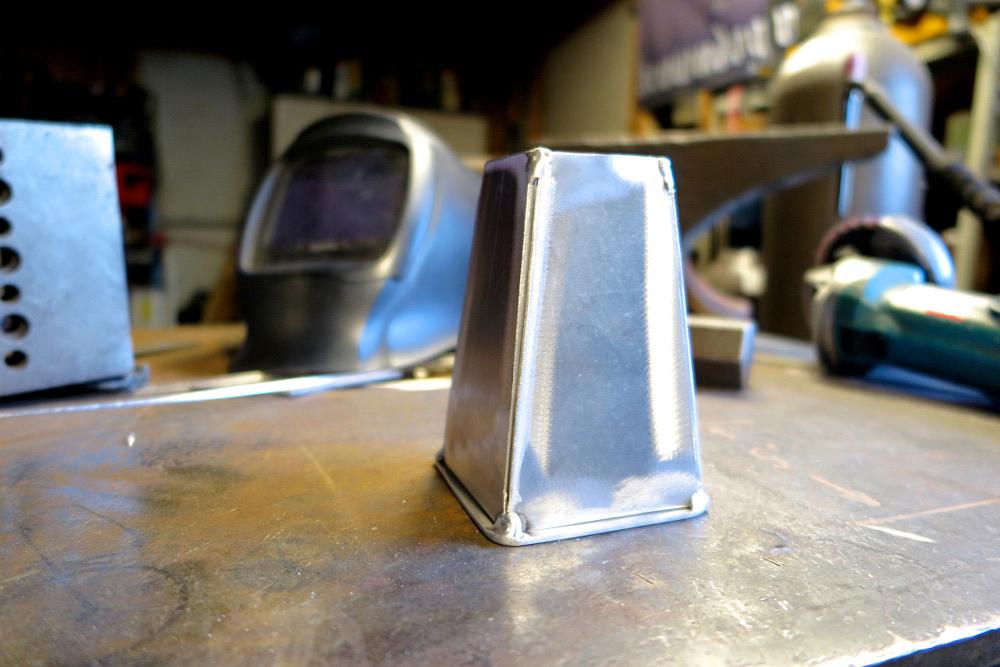
Flip the piece upside down and set the bottom on. Tack at each of the four corners (Figure 9).
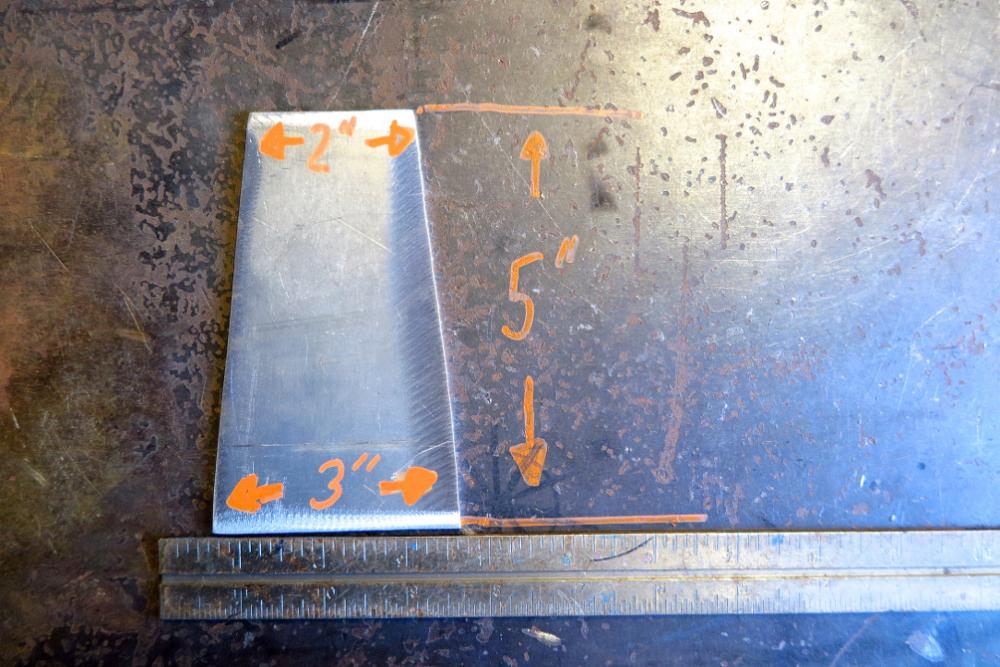
Figure 1: Side size template.
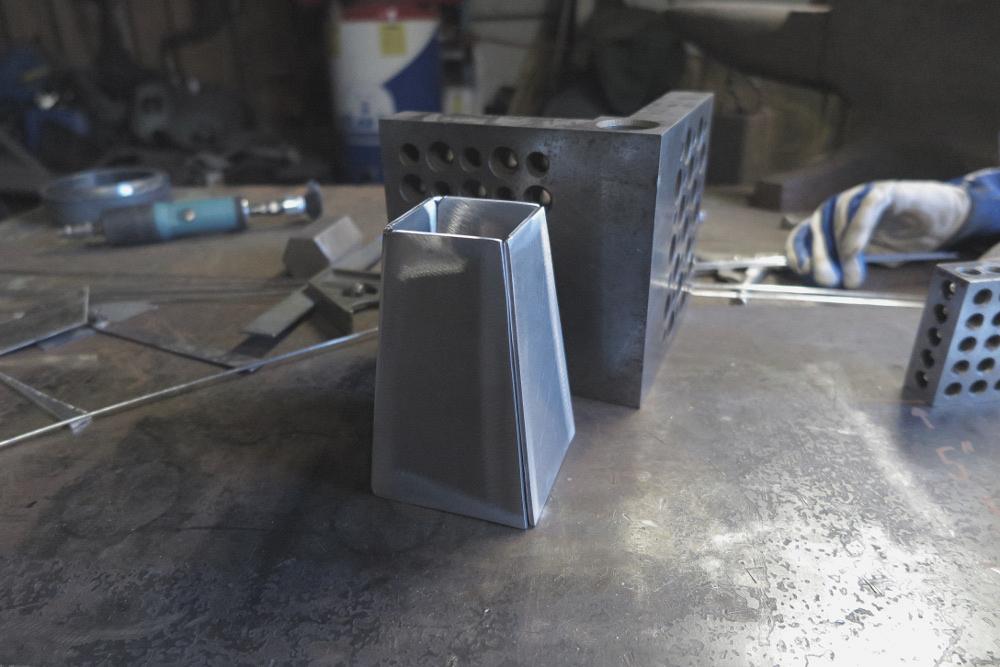
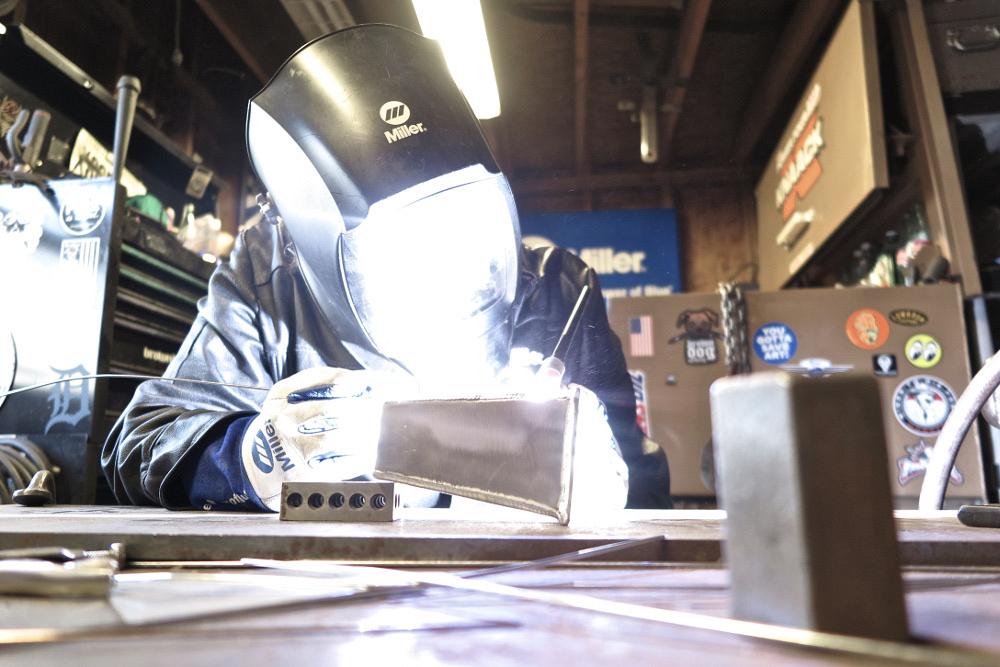
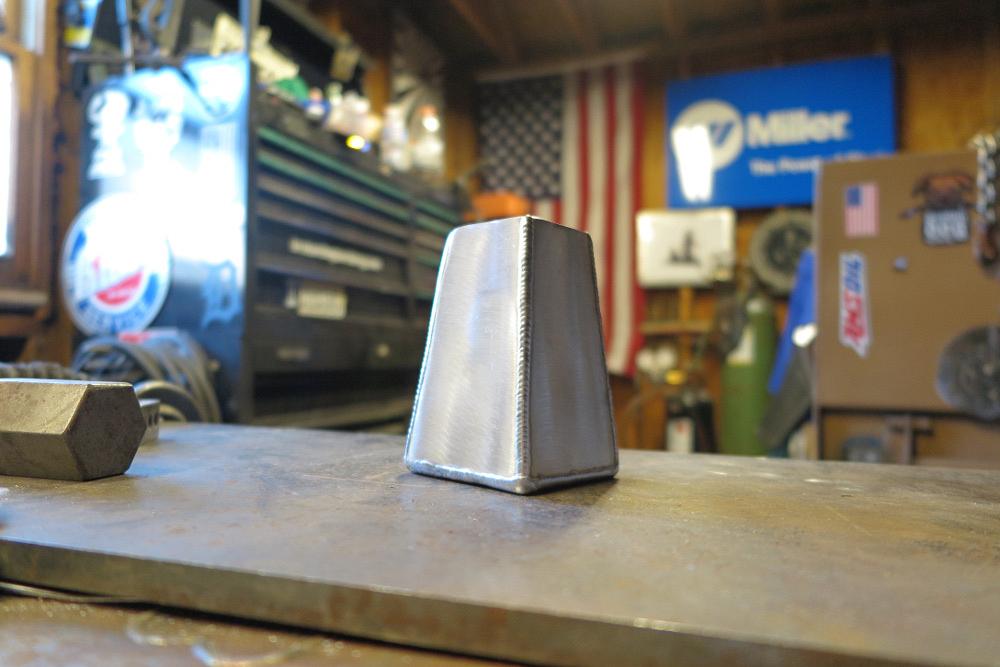
All that’s left is to weld the eight seams (Figures 10 – 12). Where possible, extend the welds around the corners. Any intersection is a good candidate for a cold stop/start, and a potential leak.
There you have it. I’ve done everything from hourglass figures to patchwork pieces; there are many variations on this simple concept that you can do to make it your own. That is until you give it away (Figure 13)!
All images courtesy of Brown Dog Welding.

The Welder, formerly known as Practical Welding Today, is a showcase of the real people who make the products we use and work with every day. This magazine has served the welding community in North America well for more than 20 years.
start your free subscription


Easily access valuable industry resources now with full access to the digital edition of The Fabricator.

Easily access valuable industry resources now with full access to the digital edition of The Welder.

Easily access valuable industry resources now with full access to the digital edition of The Tube and Pipe Journal.

Easily access valuable industry resources now with full access to the digital edition of The Fabricator en Español.
In this episode of The Fabricator Podcast, Caleb Chamberlain, co-founder and CEO of OSH Cut, discusses his company’s...


