


Director of Applications Engineering
Getty Images
A 3D-printed part typically isn’t ready to ship right out of the printer. Often, as with most manufactured parts, it must undergo one or more postprocessing steps before shipping. These range from sanding and tumbling to machining and electropolishing.
Xometry, an on-demand manufacturing company based in Gaithersburg, Md., that offers 3D printing and other services, provides an overview of the most common ways to postprocess polymer and metal parts in an e-book posted to its website. Titled The Complete Guide to 3D Printing, the book provides an overview of the technology and its history, along with chapters on the types of printing processes, styles of printers, and postprocessing options.
Following is an edited excerpt of the chapter on postprocessing.–Ed.
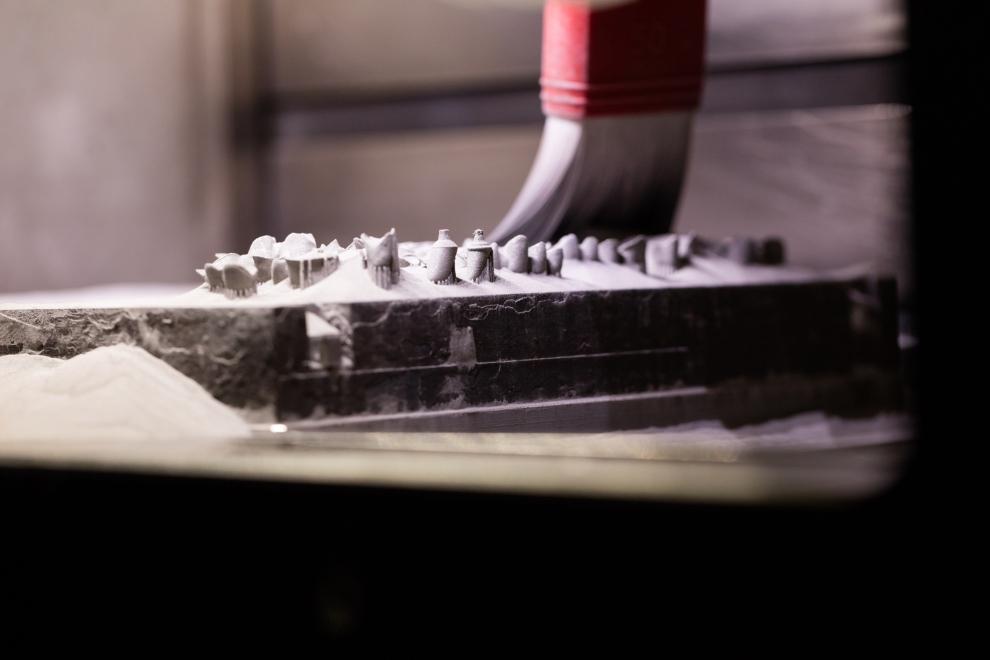
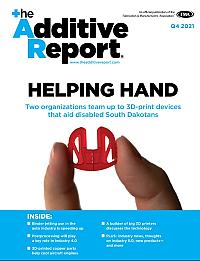
Media blasting. This method typically is used to postprocess plastic and metal parts 3D-printed by the powder bed fusion process. All components made by selective laser sintering (SLS), for example, are media-blasted to remove excess unsintered powder stuck to the workpiece.
Media blasting typically takes place in an enclosed cabinet fitted with an air nozzle and gloves that reach through a cabinet wall. Pressurized air mixed with an abrasive media, such as sand-like glass beads, is directed at the part.
Different media produce different results. Glass beads produce a matte surface and can be used to clean and prepare the surface for painting. Ceramic media create microdimples that make parts smooth to the touch. Small metal spheres are used to shot-peen a metal part, which removes unsintered material and increases the mechanical properties of finely detailed features by smoothing their surfaces.
Currently there is no media blasting method able to take a 3D-printed part to a fully polished state without some type of manual intervention like sanding.
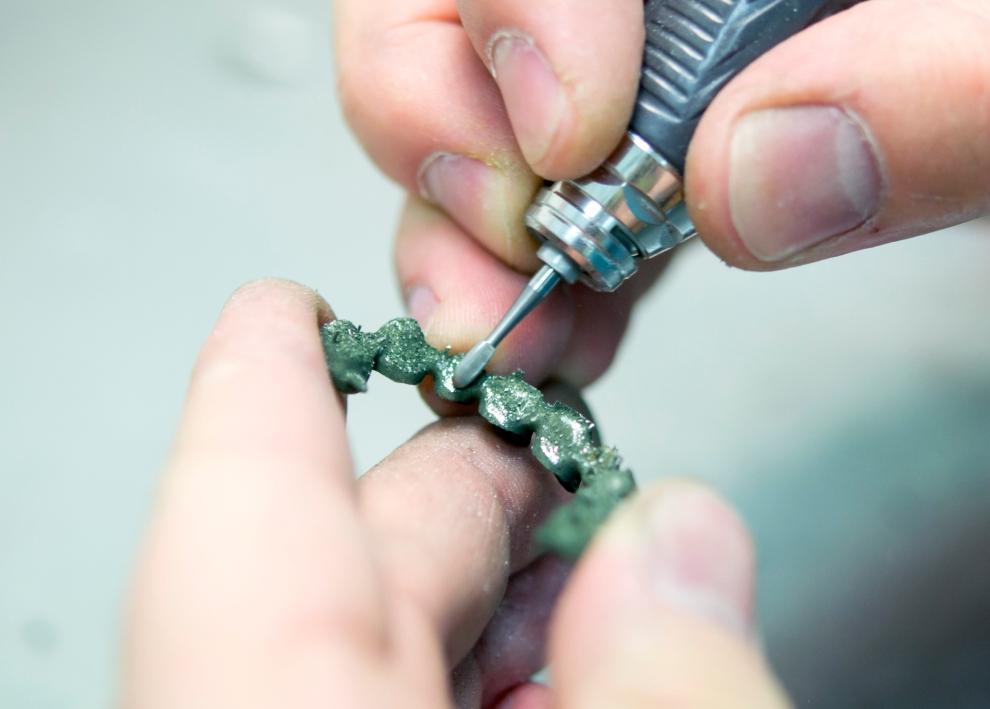
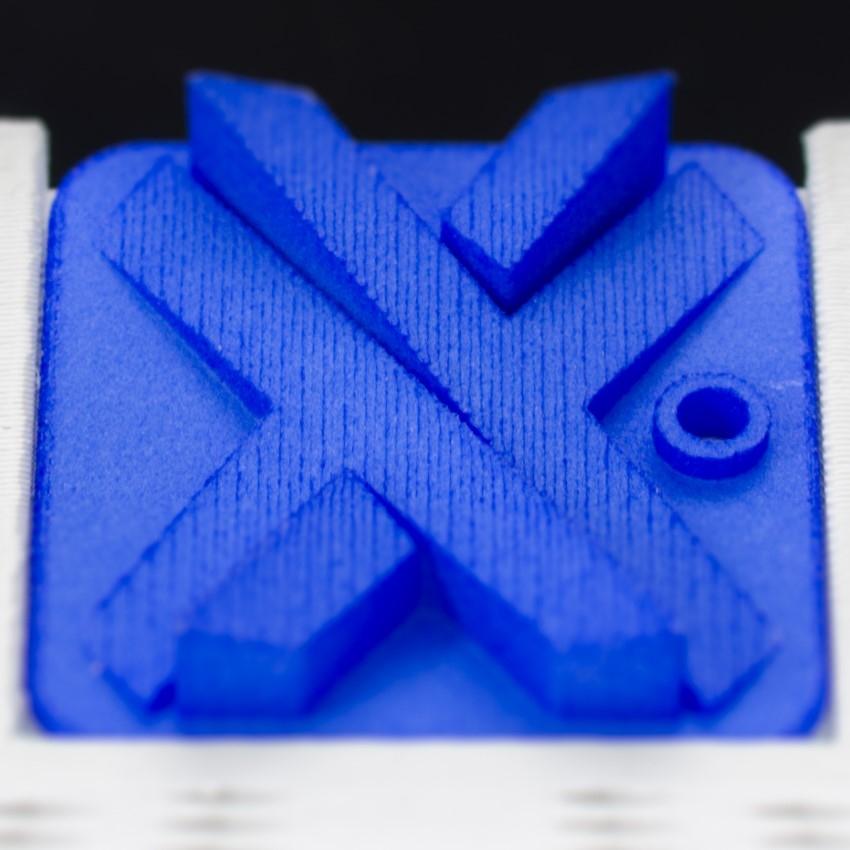
Sanding and media tumbling. In many cases, the goal of postprocessing is to smooth or polish parts or features of parts. Sandpaper and abrasive media tumbling are typical methods for reducing surface roughness.
Sandpaper comes in multiple grades, determined by grit size and number; the lower the number, the coarser the sandpaper. Sanding to a near-polish finish may, for instance, start with 300-grit paper applied during wet sanding (sanding under running water). From there, the operator progressively applies finer-grit sandpaper: 600, 800, 1,200, and, finally, 2,000+ grit.
It is important to note that sanding is a manual process, and the associated costs—primarily labor—can exceed the price of the part.
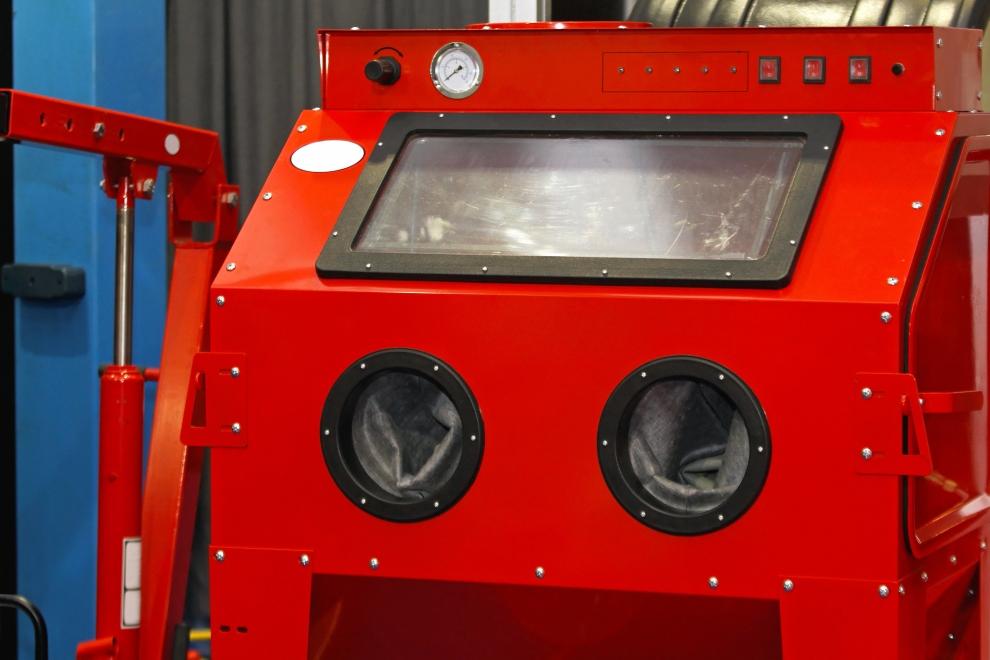
Media blasting typically takes place in an enclosed cabinet fitted with an air nozzle and gloves that reach through a cabinet wall. Getty Images
Media tumbling is another abrasive option, and, unlike sanding, it’s an automated technique. Tumbling devices are vibrating vats of plastic, ceramic, or metal media of different sizes and geometries, depending on the parts being finished. 3D-printed parts that are media-tumbled typically come out with a smooth or satin appearance.
A downside of media tumbling is that it can damage thin walls or fine features and slightly discolor parts, depending on media conditions. And, as with sanding, media-tumbling a part to a polish finish typically requires multiple steps and operations.
Dyeing plastics. When powder bed fusion processes like SLS are used to 3D-print parts from nylon, the parts are white or natural colored. Dyeing them is a relatively easy way to change their appearance and differentiate them.
Dyeing involves mixing an acid dye in a heated water bath. Because many parts can be submerged at once, dyeing is an inexpensive postprocessing option.
Dyed black parts are by far the most common because of the versatility of the pigment in different applications. Black can give features a uniform look, where some color dyes may vary from batch to batch because of saturation and exposure.
Because nylon parts are solid, the dye will not fully penetrate them. That means the nylon’s natural color will be visible if the part is deeply scratched or cut.
Postmachining. Machining is most commonly used on 3D-printed metal parts that require certain surfaces or tolerances. Machining often involves using a manual or CNC mill to remove material with drills, end mills, or other cutting tools.
A postmachined part benefits from improved mechanical properties because its continuously smooth surface has fewer microstress points. However, postmachining often is expensive and requires custom setups and test runs.
Vapor smoothing. This touch-free process takes advantage of material incompatibilities. Acetone, for example, will dissolve ABS plastic because the materials are not chemically compatible. If controlled properly, an acetone vapor smoothing process will liquify just the outer portion of an ABS 3D-print and halt the dissolving action before the part is damaged.
Like machining, vapor smoothing can enhance a component’s mechanical properties and appearance. It also can seal porous materials watertight.
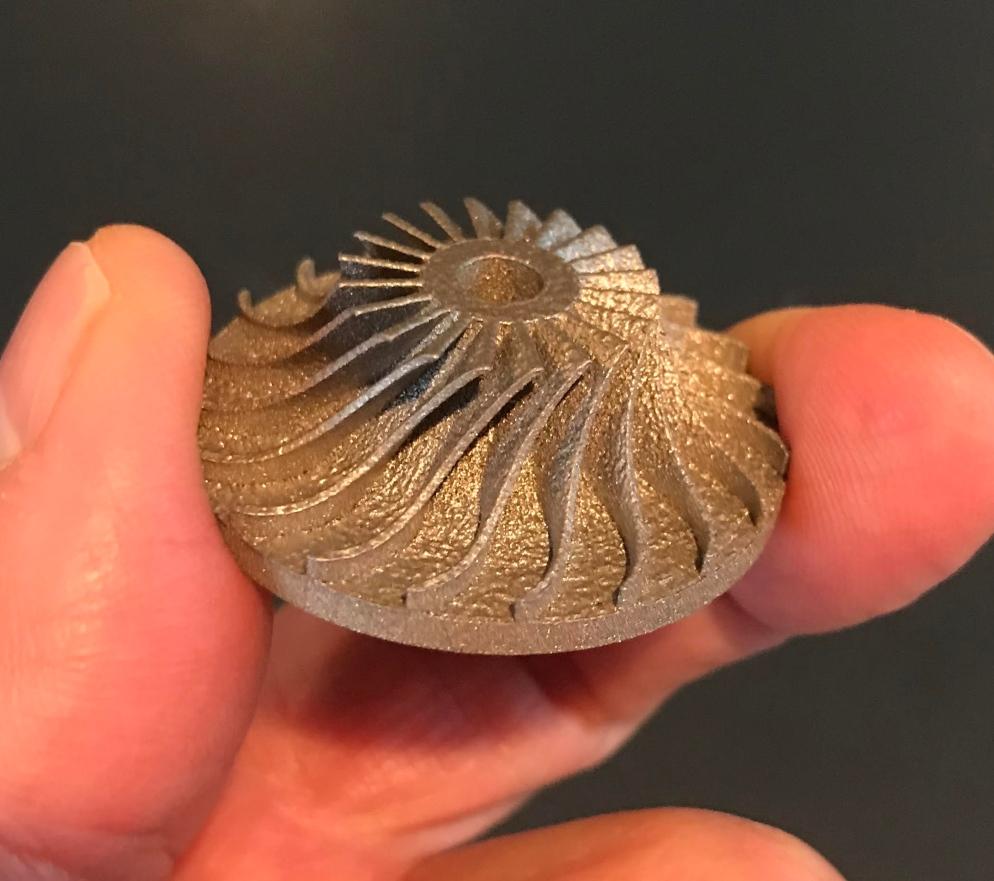
This 3D-printed turbine wheel was lightly sandblasted during postprocessing. OpenAdditive
One downside of vapor smoothing is the denaturing of crisp features. These features may appear rounded after completion of the process.
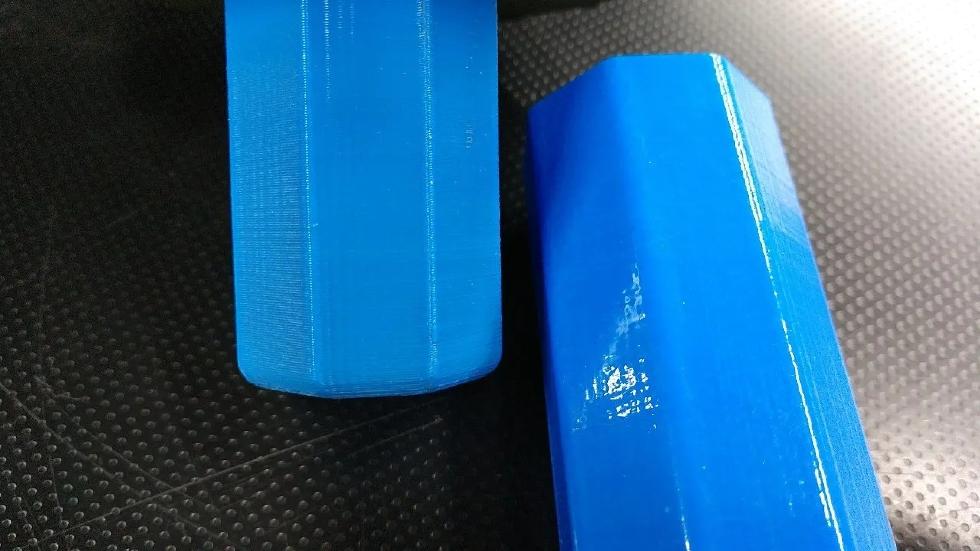
Electropolishing metal.
This technique decreases surface roughness and increases brightness. The process involves submerging the material in a conductive solution and allowing the material’s ions to be removed from the surface, which increases smoothness.Electropolishing often is the final step in polishing, as it only removes an extremely fine layer of material. Some processes aggressively polish parts, which can remove sharp corners and fine details.
In this episode of The Fabricator Podcast, Caleb Chamberlain, co-founder and CEO of OSH Cut, discusses his company’s...
