


National Sales Manager, Abrasives and Power Tools
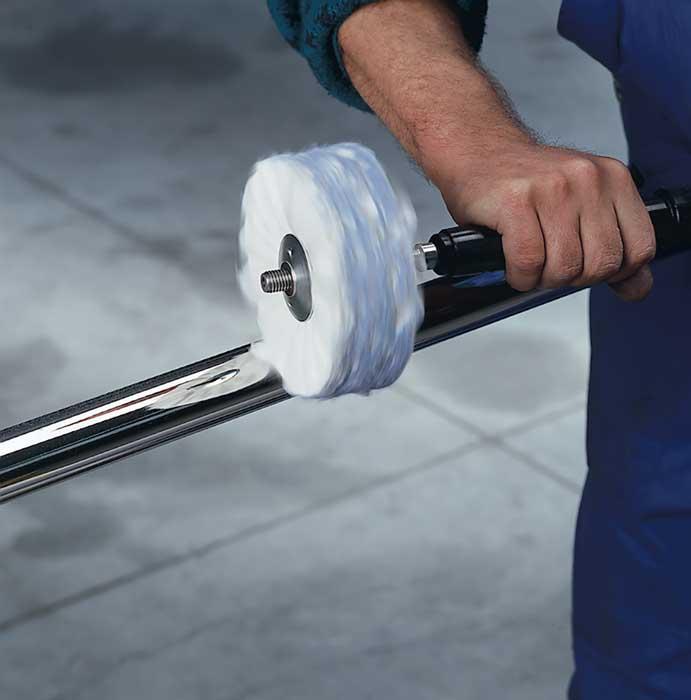
The final step in achieving a mirror finish on a stainless steel tube is using a buffing wheel and a polishing paste.
Editor’s Note: This article was originally published in the October 2016 issue of Canadian Fabricating & Welding.
By definition, fine grinding is the blending of a weldment to the surface of the metal for a smooth, consistent, and attractive appearance. When you are working on stainless steel grades—whether for appliances, structural parts, sheet metal housings that are visible on the finished product without being painted or coated, or architectural adornments—choosing the right equipment and consumables for each step of the process will help you produce your desired result.
The following are tips for achieving a quality finish in nine typical applications. These guidelines provide a starting point to plan your finishing jobs, but most tool and abrasive suppliers are ready to offer suggestions for applications from typical to challenging.
Blending welded surfaces on corners, squares, and rounds is the key to producing attractive welded connections on railings (see Figure 1). Use 40-, 60-, or 80-grain belts in a belt grinder to grind down the weld. Then use a coarse, medium, fine, or ultrafine conditioning belt to blend the surface. For flat surfaces, use an elastic drum and nonwoven nylon flat brush. Use a tube polishing wrap for pipes and tubes. Grain sizes up to 320 will produce the desired results even on extremely small radii.
Using a grinder with a speed regulator will help you achieve the optimal finish. An adjustable belt grinder arm on the tool makes it easier to use, decreases the fatigue you’ll experience, and yields better results.
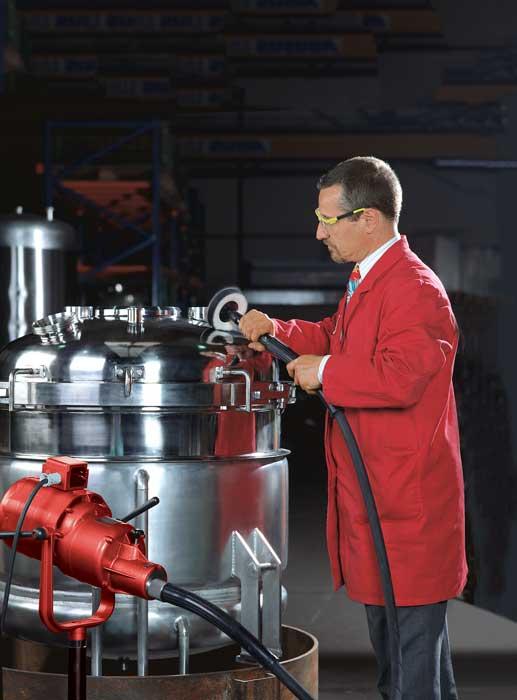
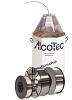
For a typical No. 4 finish with RA 15-25 on a pressure vessel, use a 40- to 320-grain belt grind and finish with a flap brush. You can create a satin finish by using a nylon flap brush followed by polishing with a buffing wheel and a cutting/polishing compound (see Figure 2).
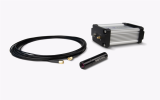
Many finishing tools offer quick-change tooling systems to reduce downtime, and many are portable. Keep in mind that portable tools with detachable handpieces reduce fatigue because they don’t have to carry the weight of the entire drive unit (see Figure 3). Some models are available for working in very confined and hard-to-reach places.
Look for dust-sealed units with low noise levels and vibration-free operation. Air-cooled induction motors can provide long service life and minimum wear.
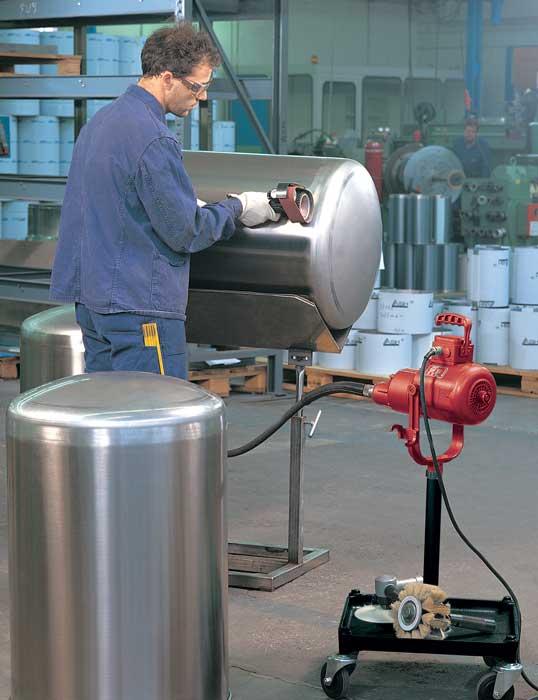
Reducing the size of surface weld beads is a key challenge when working on commercial-grade food service grills (see Figure 4). Start by using a pneumatic grinder with 36- to 80-grit discs to rough-grind the surface. Finish with a pneumatic drum with a 40- to 220-grit abrasive belt, and then work all surfaces with an extended pneumatic straight grinder and 60- to 240-grit fiber brushes. Finishing discs made of synthetic fiber, grit, and resin will eliminate welding discoloration.
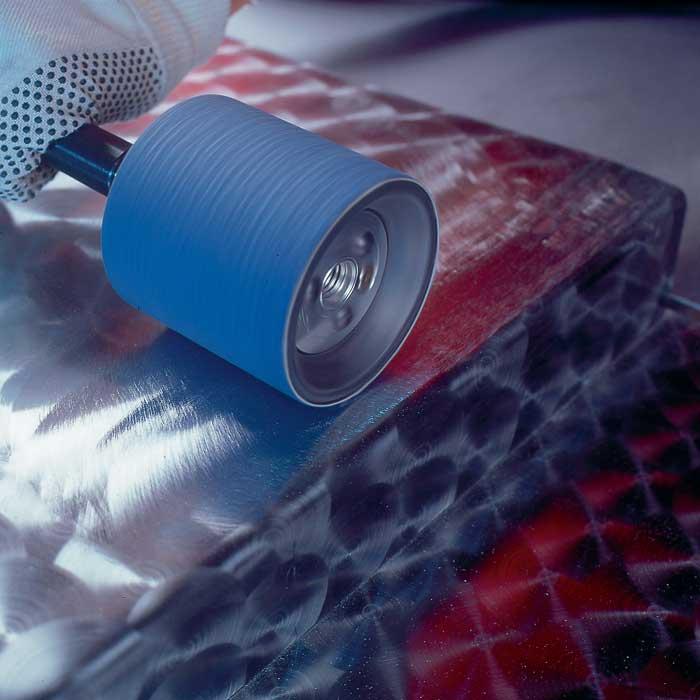
To polish a stainless steel tube to a mirror finish, begin by preparing the surface with a belt grinder using an 80- to 120-grit zirconia belt. Then switch to a surface conditioning belt for medium to ultrafine finishes. Use a prepolish wheel and polishing compound.
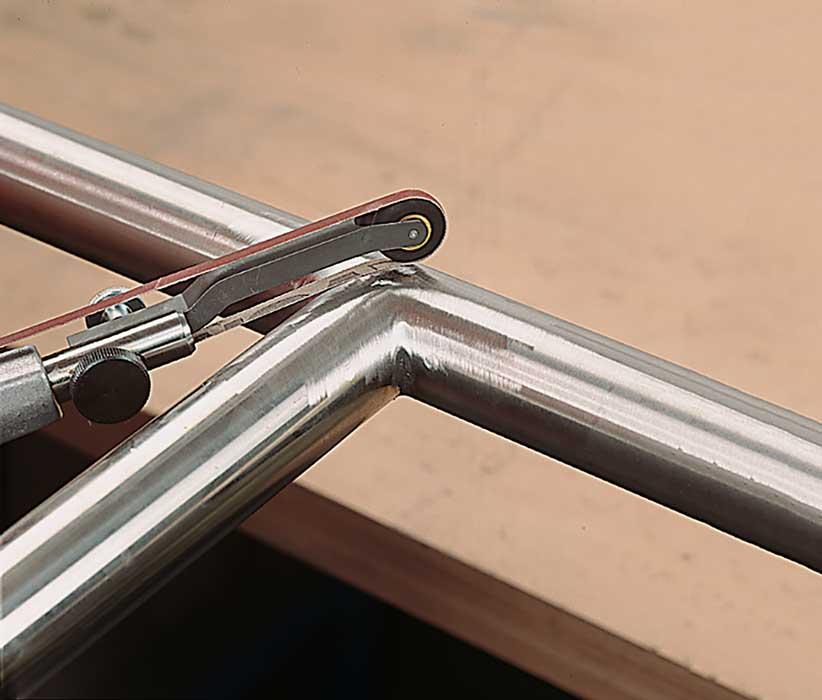
Figure 1
Blending welded surfaces on corners, squares, and rounds is the key to producing attractive welded connections on railings.
Polish with a polishing wheel and polishing compound, and then complete the mirror finish using a buffing wheel and a polishing paste (see lead photo).
Remove the weld beads from structural steel miter joints using 60- to 150-grit zirconium-fiber discs. Then use a drum sander with a 40- to 220-grit zirconium-blend belt. Cover with a template. A surface conditioning belt will give you a fine finish, while a 100- to 200-grit fine flap brush will result in a satin finish.
Begin the graining process on a stainless steel weld with a pregrind using a pneumatic right-angle grinder with a plastic support plate with a cooling effect and an 80-grit fiber disc. Finish with a pneumatic drum using a straight grinder.
Grain the surface using a right-angle grinder with nonwoven, medium, or high-hardness finishing discs. Grind the weld bead with a 120-grit grinding belt and a 40- to 320-grit finishing belt.
To smooth the orange peel effect, begin with a rough prep using a 40-grain belt. Then fine-grind it with a soft contact roller and A160 Trizact™ belt. Satin-finish with a soft contact roller and medium surface conditioning belt.
You can achieve an industrial-grade finish by using a flap brush and 220-grain abrasive pad.
To finish the inside corners of a stainless steel component, begin by smoothing the weld with an electric angle grinder with an 80-grain mini flap wheel. Then fine-surface-grind them using an electric angle grinder and soft disc—between an A160 and A16 grain—with a Trizact grinding wheel.
Use an electric file and nonwoven pads from 60 to 400 grain to define the surface grain.
Start with a preliminary grind on an extruder feed shaft using a belt grinder and a 40- to 80-grain zirconium corundum belt to grind and polish. Work the flanks with 80- to 120-grain Velcro® fiber wheels. Fine-grind the shaft and flanks with a roll attachment. Polish with twisted polishing rings and polishing paste, especially if you are working with stainless.

The Welder, formerly known as Practical Welding Today, is a showcase of the real people who make the products we use and work with every day. This magazine has served the welding community in North America well for more than 20 years.
start your free subscription
Easily access valuable industry resources now with full access to the digital edition of The Fabricator.

Easily access valuable industry resources now with full access to the digital edition of The Welder.

Easily access valuable industry resources now with full access to the digital edition of The Tube and Pipe Journal.

Easily access valuable industry resources now with full access to the digital edition of The Fabricator en Español.
Seth Feldman of Iowa-based Wertzbaugher Services joins The Fabricator Podcast to offer his take as a Gen Zer...


