


Owner, Brown Dog Welding
My dad loves tools, especially old, well-worn, and heavy-duty stuff. I wonder where my tool obsession came from? Sometimes, however, those tools break. The cool thing about vintage stuff is that usually you can fix it.
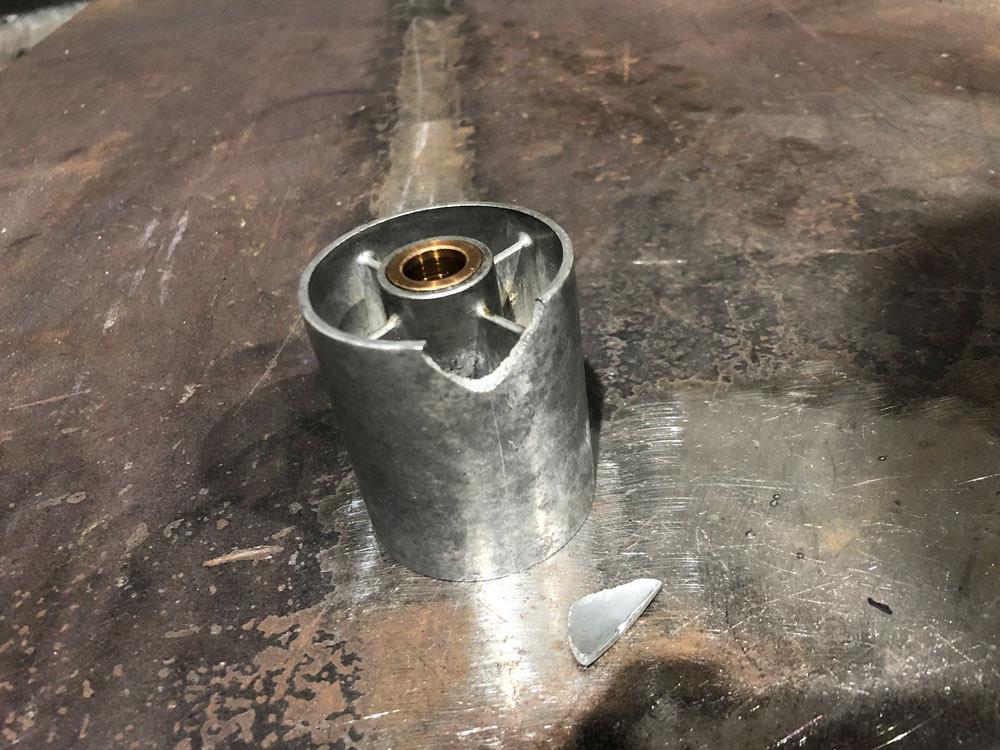
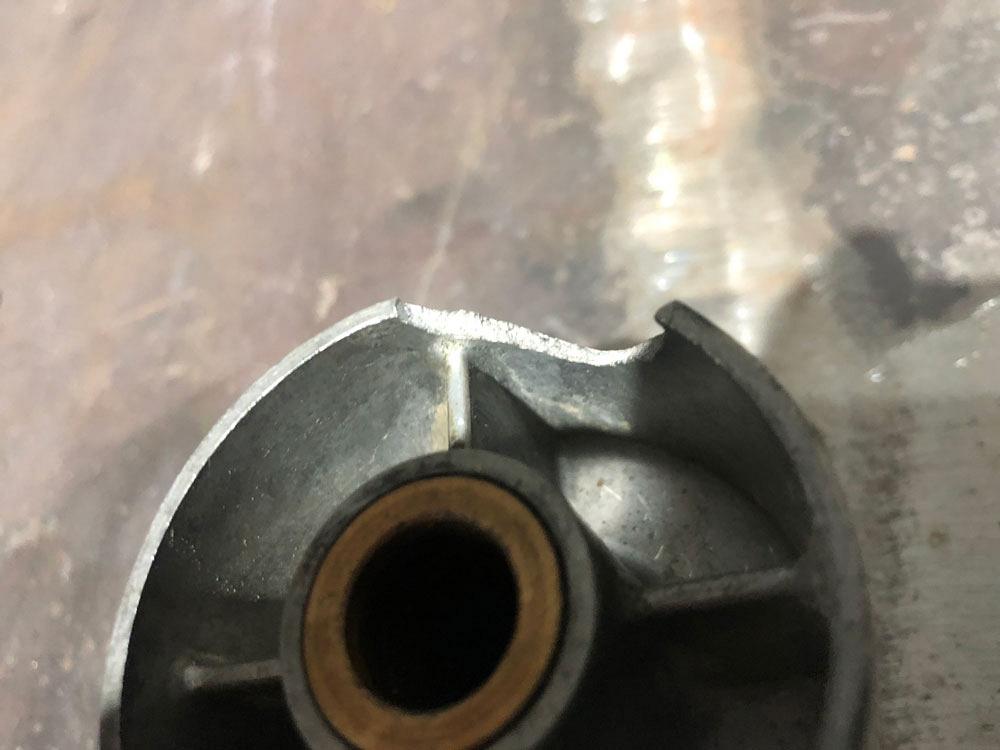
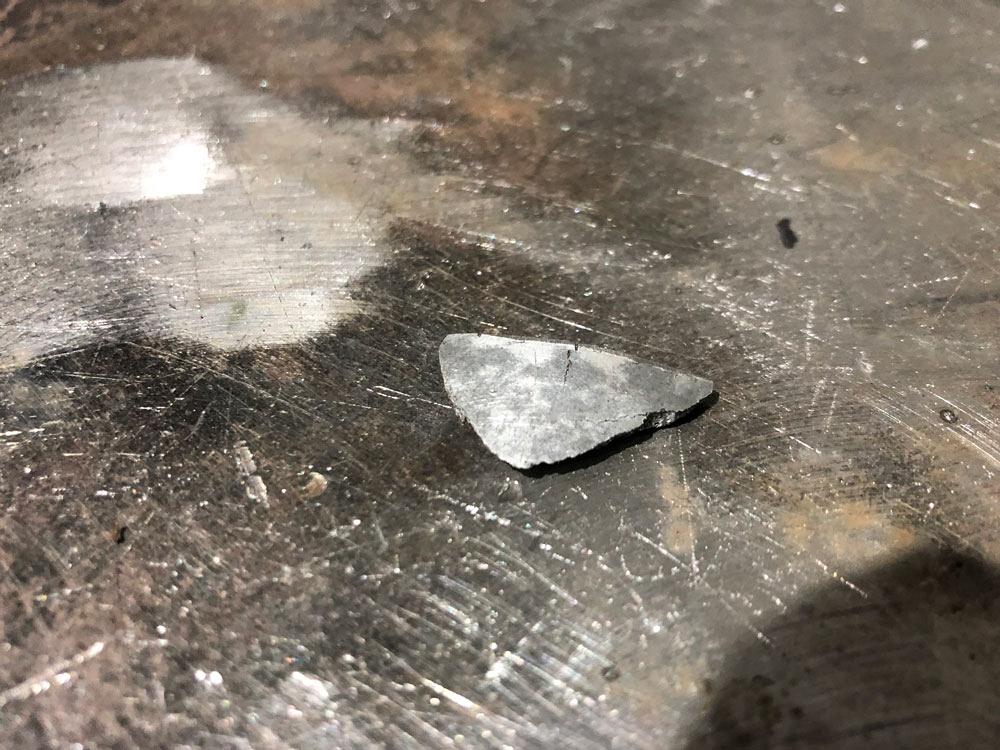
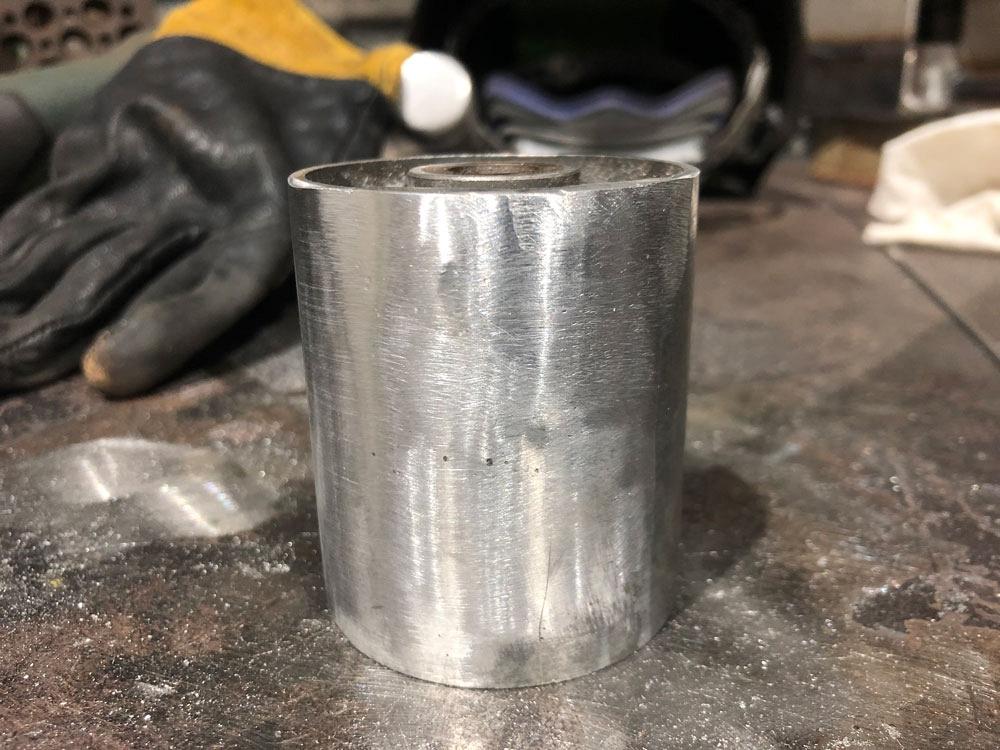
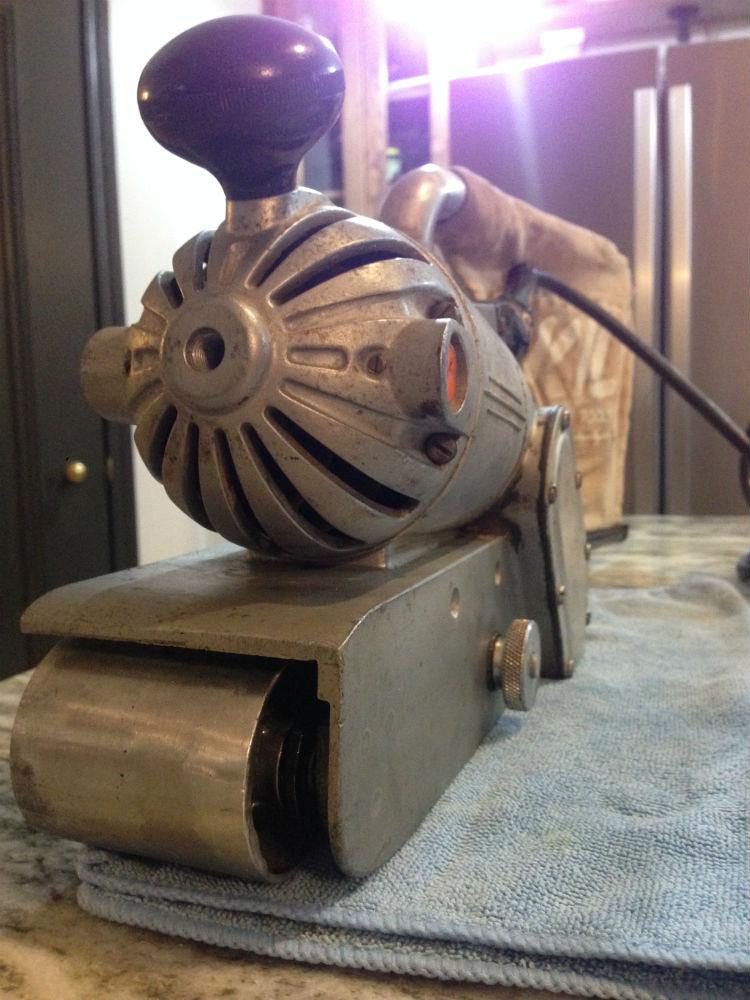
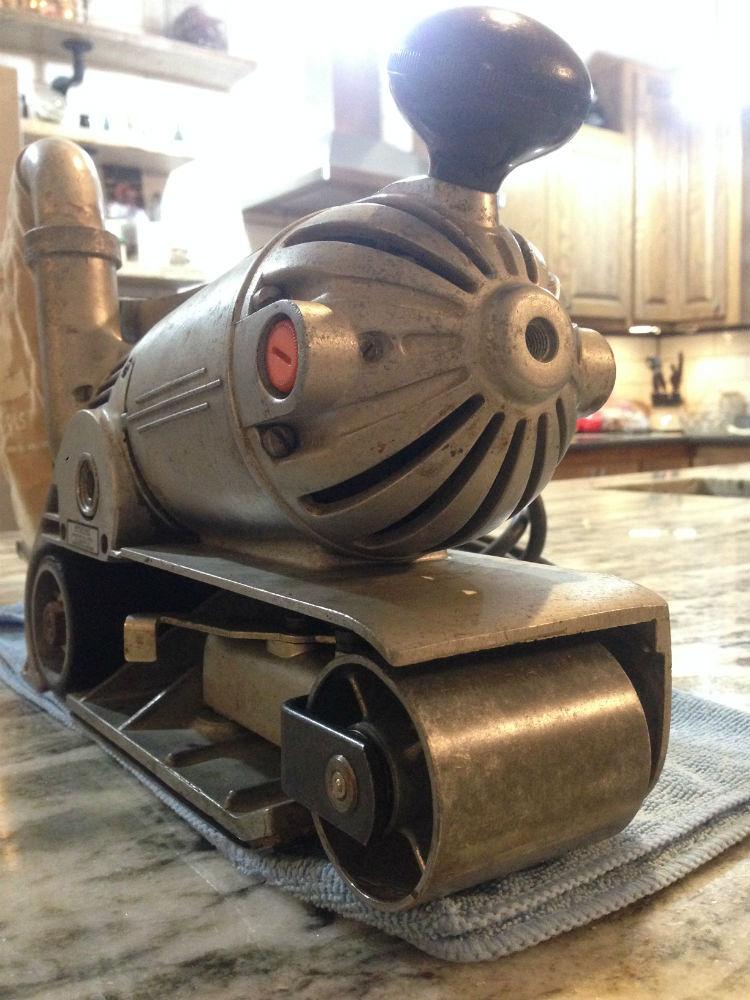
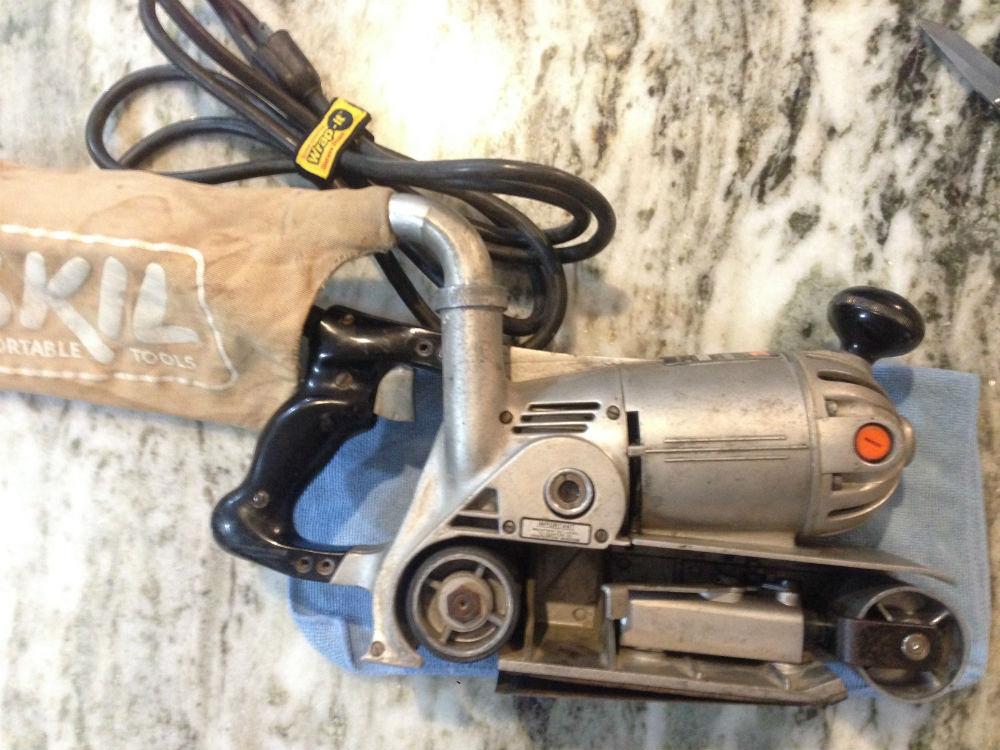
One of the rollers on dad’s American-made Skil belt sander had a small section crack and fell apart. This fix was pretty simple; I actually made it more difficult than it needed to be.
First, the “more difficult” part. I’d been sitting on the job for a while, but we were heading to my parents’ place for Christmas that afternoon, so I wanted to get it done in the morning to take to dad. I was kind of in a hurry, and I was distracted, because I decided I needed some content for Instagram too. I assumed the drum was pot metal and figured I’d throw some silicon bronze down to put it back together. Except it wasn’t pot metal. The silicon bronze rod sort of brazed in there, but then it immediately cracked at the edge of the bead. Crap, it was aluminum.
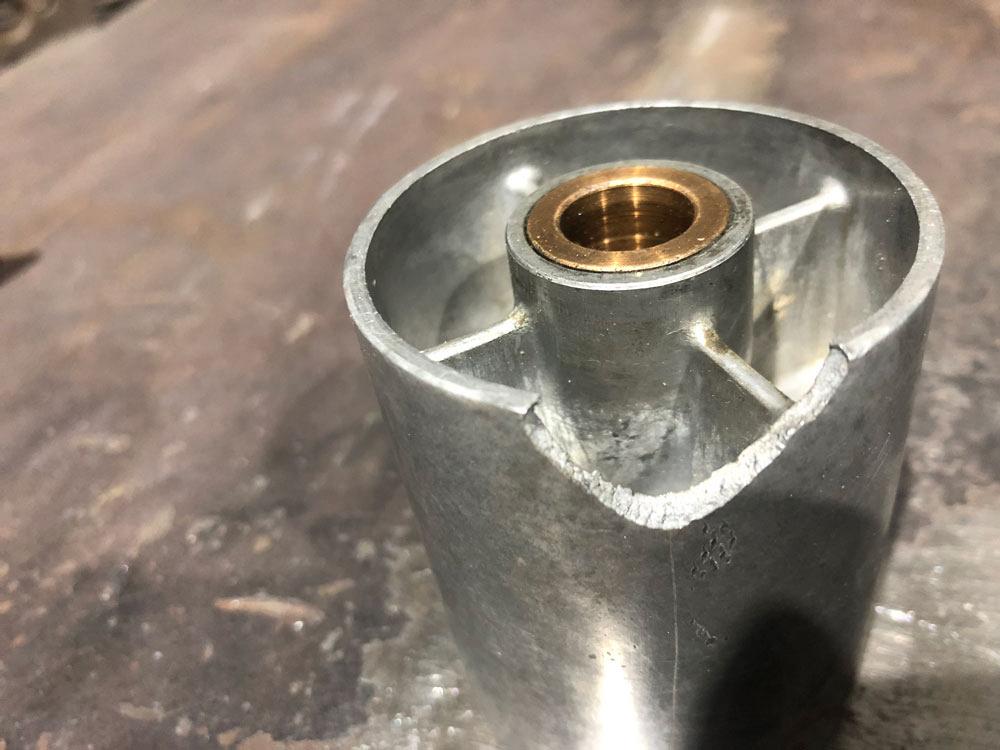
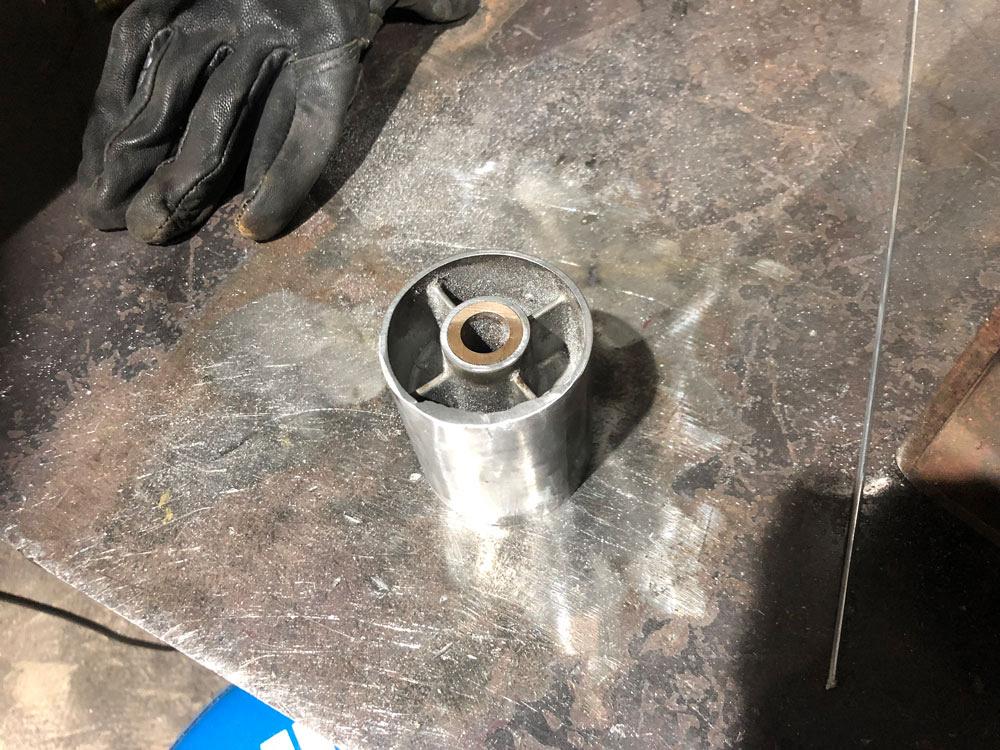
No big deal. I just broke off the weld and ground the exposed edge smooth with a rotary file. I just felt dumb!
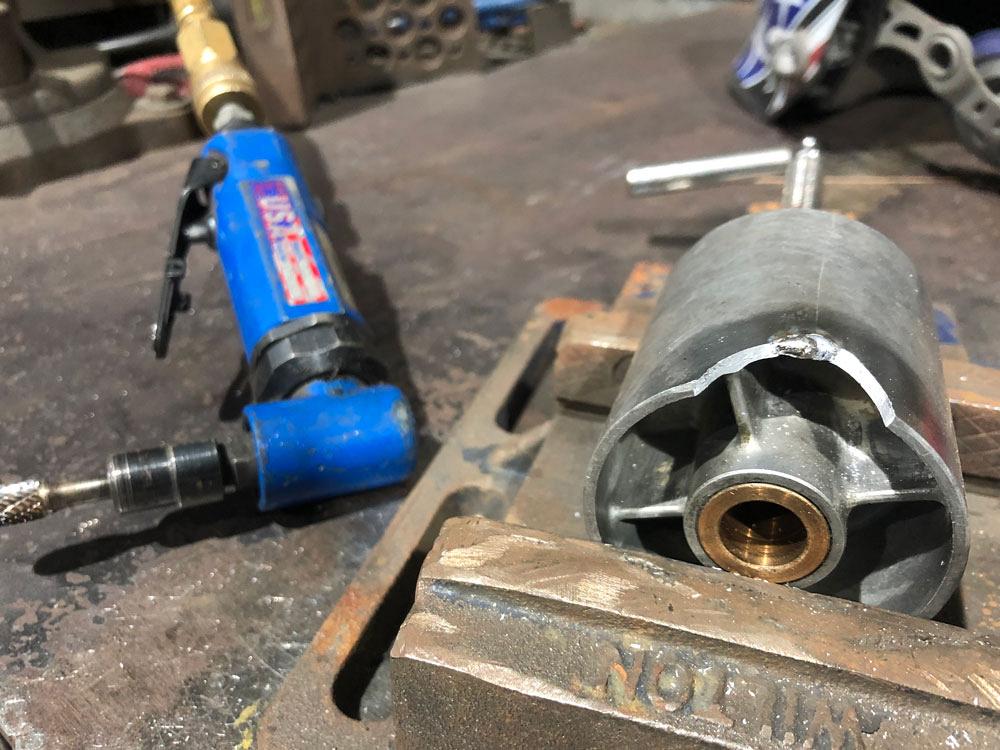
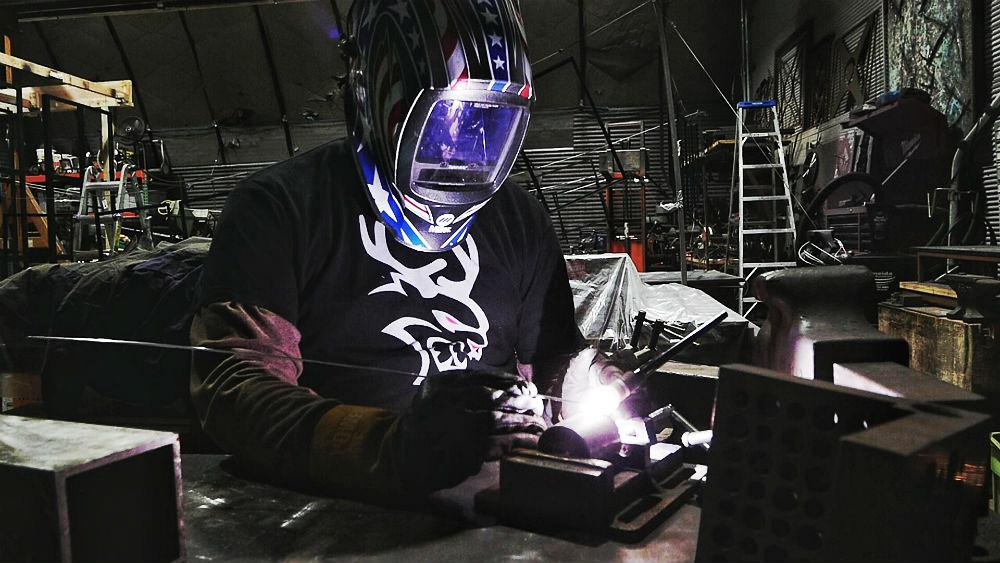
Welding the piece that had broken off back in place wasn’t going to work; as soon as I struck an arc, it cracked everywhere. Obviously, it was a compromised piece. Now, the move was to run overlapping edge beads to fill the space left by the missing chunk. I thought about cutting a small stainless backing plate, but doing that to fit would have taken forever. As it turned out, that was not required. I TIG welded it in with some aluminum filler I had in the shop.
Meanwhile, I was spending more energy on the photos and videos of the arc than I was on the weld. It’s probably not as smooth on the back side as it could have been, but the face needed to be sanded flush, so it still looked OK.
I did take my time, as there was a bronze bushing that didn’t need too much heat. Short beads and a little delay (mostly me messing with my camera) were all it took to accomplish that.
A quick finish with a sanding disc, and it was good to go. Check out the pics my dad sent me of the sander reassembled!
All images courtesy of Josh Welton, Brown Dog Welding.

The Welder, formerly known as Practical Welding Today, is a showcase of the real people who make the products we use and work with every day. This magazine has served the welding community in North America well for more than 20 years.
start your free subscription

Easily access valuable industry resources now with full access to the digital edition of The Fabricator.

Easily access valuable industry resources now with full access to the digital edition of The Welder.

Easily access valuable industry resources now with full access to the digital edition of The Tube and Pipe Journal.

Easily access valuable industry resources now with full access to the digital edition of The Fabricator en Español.
In this episode of The Fabricator Podcast, Caleb Chamberlain, co-founder and CEO of OSH Cut, discusses his company’s...


