


Fabricating a copper chimney cap
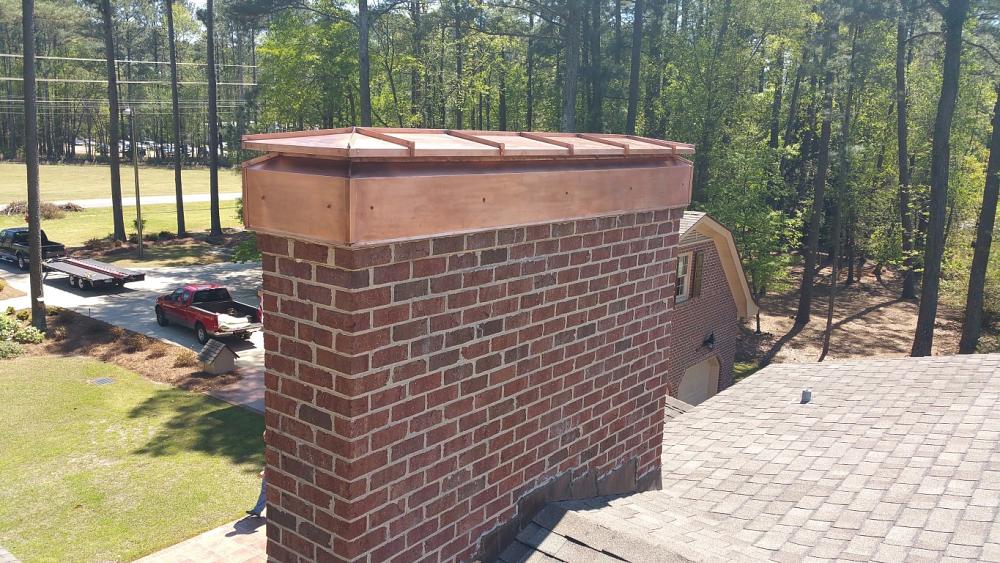
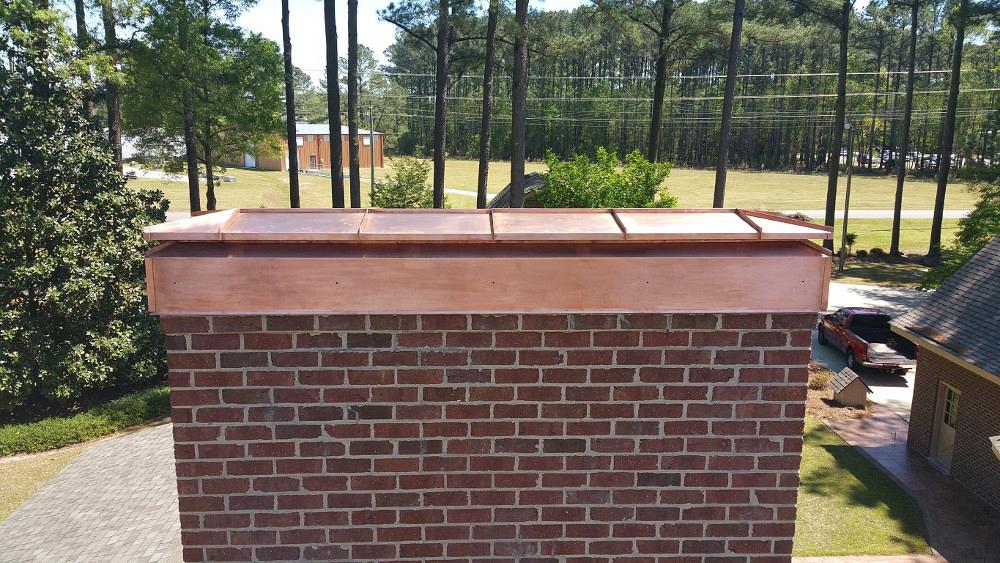
Figure 5: Finished chimney cap.
When I was fresh out of college and began working at Barnes MetalCrafters, I frequently saw copper in the shop. We were always making something out of it, whether it was custom shutter caps, flashing, or a nice chimney cap. These memories now stick out more than ever, because we don't see this kind of work come through the shop anymore.
At the time, it was an everyday occurrence. I vividly remember the former owner, Wade Barnes, scribing and shearing corners. There were always little copper pieces on the ground around his workstation, and I was often helping him fold parts up on the hand brake. He was usually mumbling curse words the whole time, and I was so new that I didn’t know what to think. I was trying to learn what the heck I was doing.
Wade worked for my dad, Tim Martin, for several years after he bought the shop, and only a few of the current employees had the pleasure of working with him. He has since passed on, but his work will live on forever on chimneys around eastern North Carolina.
The reason I mention Wade is that we had a custom copper chimney cap come through the shop recently, and it made me think of him. I have seen only a few of these jobs in the last five or six years, so it was going to be an eye-opener if we actually got the work.
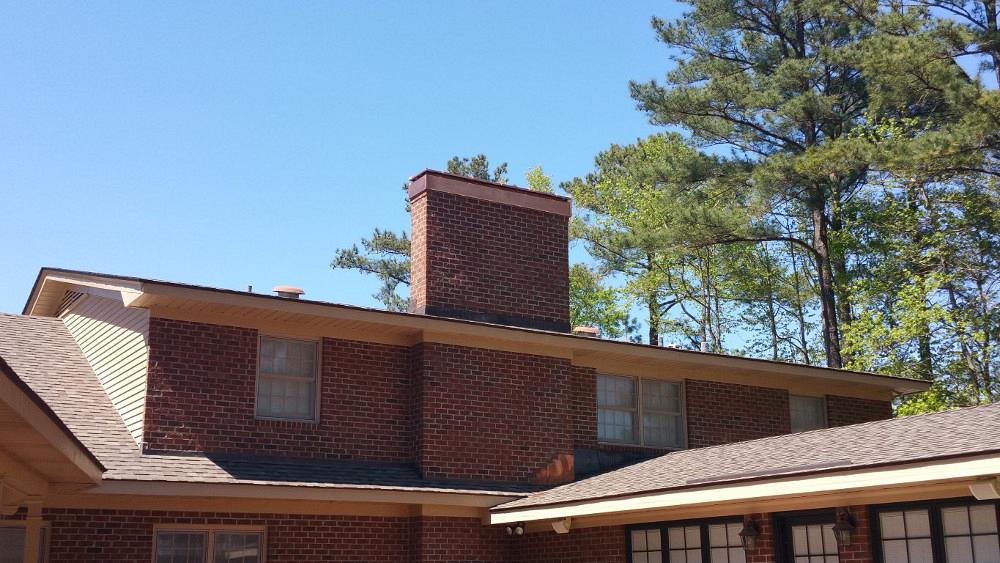
Dad and I traveled to Farmville, N.C., to look at the chimney cap. Of course, we had to get on the roof to measure this monster. The chimney was huge! We had to go to the far side of the house and get on a lower tier before stepping up to the top. It was relatively flat up at the top, so being up that high wasn’t too bad. We got our measurements, and dad began sketching out what we were going to make.
I was already designing this thing in my head and thinking about the steps I would take to model it in Autodesk® Inventor™. We had some time to think about it, because we wouldn’t be making the cap for a while. As we were about to leave the house, dad showed the owner his sketches, and we came to an agreement of what he wanted it to look like—low profile with ribs on top and copper, lots of copper.
This was going to be a huge chimney cap. Measuring 107 in. OD by 22.5 in. ID, it was almost too big for a residential roof. We turned our quote in to the customer, and he got back to us before the new year to tell us that we had the job. He didn’t want us on the roof while the weather was cold, and we honestly didn’t want to be up there either. The job was mutually put on the back burner for the time being.
Several months passed, and the customer began to want his chimney cap, so we had to get the ball rolling. I began the design work. We basically had to make two caps, one for the base or inside, and the other for the copper wrap. He wanted the top to have several visible ribs. I thought this would look pretty cool, so I was happy to work on this aspect.
We originally were going to make the inside out of 18-gauge galvanized, but the price of stainless has been down lately, so we ended up making it out of that instead. The customer can’t complain about that! He was adamant about having a nice copper chimney cap, even though it couldn’t be seen from the road.
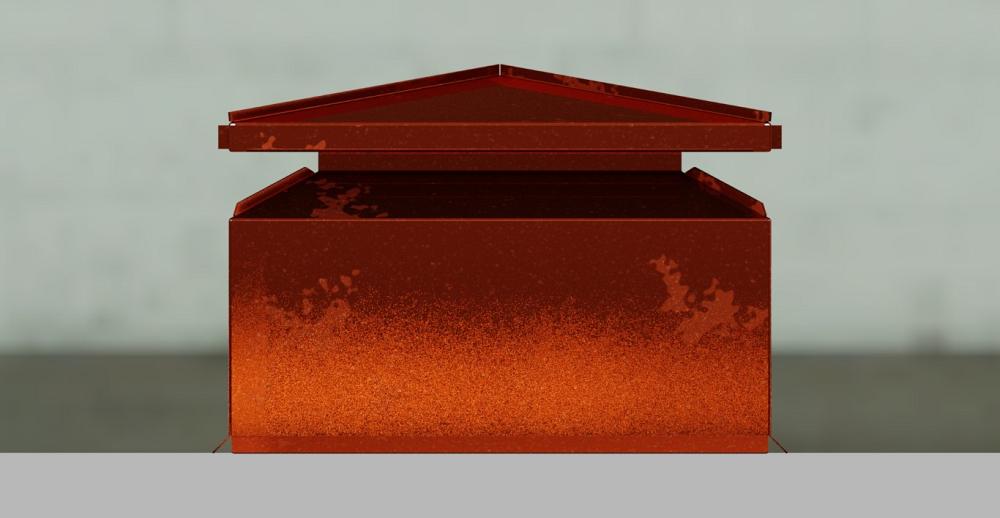
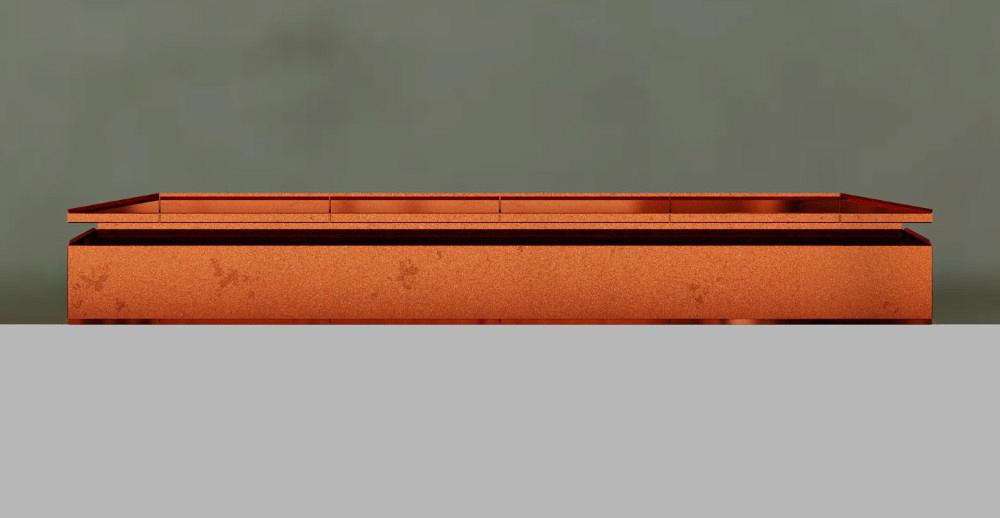
After I sent the owner some renderings done in Autodesk Showcase™ (Figure 1) and a PDF showing some dimensions, the design was approved and the inner chimney cap was ready to be laser-cut from the 18-ga. SS.
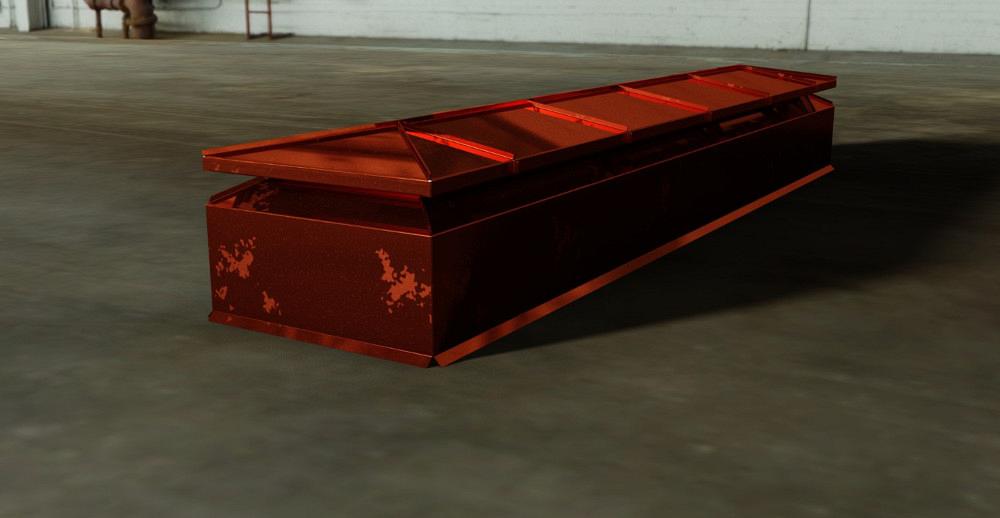
Figure 1: Rendering of our design created in Autodesk Showcase.
I also designed templates for the copper wrap to be cut of thin-gauge galvanized. These would be used to scribe and shear the copper for the outer wrap. Since we have a CO2 laser, we couldn’t cut the copper.
It had been a long time since we were on the roof, so dad and I decided we should go up one more time with a sample section. It fit like a glove, and we double-checked our length measurements (Figure 2). You don’t want to screw up a job like this because there is no easy fix. We were good to go on our design and nothing needed to be changed.
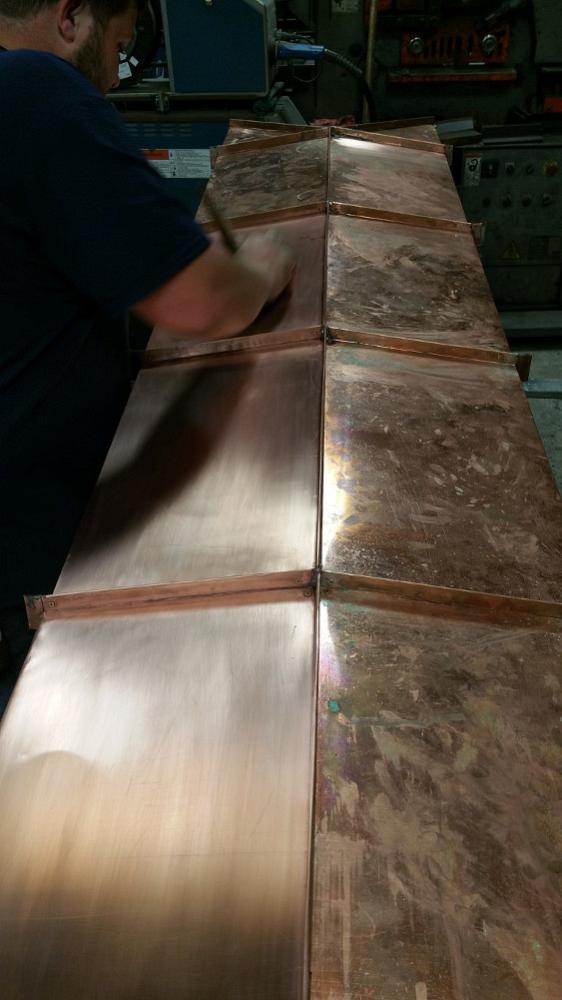
Fabrication was expected to take a few days to complete. Randy Davis and Nick Trueheart did the majority of the work. Some of the tricks of the trade are forgotten when you don’t deal with jobs like this very often. Once they wrapped their heads around it, the skills came back to them and work was flowing.
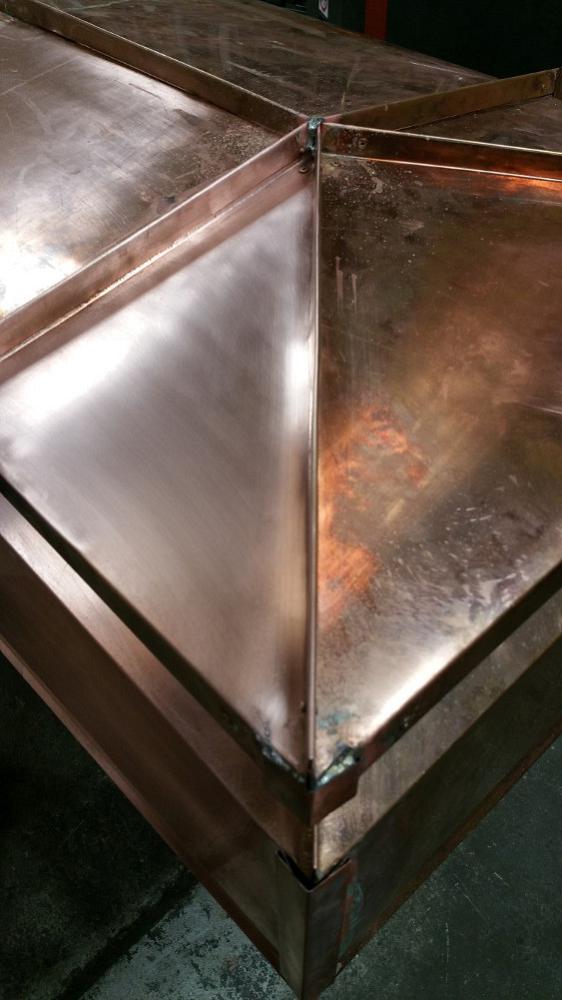
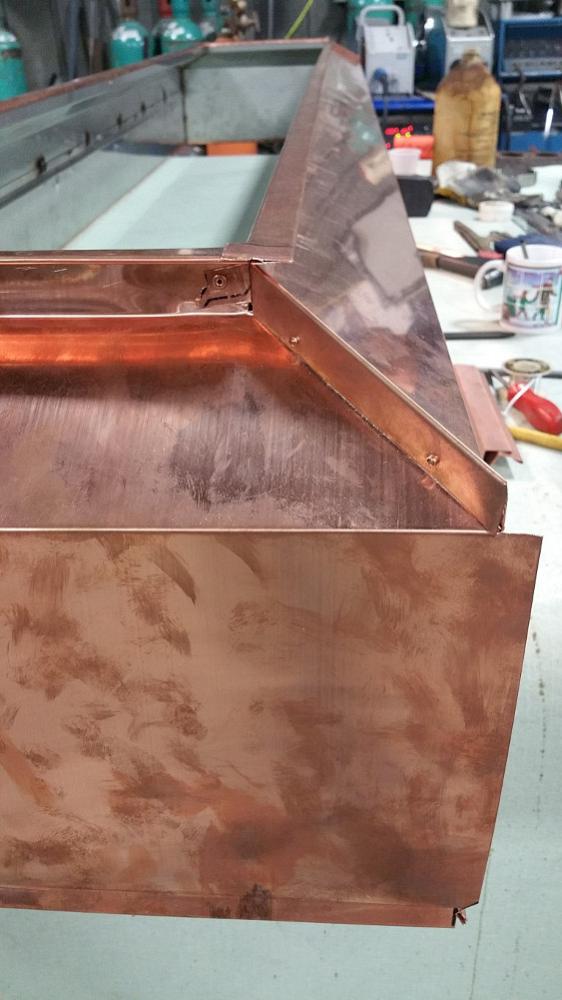
Copper was crushed hemmed around the edges of the SS, and rivets were used in spots that wouldn’t be visible from the ground. The bottom half of the chimney cap went much quicker as the copper was in much larger pieces compared to the top. Corners were ribbed, crushed hemmed, and soldered. The top was made similar to the corner construction on the bottom, and I feel this is where the cap started to really pop. Your eyes went straight there when the cap was on the worktable. It looked great!
Customers in our shop admired the work and asked what building it was going on. They laughed when we said it was for a house.
We polished the copper cap with Brasso™, and it really changed the overall look (Figure 3). This was the final touch before installation. At least it will be shiny for a little while before the copper starts to tarnish.
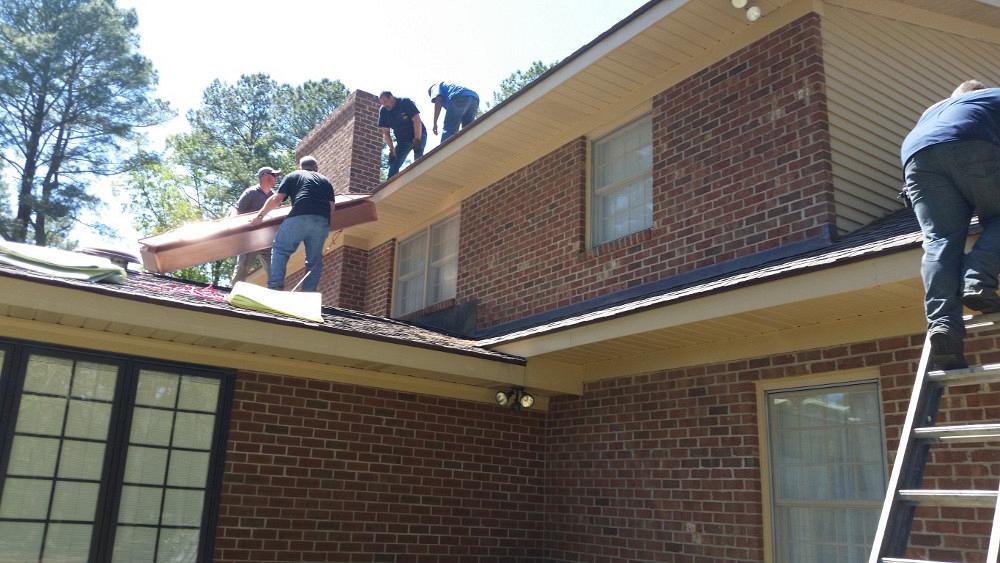
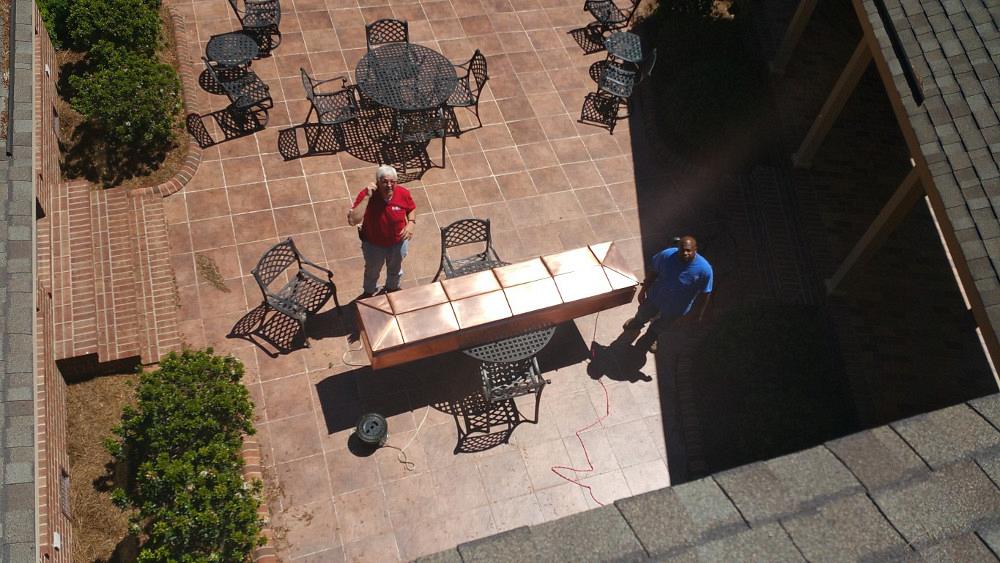
The cap weighed quite a bit, so we took a crew of six and three extension ladders to install it. The roof had three different tiers and the lowest was closest to the top. We took this route to get the cap safely to the top (Figure 4). Once we lined it up with the chimney, we just had to drop it over the top.
We had welded angles inside the cap so they would rest on a row of bricks that stuck out. This made it pretty easy. The owner wanted this anchored down with screws in the brick. This was done on two sides with several screws that couldn’t be seen from his outdoor patio.
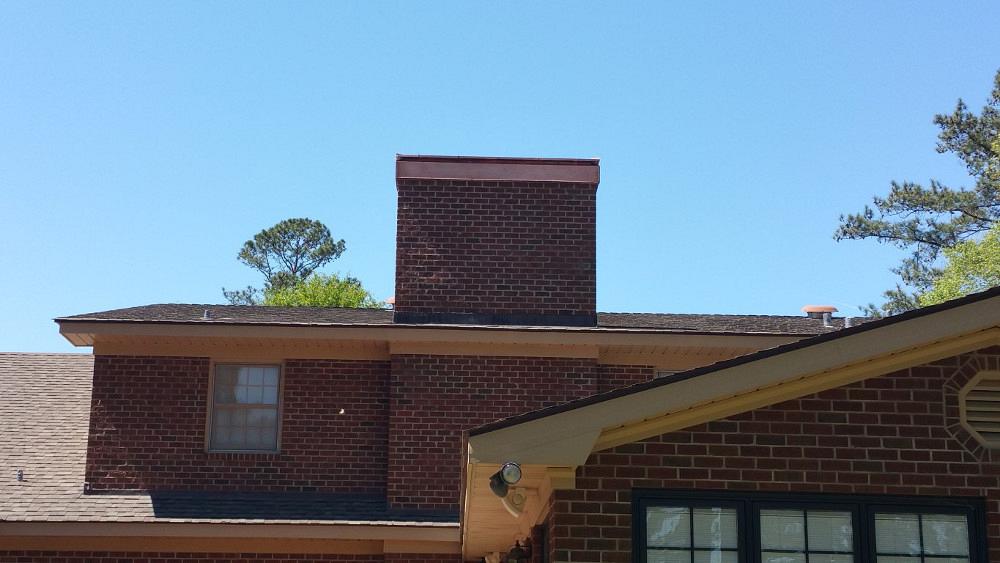
The final product looked very nice (Figure 5), and we all were pretty pleased.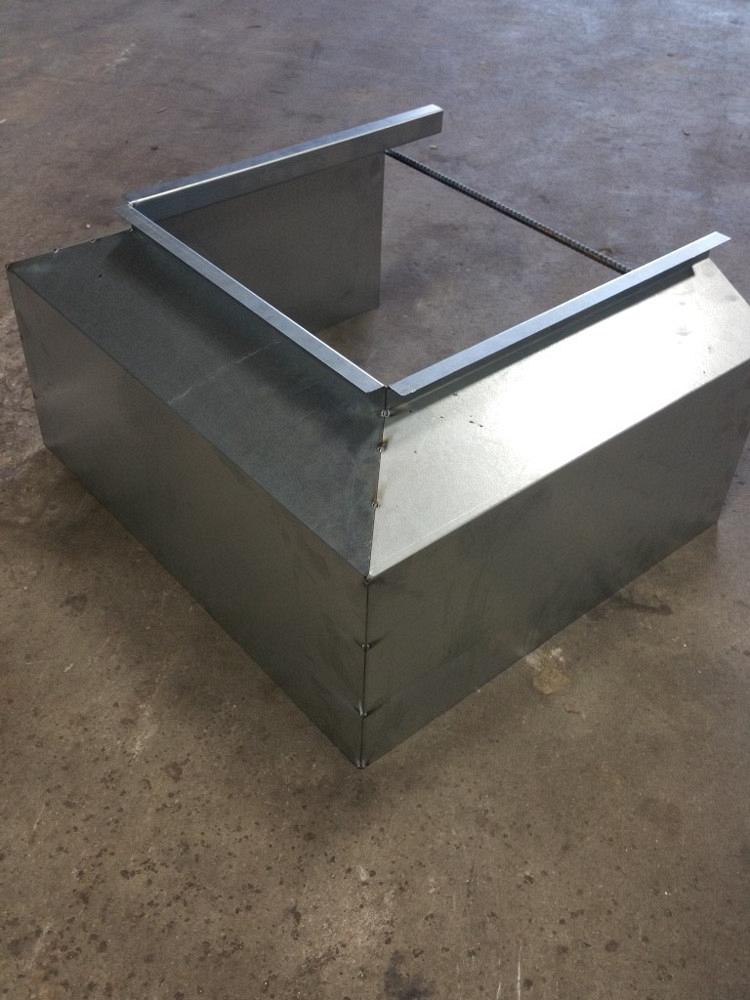
Figure 2: Sample piece made to double check out design.
I'm not saying copper work has gone by the wayside. Some shops frequently work with the material. I just don't see it as much as I used to. I feel that the architectural aspects of many modern houses are lacking, and a lot of new homes wouldn't gel with copper add-ons. That was not the case for this house. The customer and his guests will be admiring this for many years to come.
All images courtesy of Barnes MetalCrafters.
subscribe now

The Fabricator is North America's leading magazine for the metal forming and fabricating industry. The magazine delivers the news, technical articles, and case histories that enable fabricators to do their jobs more efficiently. The Fabricator has served the industry since 1970.
start your free subscriptionAbout the Author

About the Publication

- Stay connected from anywhere

Easily access valuable industry resources now with full access to the digital edition of The Fabricator.

Easily access valuable industry resources now with full access to the digital edition of The Welder.

Easily access valuable industry resources now with full access to the digital edition of The Tube and Pipe Journal.

Easily access valuable industry resources now with full access to the digital edition of The Fabricator en Español.
- Podcasting

In this episode of The Fabricator Podcast, Caleb Chamberlain, co-founder and CEO of OSH Cut, discusses his company’s...
- Trending Articles
1
Capturing, recording equipment inspection data for FMEA

2
Tips for creating sheet metal tubes with perforations

3
Are two heads better than one in fiber laser cutting?

4
Supporting the metal fabricating industry through FMA

5
Omco Solar opens second Alabama manufacturing facility
