


Owner, Brown Dog Welding
Or closer to the mark: “Cleanliness becomes more important when godliness is unlikely.” – P.J. O’Rourke.
I’m sure the majority of you reading this are thinking it’s kind of an elementary idea. “Yeah, I know, I should clean my material before I weld.” But as easy as the concept sounds, my interactions over the years would indicate that it’s not a subject taken seriously or even understood by a good chunk of fabricators out there.
The wrong approach can set in from day one. I’ve been in weld classes where the instructor has the beginning students weld over hot roll mill scale.
“They’re just working on hand-eye coordination, so why waste time and resources on cleaning?”
In my opinion, that lack of emphasis on clean materials carries over as much as the muscle memory from running stringers.
There are a lot of books and sites out there with step-by-step instructions on how to clean specific metals, but that’s not what this is about. I just want to give a couple of examples to make you think about how you’re prepping your work.
A couple weeks ago I was at the Detroit Autorama and a gentleman found me to ask a question:
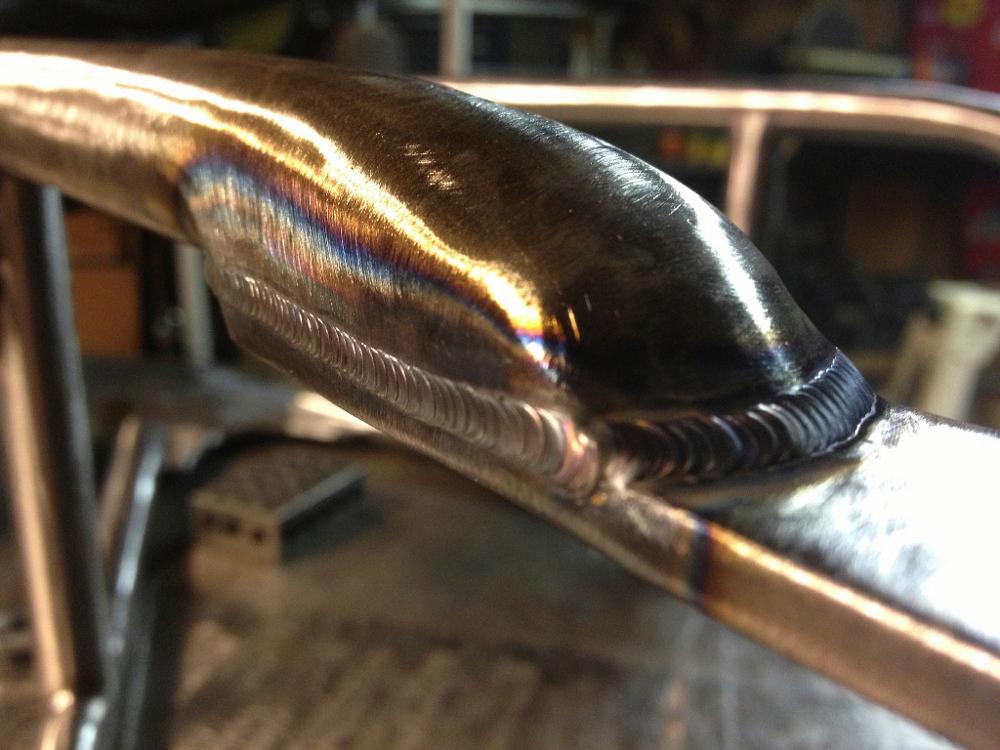
“How do I get my welds to look like yours?”
It was kind of a loaded inquiry, but essentially what it came down to was that he was trying to TIG weld an 1/8-in. steel fillet and it needed to “look” right. He was having issues getting a smooth and consistent finish. As for his actual skills, I couldn’t troubleshoot that in a conversation. We could tackle other variables though: torch and hoses are in good shape, gas isn’t contaminated, there’s enough gas flow, cup is big enough for the tungsten, tungsten is decently prepped, etc. "So did you clean the material?" I asked him.
“Yup, I sandblasted it!”, he replied
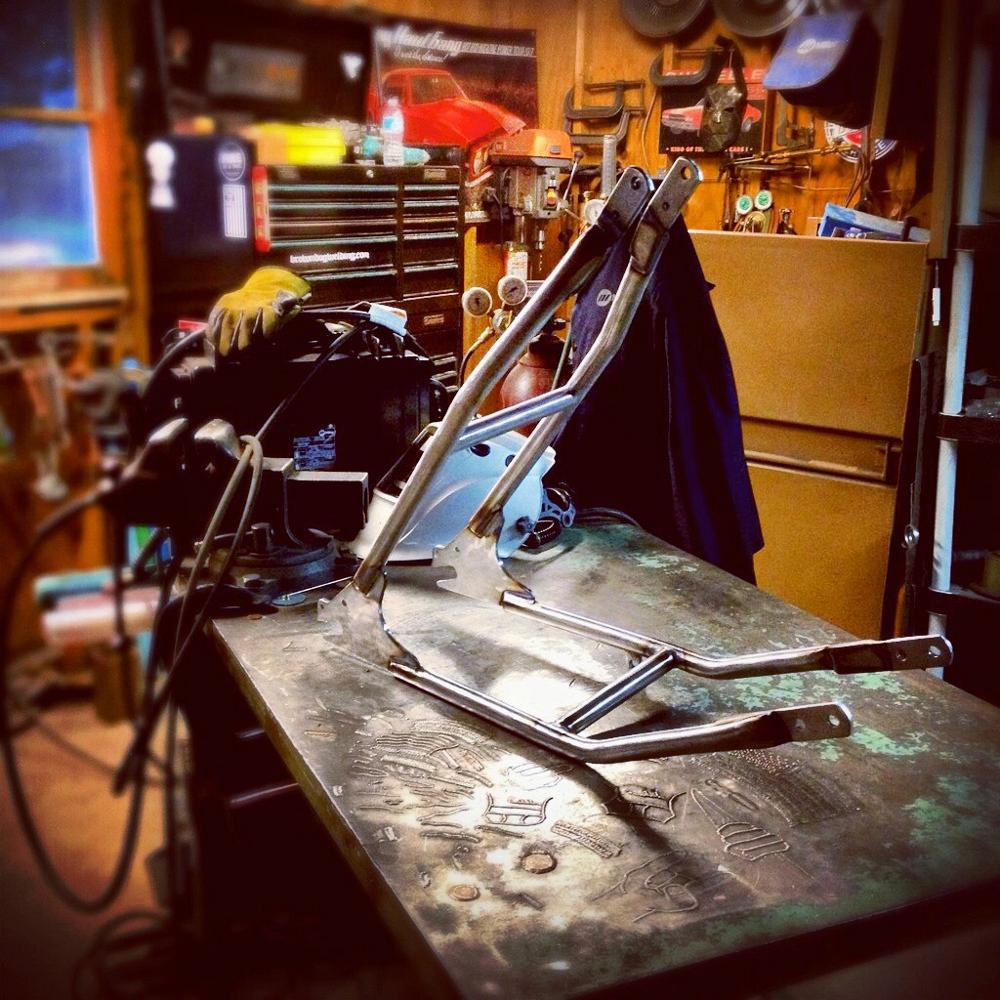
A '67 Triumph frame sandblasted and cleaned with 2-in. Scotchbrite wheels.
Sandblasted, and then welded. I know there are all kinds of specialized media for blasting, but more times than not there’s gonna be something in that media that will contaminate a weld. This is especially true when TIG or MIG welding, when you don’t have flux like with stick or flux-core to help suck it away. Beyond that, if you’re using a relatively coarse abrasive, you might be giving the surface a rough finish. In addition to handing contaminants a place to hide, the harsher your prepped surface is, the less potential your weld has to “look” smooth. At the very least you should wire wheel steel after sandblasting it. He hadn’t done that, and I suspect that a big factor in his welds coming out the way they did was the residue from sandblasting.
The order in which you clean and how much of the surface you prep can be important too. In my career, I can recall countless times when a job was handed off to me midflow. Layout was done, pieces were tacked, and inspection had signed off. Easy as apple pie, I’ve just got to weld it, right? Not quite. Not if the guy before me slacked in the prep department: mill scale, coolant from a saw, sand from a waterjet or a sandblaster . . . all possible contaminants. The area you can see is important, but the entire heat-affected zone (HAZ) matters. With any joint the mating surfaces and even the back surface should be cleaned beyond the HAZ, and that’s typically not possible to do once the pieces to be joined are tacked in place.
After the pieces are tacked, even with an easy fillet weld, you can sand or grind or wire wheel only the exposed area to be welded. The rest of the HAZ is out of reach, and there’s still potential to suck in dirt from within the joint or even the back side of the joint.
Think about the material you’re welding. Think about the welding process you’re utilizing. Then research what methods are best to clean the material for the process and implement them. A lot of common weld issues can be cured with a little more critical thinking. I guess my whole point is this: Don’t take cleaning or the way you clean for granted.

The Welder, formerly known as Practical Welding Today, is a showcase of the real people who make the products we use and work with every day. This magazine has served the welding community in North America well for more than 20 years.
start your free subscription


Easily access valuable industry resources now with full access to the digital edition of The Fabricator.

Easily access valuable industry resources now with full access to the digital edition of The Welder.

Easily access valuable industry resources now with full access to the digital edition of The Tube and Pipe Journal.

Easily access valuable industry resources now with full access to the digital edition of The Fabricator en Español.
In this episode of The Fabricator Podcast, Caleb Chamberlain, co-founder and CEO of OSH Cut, discusses his company’s...


