


Owner, Brown Dog Welding

No matter what the welding process is, it’s my opinion that running stringers is the most efficient exercise to learn and practice for growing proficient with muscle memory and keeping your hand-eye coordination sharp.
The best way to lay stringers for practice is to build a pad. I guess I’ve taken for granted over the years that it’s an easy thing to do, at least in theory. But if teaching has taught me one thing, it’s that you can’t take anything, not even the simplest, most basic concept, for granted. And on the other side, if you really want to learn, you cannot go into your education thinking that you already know “how” to learn.
During my first semester of teaching, one of the early classes began with a quick talk, an explanation (which I’ll repeat here shortly) on how to build a padded plate. About an hour in, one of the students came to me for advice on how to make his beads smoother. I looked at his chunk of metal, and it was just short runs of weld all over the place, no rhyme or reason. “Why aren’t you running a pad?” I asked.
“To be honest, I didn’t listen to anything you said at the beginning of class.”
I guess at least he was upfront about it. I was rather taken aback, but it turns out that attitude is fairly common. It’s a mindset that doesn’t discriminate. Young, old, male, female, black, white—most students come into school as “experts” on how they should be taught. I literally can’t count how many times one has approached me, after a crystal-clear presentation on how to do the padding exercise, with nice stringer beads laid out a half inch apart from each other.
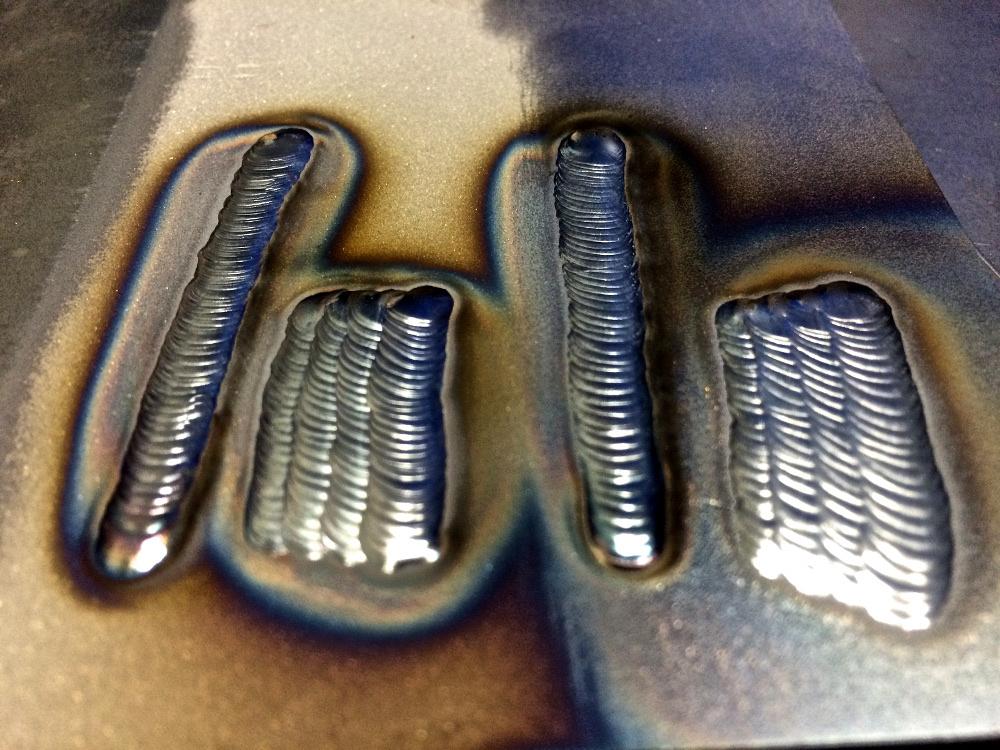
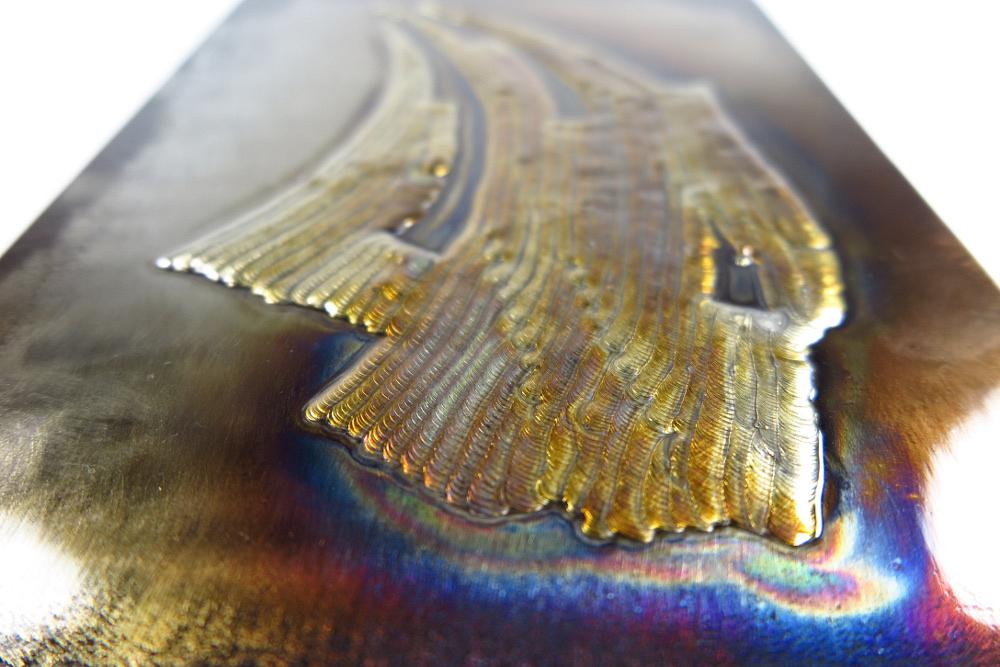
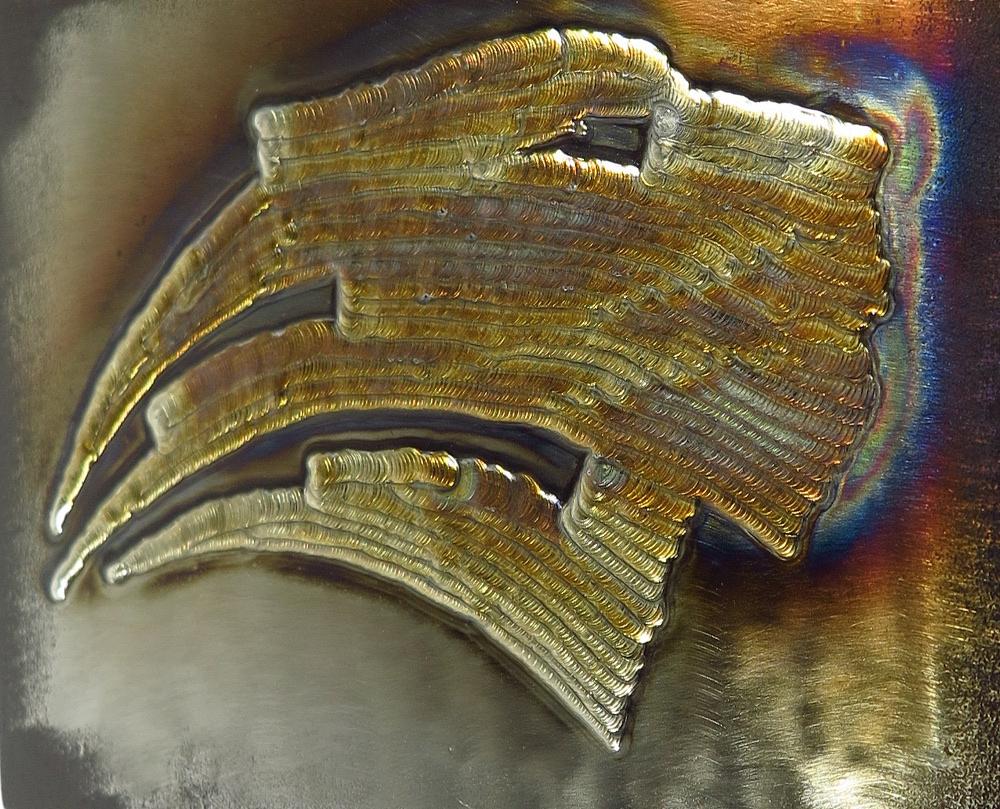
“No, you need to run the beads so they overlap ½ to 2/3 of the previous bead; aim your tungsten/stick/wire just above the toe line, so it wets into the top of the last bead and then flows down into the base metal. When you’re done you should have a flat surface at the top of the pad.”
“You mean they’re supposed to be overlapped?”
“Yes, just like I showed in the demonstration.”
“Oh, I didn’t know that’s literally what you wanted.”
Facepalm.
Now that my rant is over, why is padding such a great welding workout?
It teaches puddle control and consistency. There’s a natural, shallow joint that the previous bead on top of the base metal creates, and it’s your job to fill it with a matching bead.
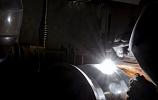
The more beads you run, the greater the potential for heat buildup. Especially on aluminum, I like students to run bead after bead without stopping. It forces you to combat the hot plate by either backing off the heat, running faster, or both. Another form of puddle control.
Padding is also a pretty standard part of the job in a few trades. Tool and die people use it to build up worn areas of tooling, which is then machined down. Machinists often need new edges or surfaces created by welds. In both instances, you need consistent beads with no gaps, no porosity, and no undercut. These are just a couple quick examples. Another is a mechanic building damaged aluminum heads that can then be cleaned up and put back to work.
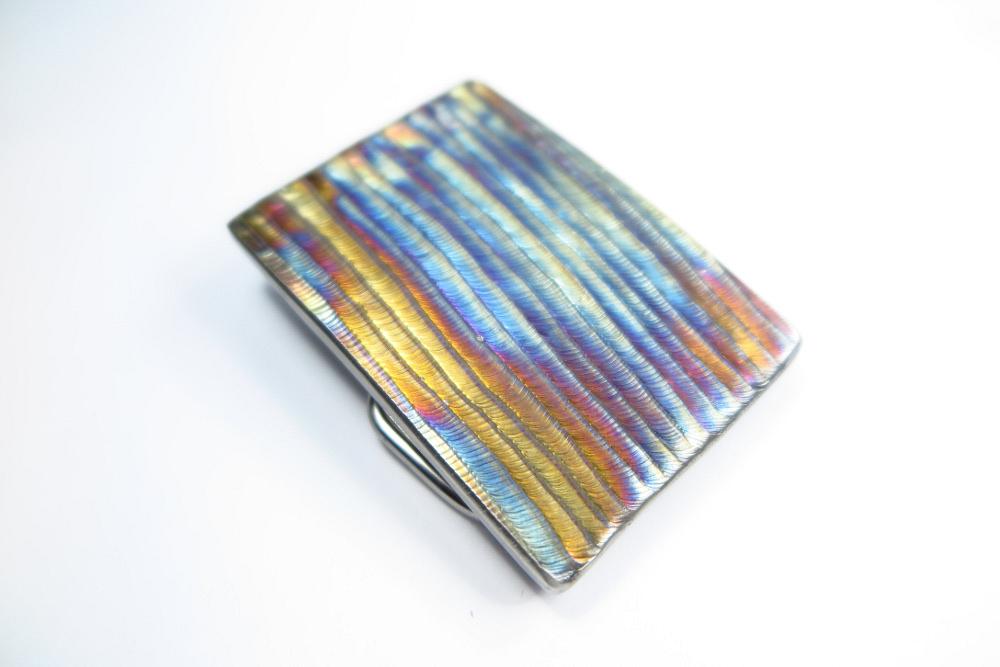
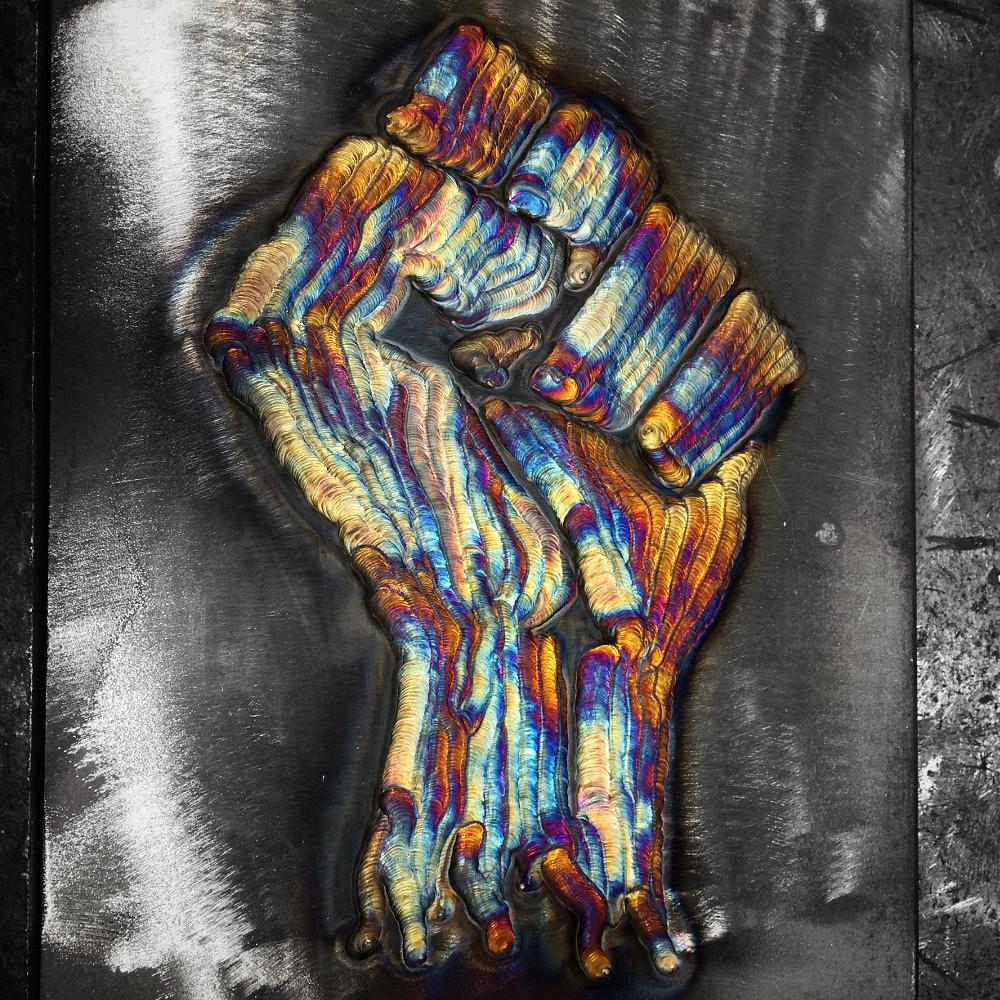
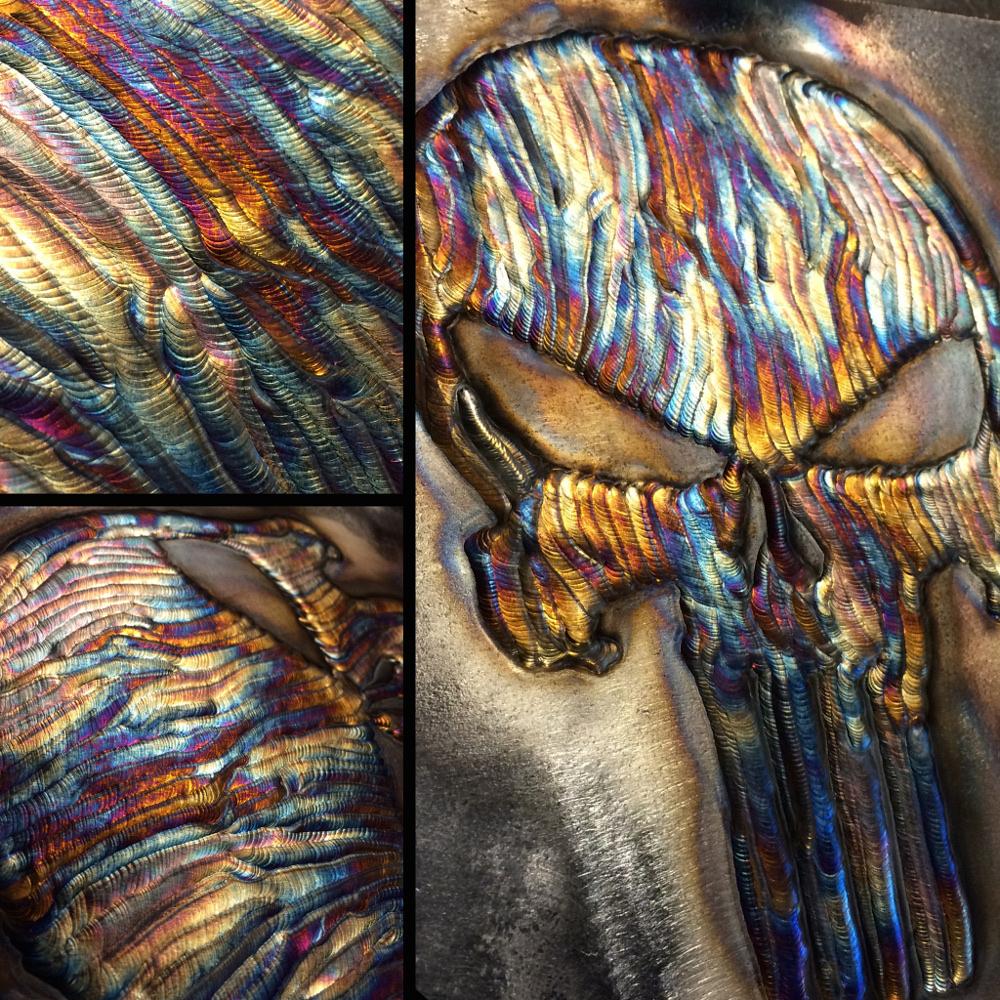
For me, padding metal has been a part of my practice routine since day one. I ended up blending the trade and the art, and my padding exercises now are often designs. But even at the root of these, you’ll always find the same sound fundamentals needed on the job.
All images courtesy of Brown Dog Welding.

The Welder, formerly known as Practical Welding Today, is a showcase of the real people who make the products we use and work with every day. This magazine has served the welding community in North America well for more than 20 years.
start your free subscription

Easily access valuable industry resources now with full access to the digital edition of The Fabricator.

Easily access valuable industry resources now with full access to the digital edition of The Welder.

Easily access valuable industry resources now with full access to the digital edition of The Tube and Pipe Journal.

Easily access valuable industry resources now with full access to the digital edition of The Fabricator en Español.
In this episode of The Fabricator Podcast, Caleb Chamberlain, co-founder and CEO of OSH Cut, discusses his company’s...


