Technical Sales Specialist
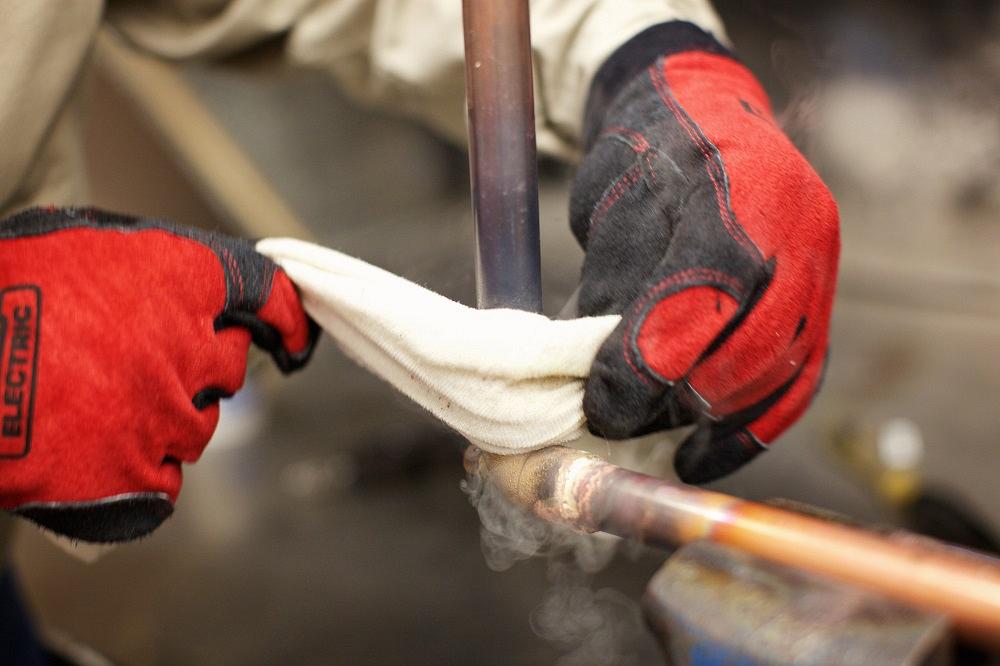
Heating the tube properly includes making sure the base metals have been heated to brazing temperatures before adding filler material.
Brazing is a straightforward, six-step process used extensively by fabrication shops to join dissimilar metals. Each step in the process is relatively simple, but skipping any one of them can undermine the entire production process, wasting materials as well as valuable time.
In today’s environment of high worker turnover, it’s critical to provide ongoing training to staff so that they understand the importance of each brazing step and how to properly perform them.
When mistakes occur in brazing, it’s often due to workers not following one of the six basic steps. To consistently achieve strong, long-lasting, and reliable brazed joints, every training program should emphasize the following steps.
The amount of space between two base metals prior to brazing is known as the clearance; it determines the flow of the alloy and strength of the joint. The recommended clearance for a brazed joint is 0.002 in. to 0.005 in.
A clearance that is too small reduces the ability of a filler metal to flow properly; clearance that is too wide does not permit a filler metal to accumulate and fill the unoccupied space, causing filler metals to crack under stress or vibration.
The highest strength is created between the 0.002- to 0.005-in. range. Once you surpass the 0.005-in. clearance, strength drops off drastically. Although the joint may hold initially, the longevity of the joint is significantly reduced.
Note: Technicians typically do not carry micrometers to measure the gap clearance. A good rule of thumb to remember is if it requires significant pressure to fit the tubes together (such as by using a mallet), the clearance is too small. And if the male tube feels too loose, the clearance is too large.
It is very important to clean the piping that will be brazed. A dirty surface prevents the alloy from melting across the entire surface. The alloy is more likely to ball up and bond to itself than flow across the base material.
First, remove oil and grease by wiping the parts with a suitable degreasing solvent. Next, etch the surface using a mesh cloth, sand cloth, or wire brush on all areas to be joined, including inside the fitting. This removes oxidation and breaks the surface tension of the metal being brazed. Clean both parts ¼ in. past the area of the metals to be joined.
Finally, remove small foreign particles such as emery dust by wiping with a clean, dry cloth.
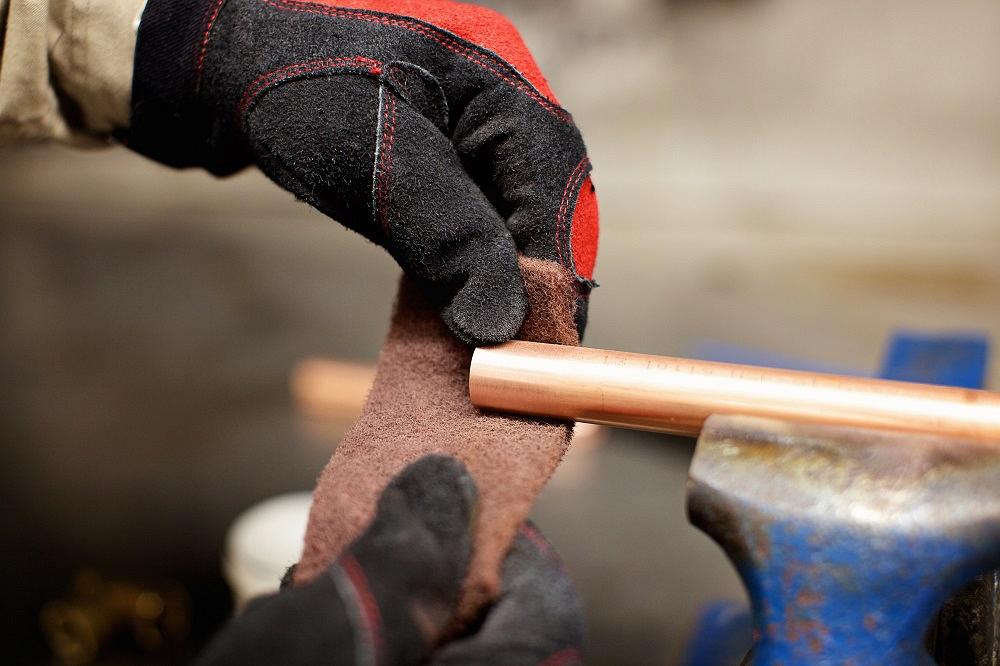
The joint’s surface area must be clean and free from oil, grease, or oxide contamination prior to brazing.
Flux removes surface oxides that cleaning by itself cannot. Proper fluxing is important because the flux absorbs oxygen formed during heating and promotes the flow of the filler metal. However, flux does not clean oil, grease, or rust inhibitors, which is a common misconception.
Apply flux to the part only after cleaning is complete. To prevent excess residue, apply a thin layer to the male tube only during flux application. Insert the tube into the fitting and, if possible, rotate the fitting once or twice on the tube to ensure uniform coverage.
Place the flux about ¼ in. from the bottom of the tube; this allows capillary action to move the flux into the joint.
Note: Flux is required for all brazing jobs. However, in some brazing alloys, the flux is contained within the alloy. Refer to the alloy manufacturer’s specifications to determine if adding flux is necessary.
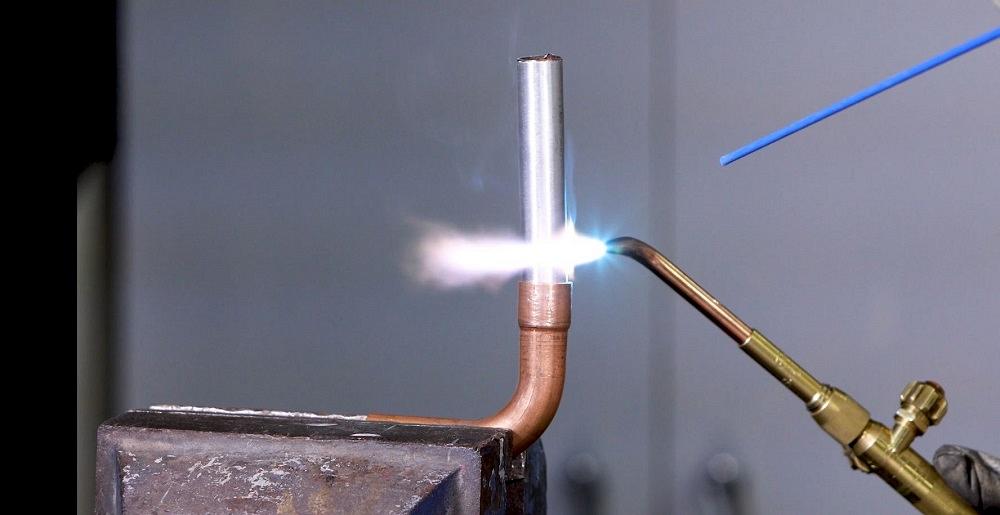
Improperly heating the joint leads to inadequate or incomplete penetration by the filler metal. But before you begin heating, remember to set the proper flame, observe the flux behavior, and heat the joint evenly.
Use a neutral flame for most brazing jobs that require oxyacetylene gases. It is important to avoid an oxidizing flame, as excess acetylene removes surface oxides from the copper. When this happens, the copper appears bright rather than having a dull or blackened surface. Review the manufacturer’s instruction manual to set the flame based upon the equipment you are using.
For filler metal alloys that contain flux, use the alloy to touch the joint area to determine if the metals are up to temperature. Apply the alloy when the metal reaches proper temperature.
If you are using alloys that require adding the flux, observe the flux as it goes through physical changes; this will provide a good visual guide to determine when the metal is up to brazing temperature. While heating the tube, flux starts to bubble and becomes completely fluid and transparent, indicating the parts are at brazing temperature. The brazing alloy melts very shortly after the flux stops bubbling. Add the brazing alloy to your joint once the flux transitions to fluid and clear.
Be sure to follow these steps to ensure you are heating the tube properly:
Once the base metals have been heated to brazing temperature, feed the alloy into the joint. Continue heating the tube and fitting to maintain brazing temperature.
Following six basic steps will result in strong, long-lasting brazed pipe joints. Images: Harris Products Group
Watch for flux changes that indicate when it’s time to apply the alloy. The alloy can be touched to the tube to see if the joint is up to brazing temperature. Remember that the temperature of the base metals—and not the heat of the flame—should melt the alloy.
After the base metals have been heated to brazing temperatures, move the flame to the joint between tube and fitting and apply filler metal. Move the flame over both parts as the braze alloy is drawn into the joint via capillary action.
Sweep the flame back and forth along the axis of the assembled joint. The heat draws the alloy into the joint and completely fills the unoccupied joint space.
The key to successful brazing is having all parts of the joint evenly heated and up to brazing temperature before applying the alloy.
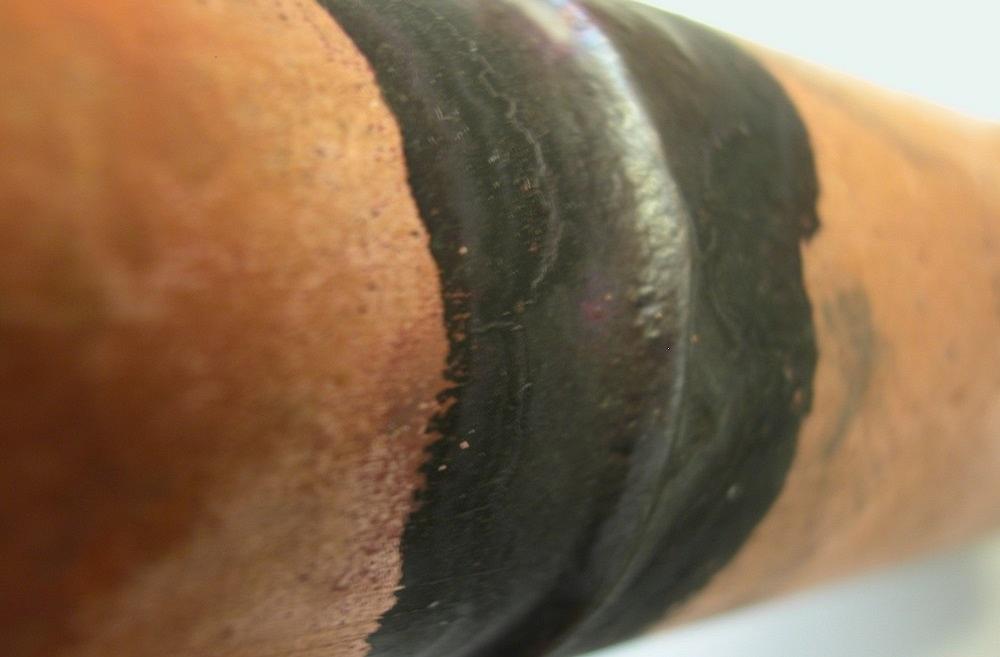
Clean the parts after brazing, which is a quick but critical step because flux is a corrosive alkaline that could corrode the base material. Remove all flux residue before submitting the part for inspection and pressure testing.
Immediately after the brazing alloy has set, quench with water or apply a wet cloth to crack and remove the flux residue. Use an emery cloth or a wire brush, if necessary.
It is helpful for both new and experienced production staff to be reminded of these six brazing steps.
The art of brazing is relatively simple but requires practice and attention to detail. When every step is taken, brazed joints will be strong and lead to success during production.
It is important to remove all flux residue once brazing is complete because flux is alkaline and could corrode the base material.

The Welder, formerly known as Practical Welding Today, is a showcase of the real people who make the products we use and work with every day. This magazine has served the welding community in North America well for more than 20 years.
start your free subscription
Easily access valuable industry resources now with full access to the digital edition of The Fabricator.

Easily access valuable industry resources now with full access to the digital edition of The Welder.

Easily access valuable industry resources now with full access to the digital edition of The Tube and Pipe Journal.

Easily access valuable industry resources now with full access to the digital edition of The Fabricator en Español.
In this episode of The Fabricator Podcast, Caleb Chamberlain, co-founder and CEO of OSH Cut, discusses his company’s...