


Owner, Brown Dog Welding
Finally, we get to the "jerrystove" fabrication (here's Part I).
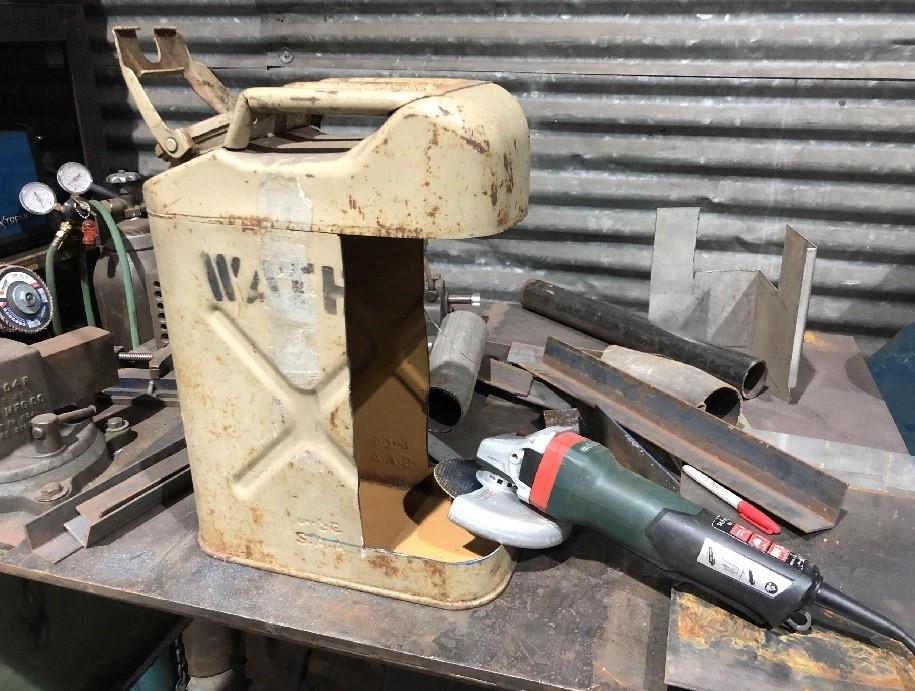
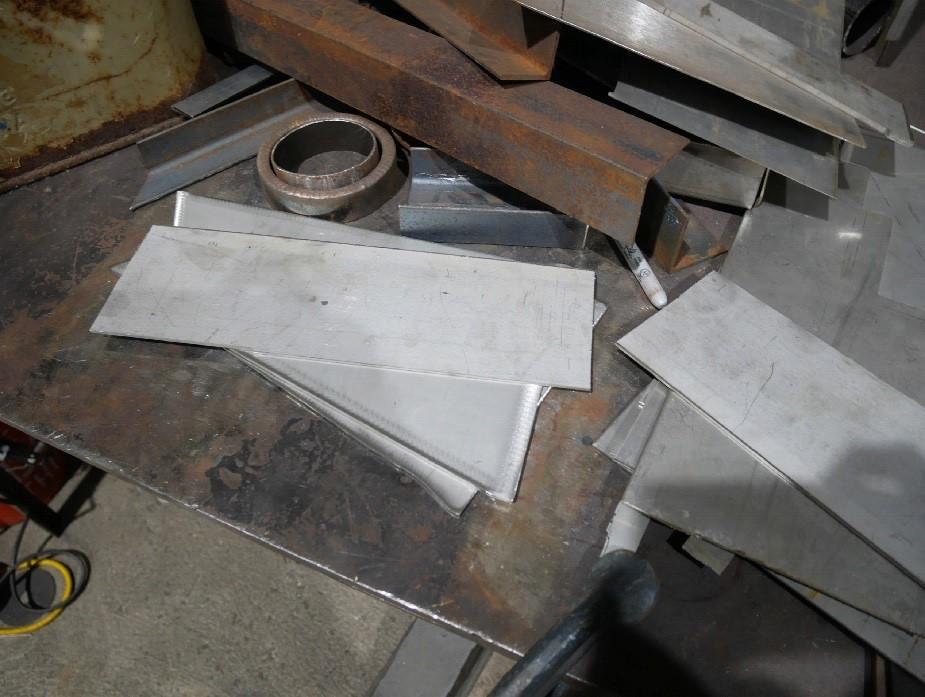
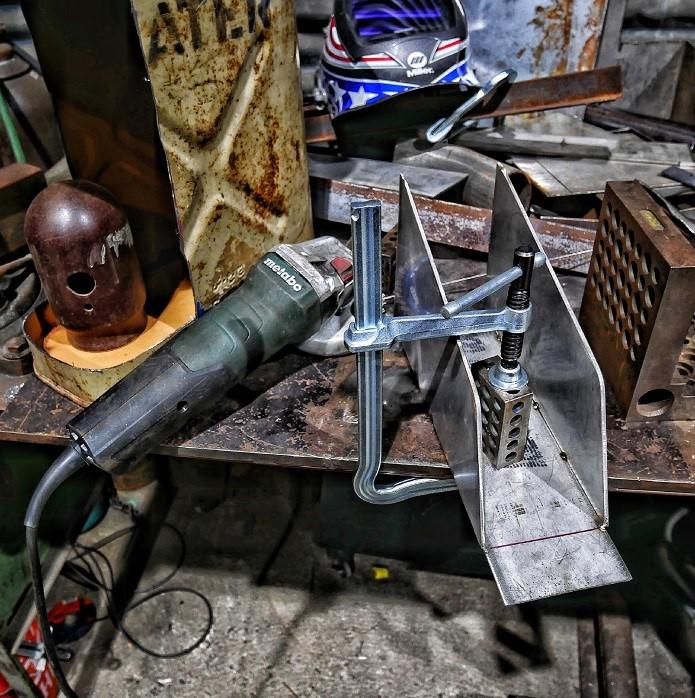
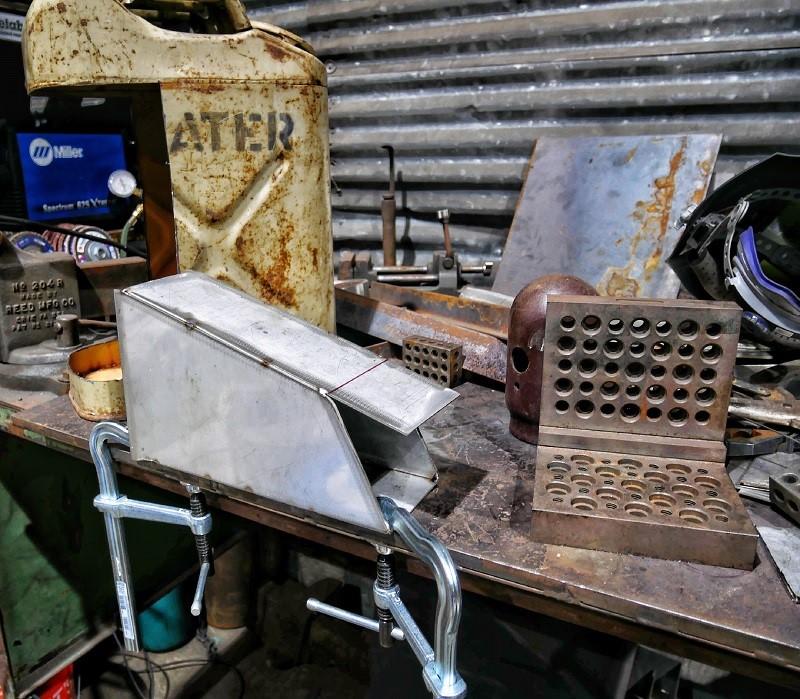
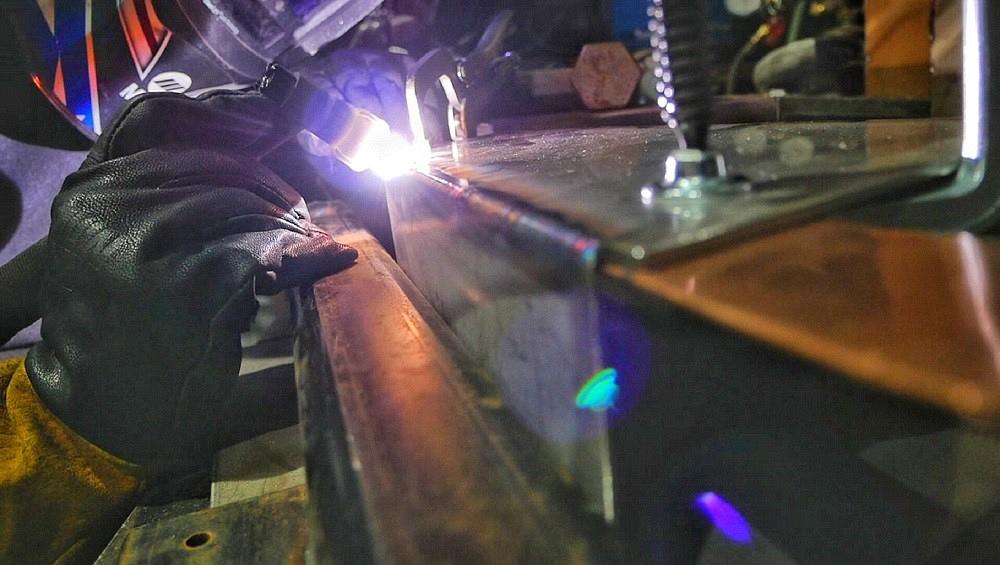
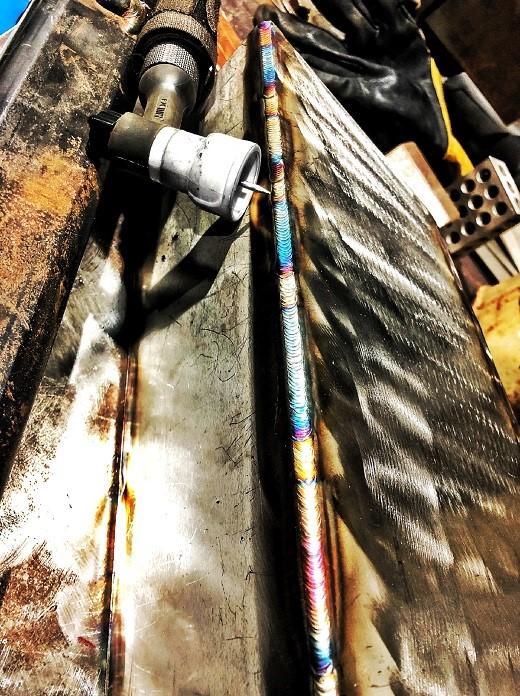
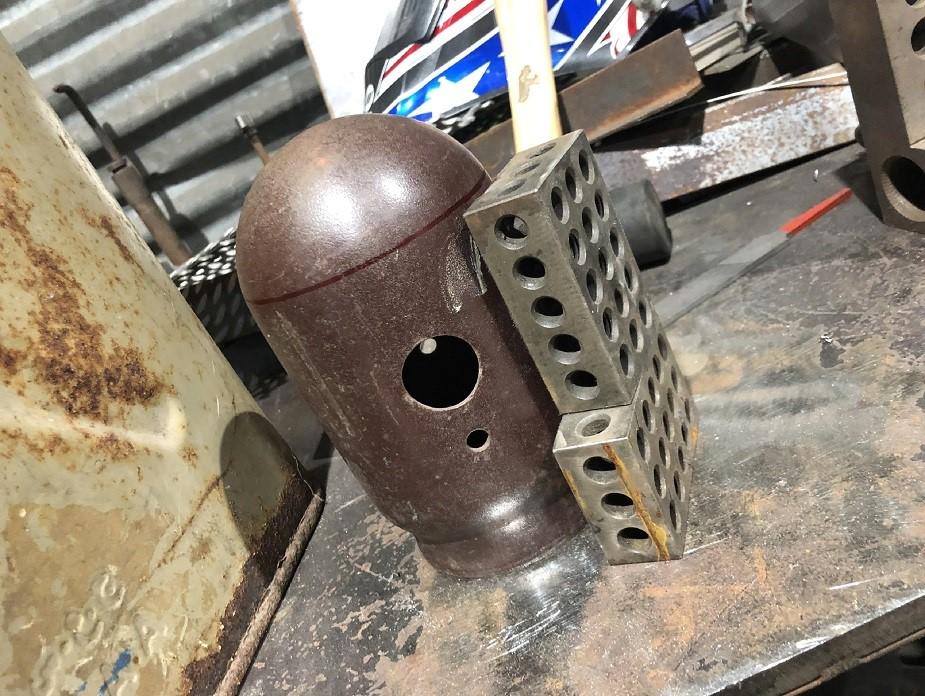
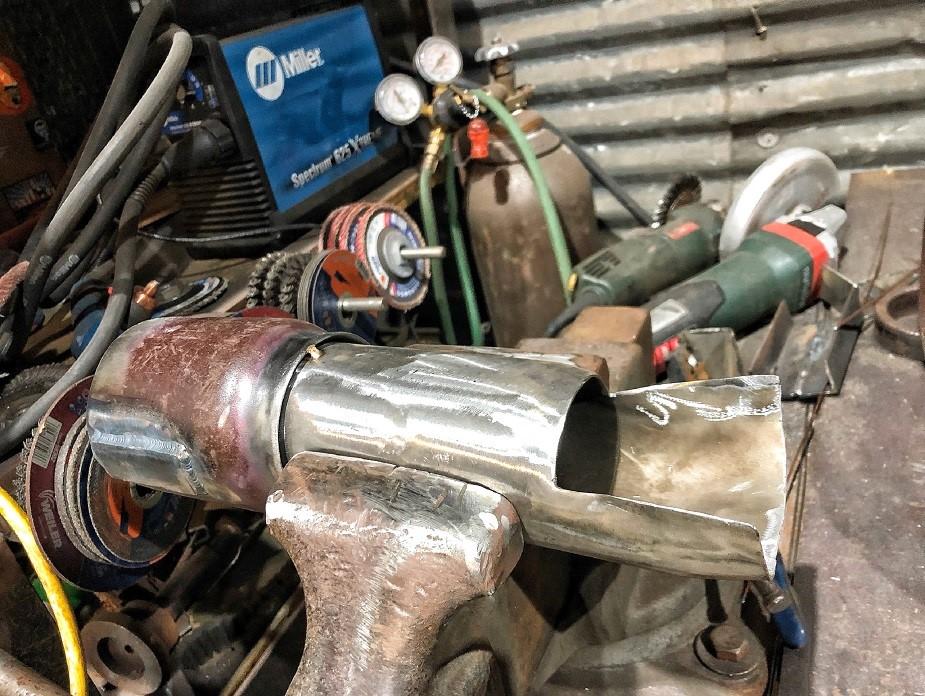
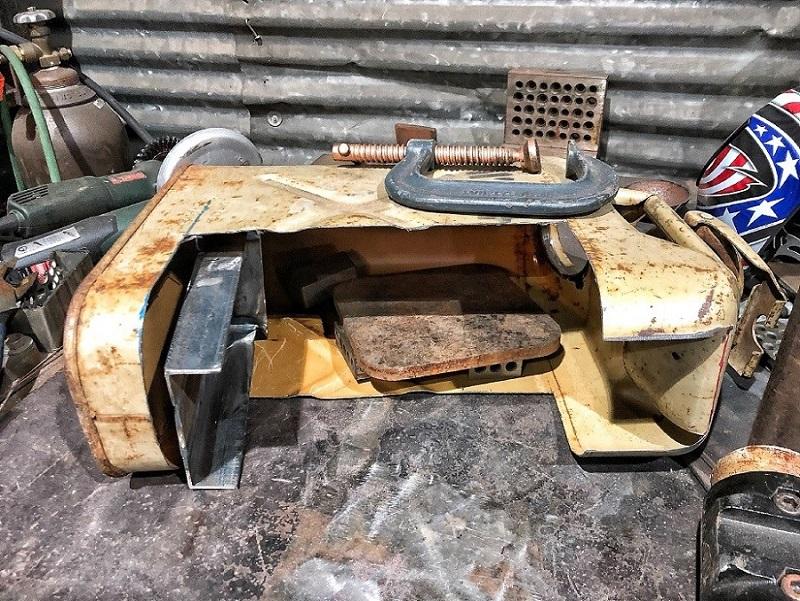
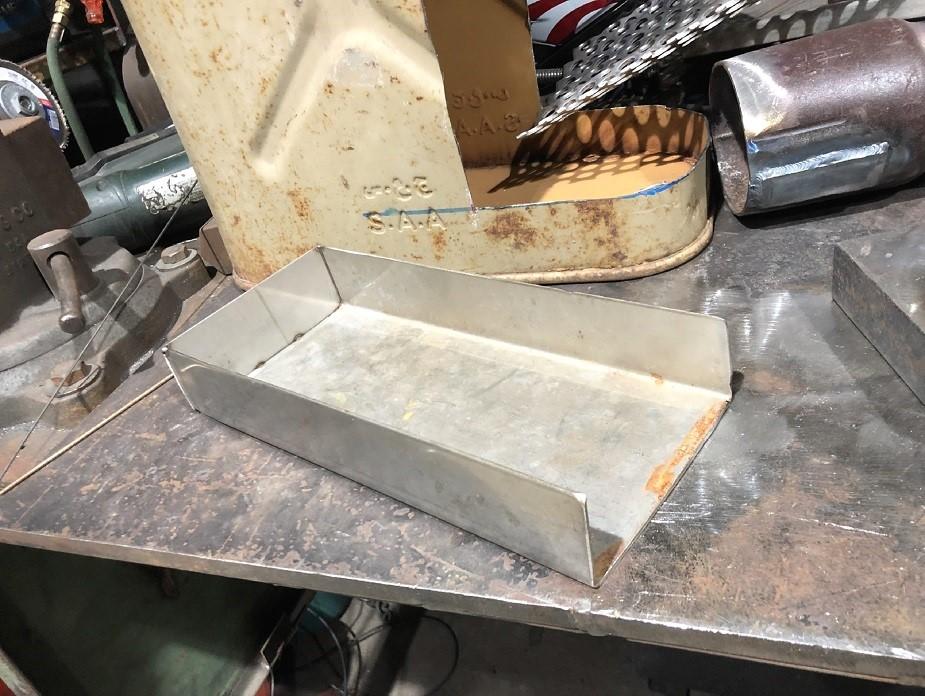
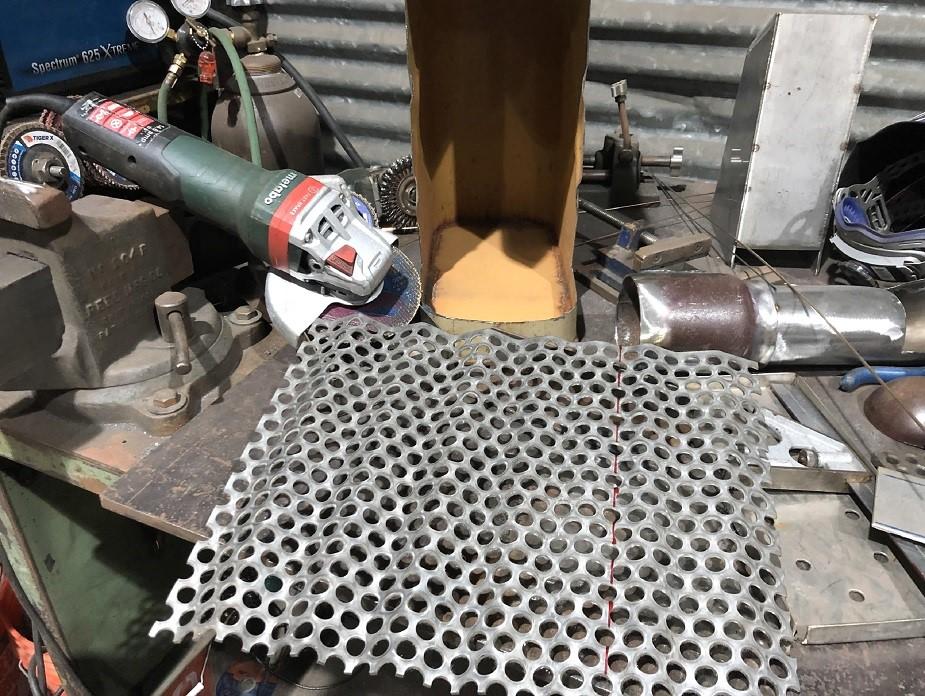
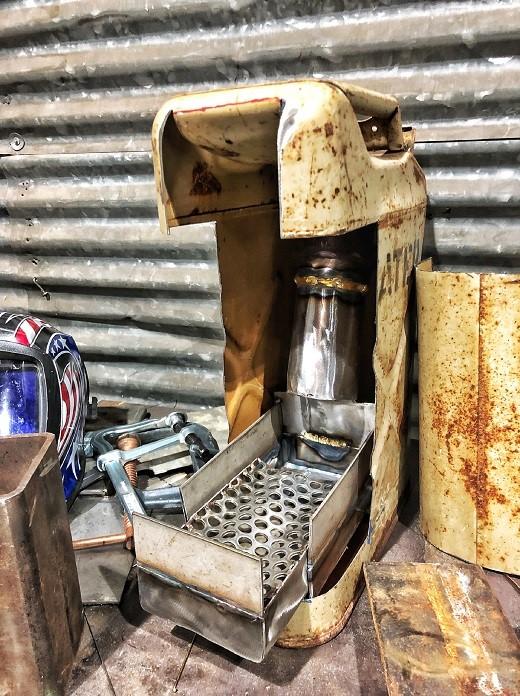
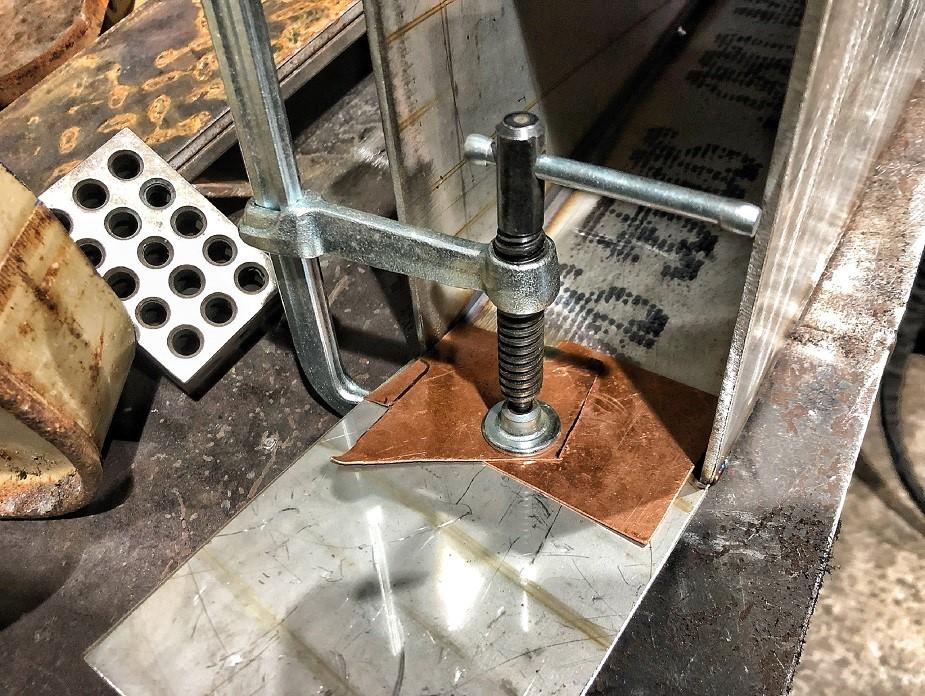
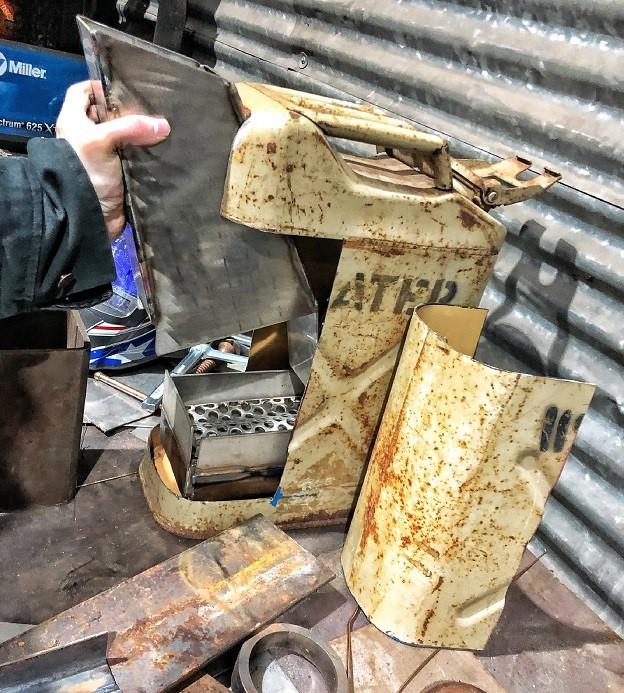
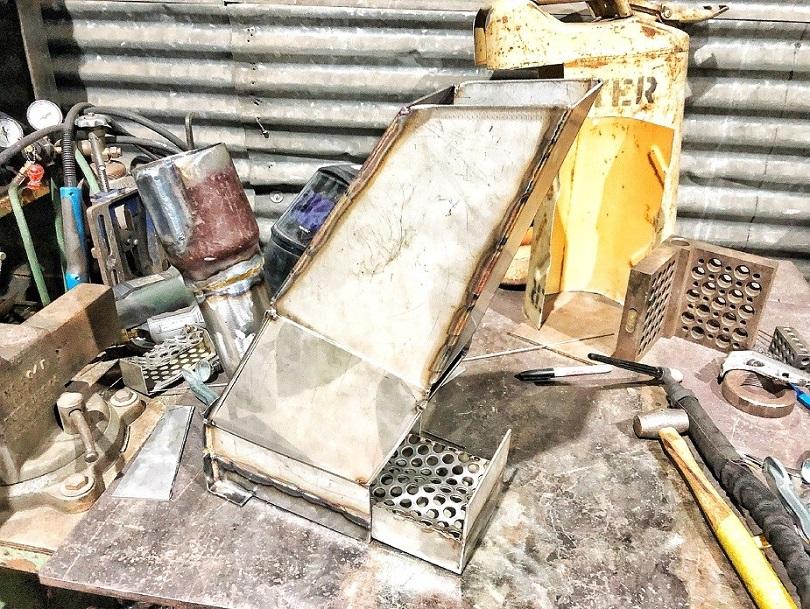
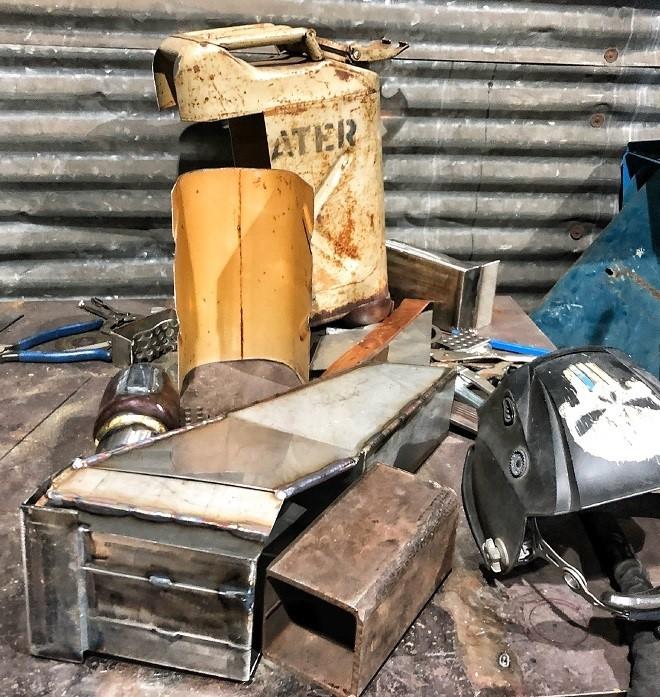
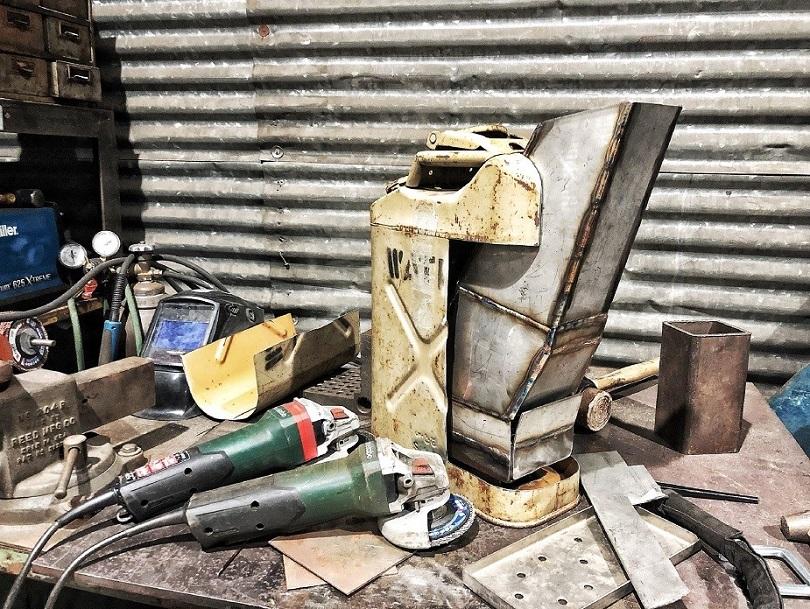
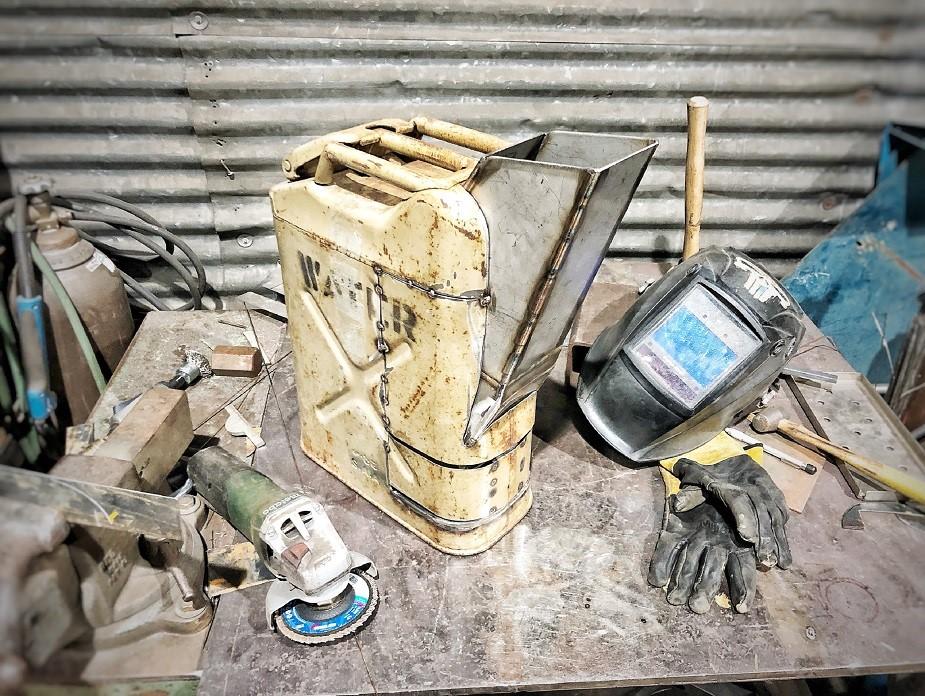
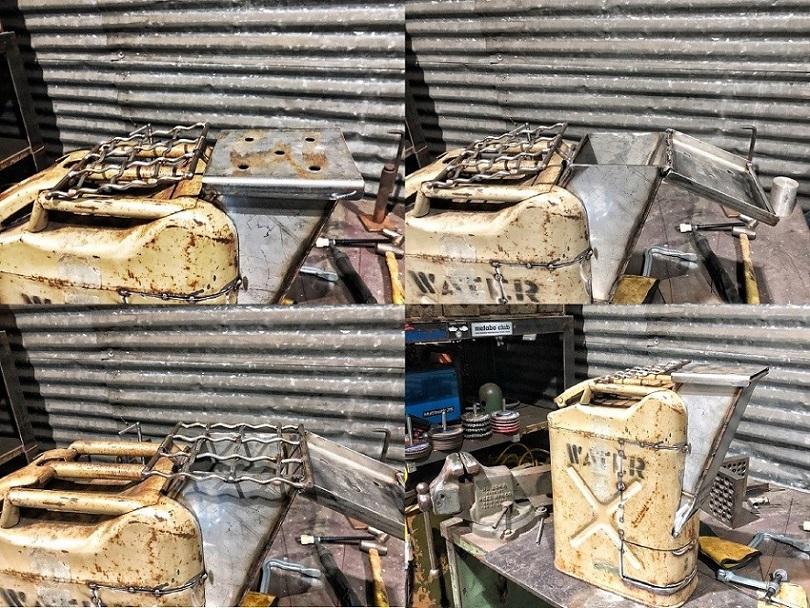
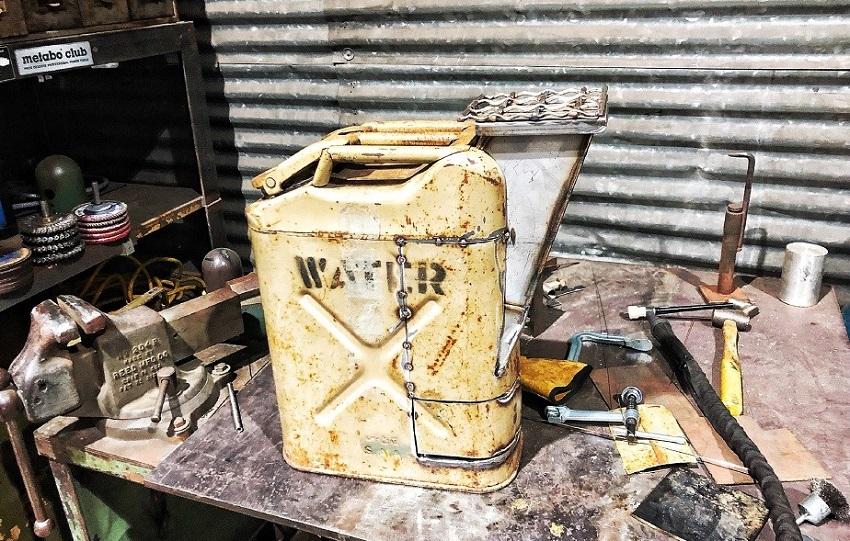
Below, you will find a slideshow that takes you through the 15 steps I used to turn a jerrycan into a rocket stove. Now, because this is a prototype, I built it in reverse order. I had to make the four separate pieces fit together.
But before we get to that, let's talk about the aftermath.
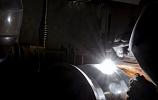
There wasn’t much time to test it as a grill, as the next day we were pounded with snow in Detroit. But, as you can see in the above video, the jerrystove worked as well as any other rocket stove – the fire snapped and air howled through it.
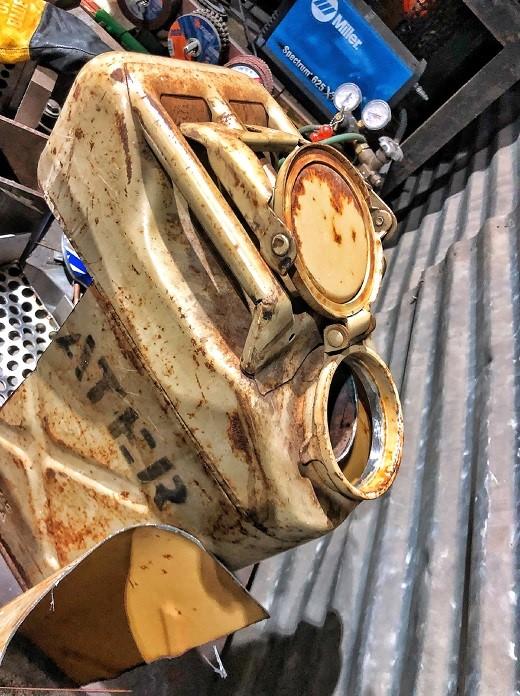
I was also pleased that the jerrycan handles actually stayed cool enough to hold onto with bare hands, as they are hollow and allowed for airflow.
There’s at least one change I knew I wanted to make immediately. Instead of a small tube running into the burn chamber, I wish I would have used a larger diameter tube and make a choke. That way, I’d be able to control the airflow while the lids are closed.
For basically eye-balling the fabrication process, the jerrystove experiment was mostly a success. But Miller is coming to visit me soon, and we’re planning "jerrystove 2.0."
We're also planning to film a "how to" video. So, expect something a little more refined – maybe even with a blueprint.
In the meantime, check out the slideshow to see how I fabricated the first jerrystove.

The Welder, formerly known as Practical Welding Today, is a showcase of the real people who make the products we use and work with every day. This magazine has served the welding community in North America well for more than 20 years.
start your free subscription

Easily access valuable industry resources now with full access to the digital edition of The Fabricator.

Easily access valuable industry resources now with full access to the digital edition of The Welder.

Easily access valuable industry resources now with full access to the digital edition of The Tube and Pipe Journal.

Easily access valuable industry resources now with full access to the digital edition of The Fabricator en Español.
In this episode of The Fabricator Podcast, Caleb Chamberlain, co-founder and CEO of OSH Cut, discusses his company’s...


