


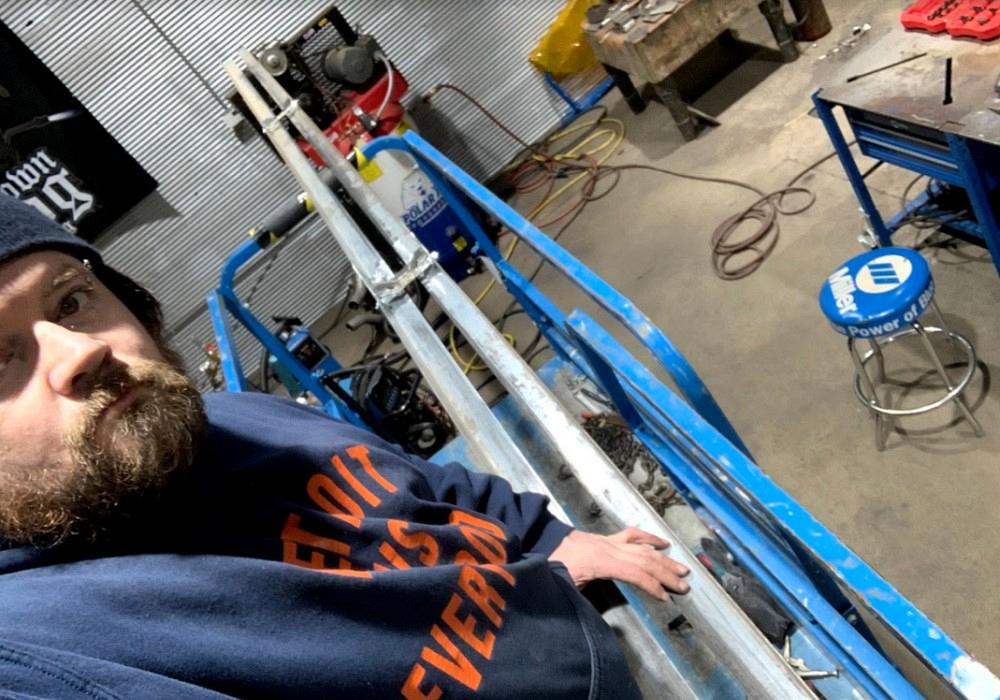
Owner, Brown Dog Welding
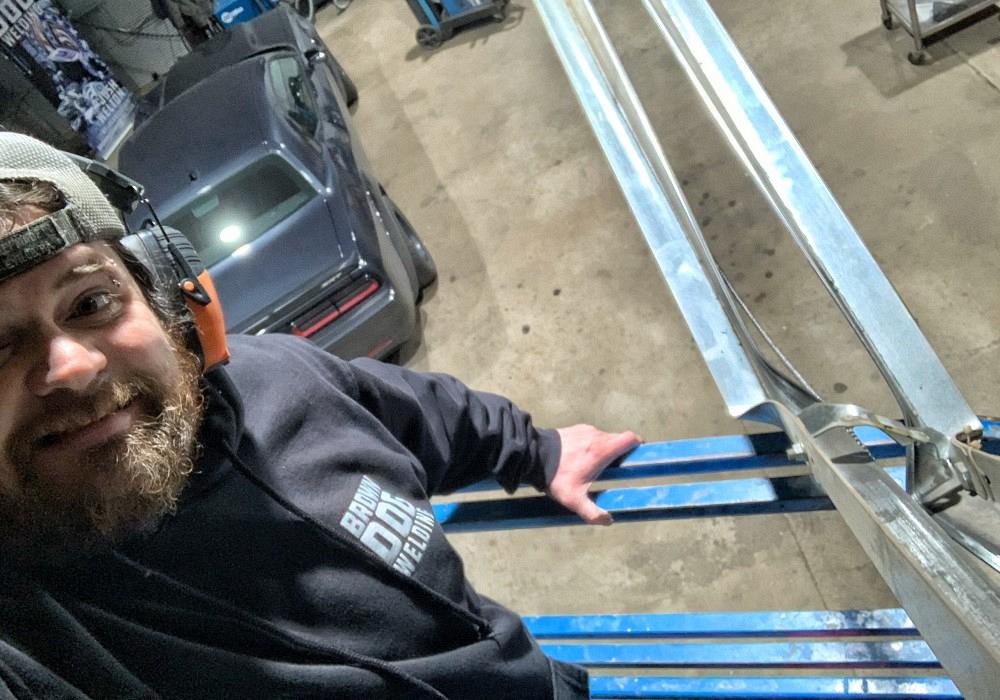
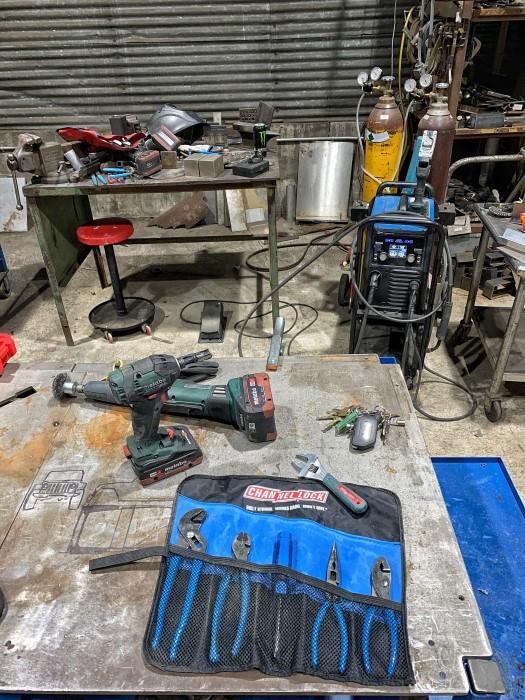
When Josh Welton realized he busted the garage door at his metal fabrication shop and that hiring someone to repair the damage would be costly, he went into fabricator mode and fixed it himself. Photos provided by Josh Welton
If you break it, you buy it. Or fix it.
It was late on a Sunday evening when we returned from a recent getaway to the Smoky Mountains. After unpacking the Jeep, I figured I’d pull it into the shop and unload a few tools we’d brought along. Without giving it two thoughts, I rounded the corner and hit the remote button to open the shop’s large service door. It tried to open, but mostly just made a bad crunching sound. Darla exclaimed, “Didn’t you lock it from the inside too?!”
Crap.
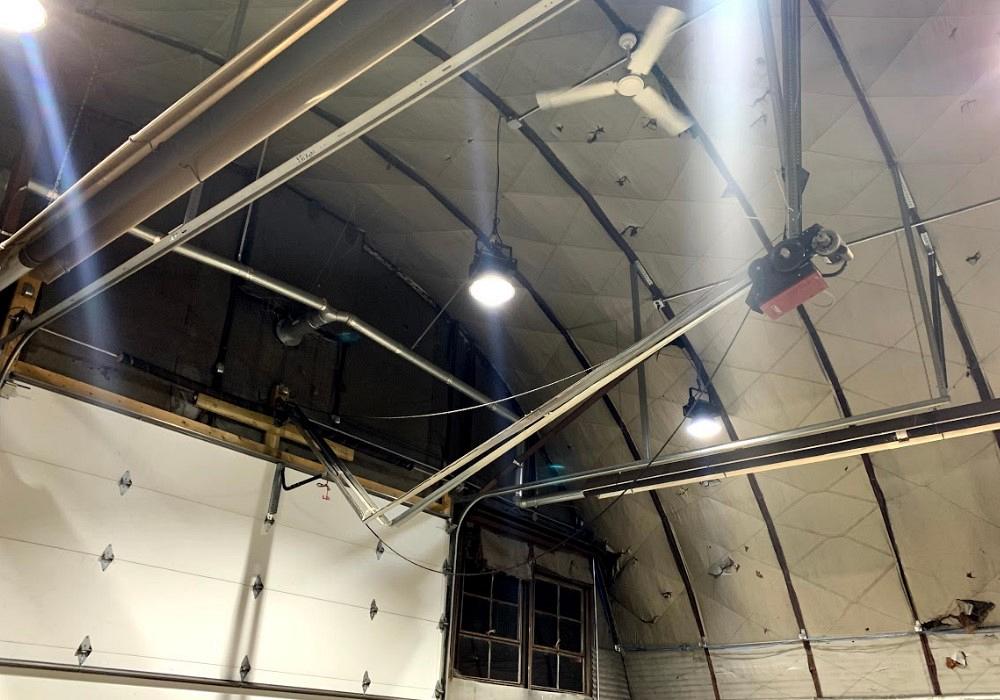
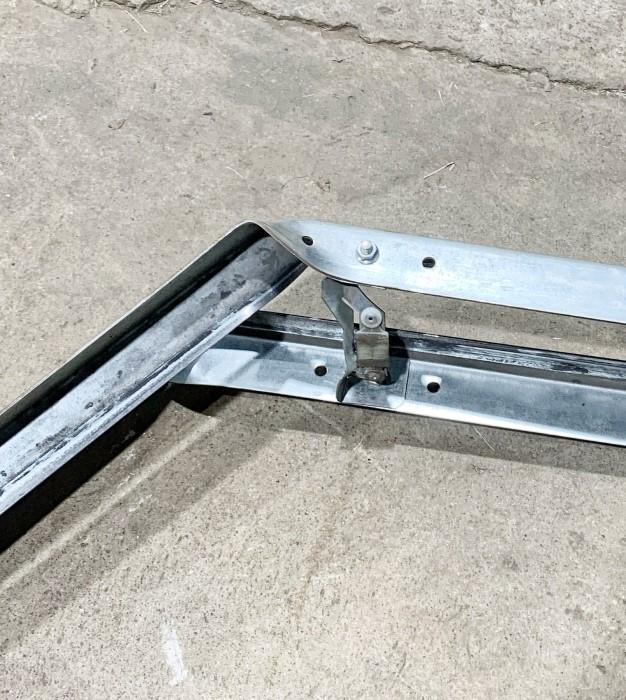
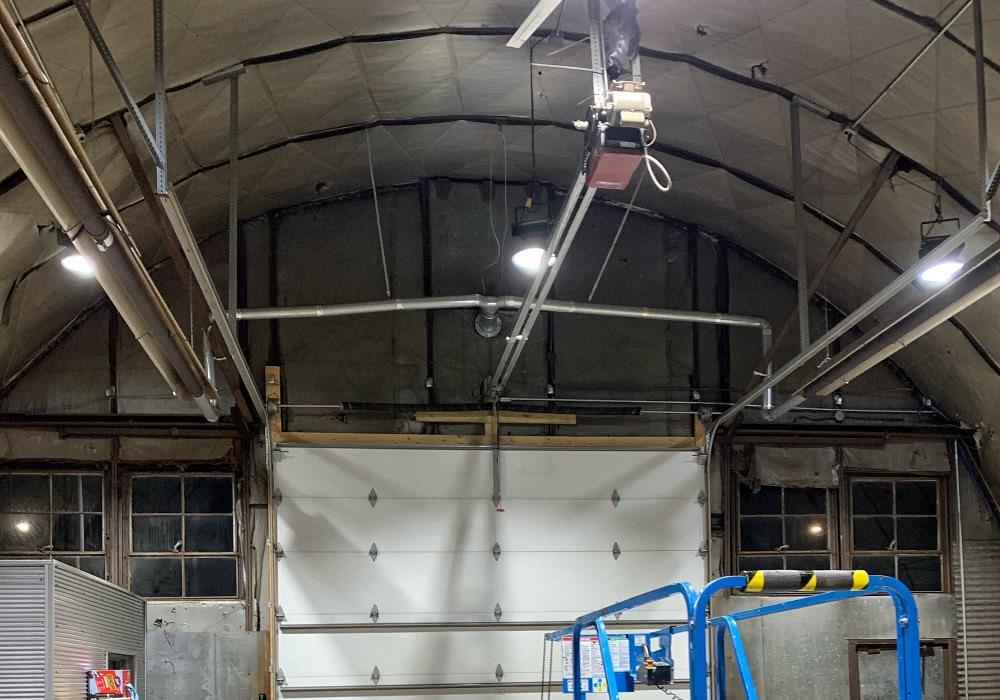
I put the Jeep in park and unlocked the building’s side door, then flipped on the lights. Sure enough, I forgot that I had clamped down the door. And I definitely jacked up the door-opening mechanism, but how badly? It was difficult to tell from the floor 20 ft. below. The track that guided the trolley was twisted and bent because the door didn’t move while the opener pulled at it. Something had to give, and that something was the trolley track.
The first estimate I received was $2,300 “to replace everything.” Though I couldn’t know for sure from the ground, it looked like the only real damage was to those inner trolley tracks. The door itself is about 15 ft. tall and the track is above that, so I was gonna need a lift to assess the situation and hopefully get it into working order once more.
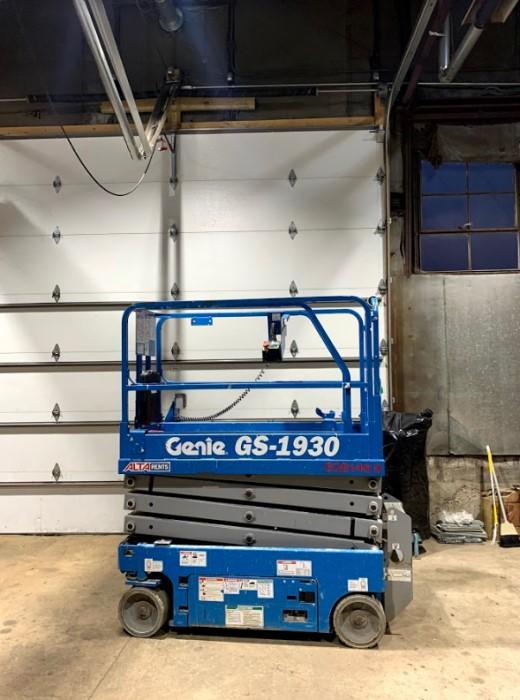
We rented a scissor lift, which I was stoked about because it had been years since I’d used one. Back at Chrysler I used Genie booms and scissor lifts all the time, so it felt good to get high again! Up in the air the bent metal was indeed limited to the inner track and two brackets that held them together. The motor itself looked good; once the rails collapsed, the chain was too loose to cause any more mayhem.
After clipping a few zip ties that held a wire that ran along the rails, breaking apart the chain on one side of the trolley, and unthreading it from the other, I supported the rails with the lift while unbolting them from the opener. Then I slowly crept the lift toward the door itself. The rails on that side were pinned above the door so I was hoping to balance the twisted rails 20 ft. above the ground, unpin them, and slowly lower the lift while holding the awkward rails. It didn’t quite go as smoothly as I’d planned, but in the end the rails were dropped to where I could work on them.
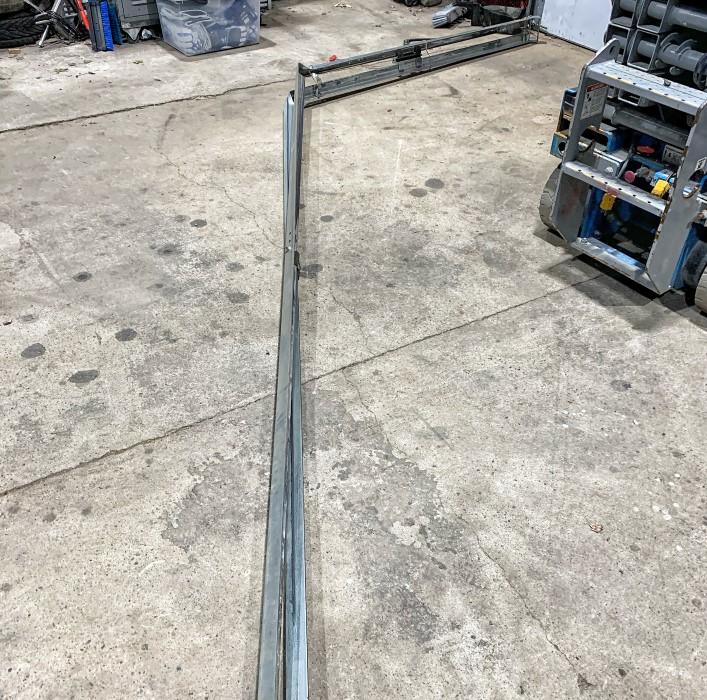
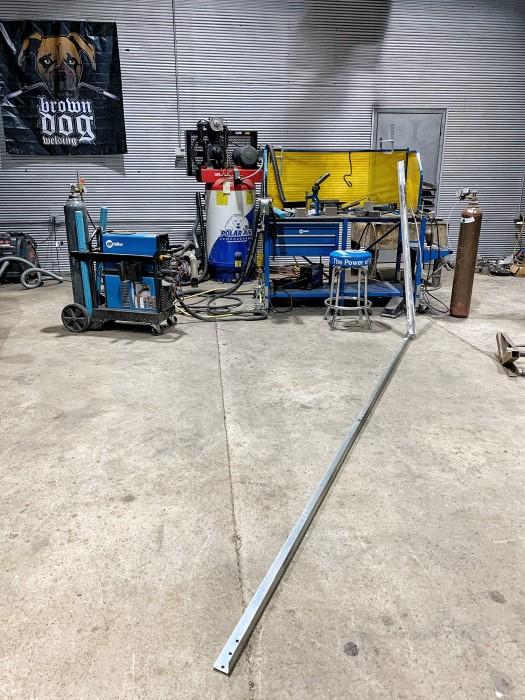
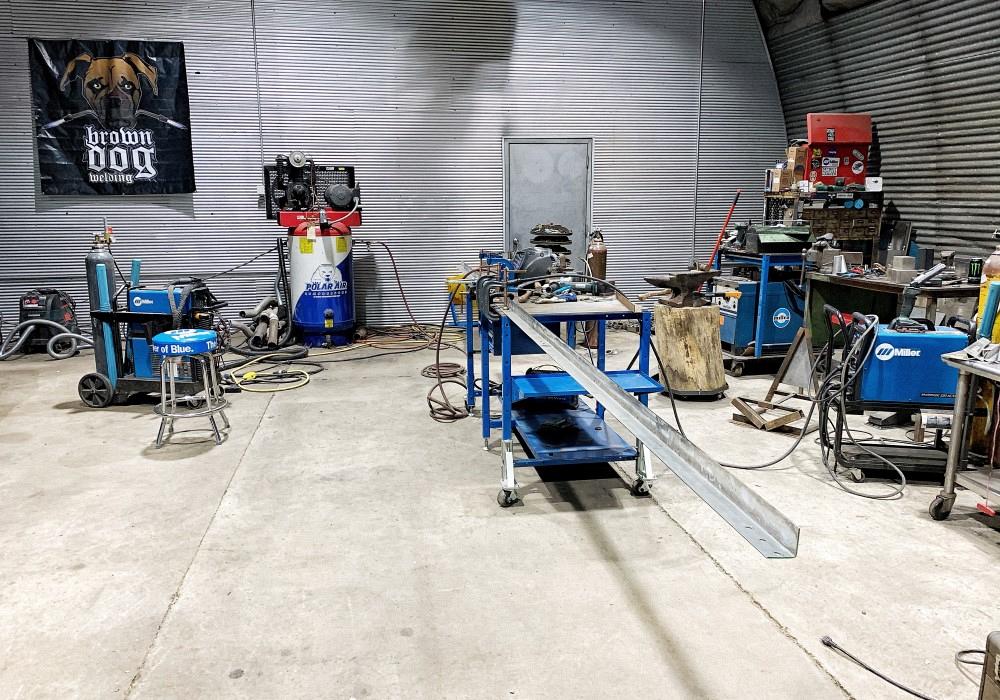
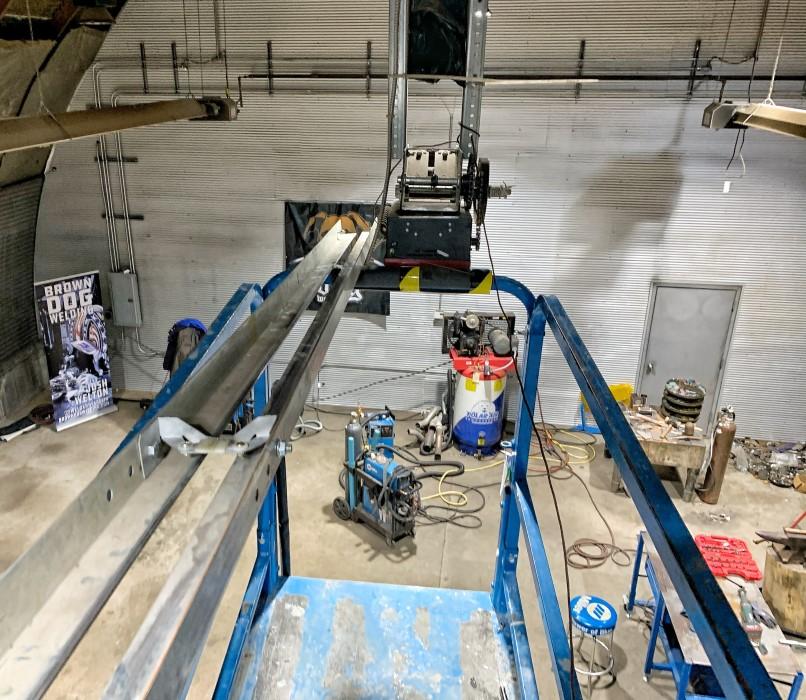
To straighten each rail I cut them apart at the twist with a Metabo and an ultrathin Weiler cutoff disc. This made hammering them straight a bit easier; rather than dealing with the entire twist in one shot, I could focus on two halves of the twist separately. Once I had both pieces straight, I cleaned the edges and clamped them down straight before using my Multimatic 220 to MIG weld the joints together.
Those two twisted brackets I mentioned earlier each needed a bit of straightening and reinforcement as well. After I bolted them back in place to connect the two rails, I ran the trolley between them to make sure it both slid easily down the length of the rails and cleared any interference from the brackets.
Now it was time to lift it back into its rightful place on high. I extended the lift’s bucket to add a few feet in length to make balancing the full rails a bit less dicey. After raising myself and the rails into place, I first pinned them in above the door. Then I inched the lift toward the center of the shop and the opener itself. With the lift I was able to keep the rails steady while using the lift itself to push the opener back until I could slip the rails onto it and bolt it in place. I reattached the chain to the door side of the trolley, threaded it over the rail and through the sprocket on the opener, then back to the opener side of the trolley where it threaded into the proper tension.
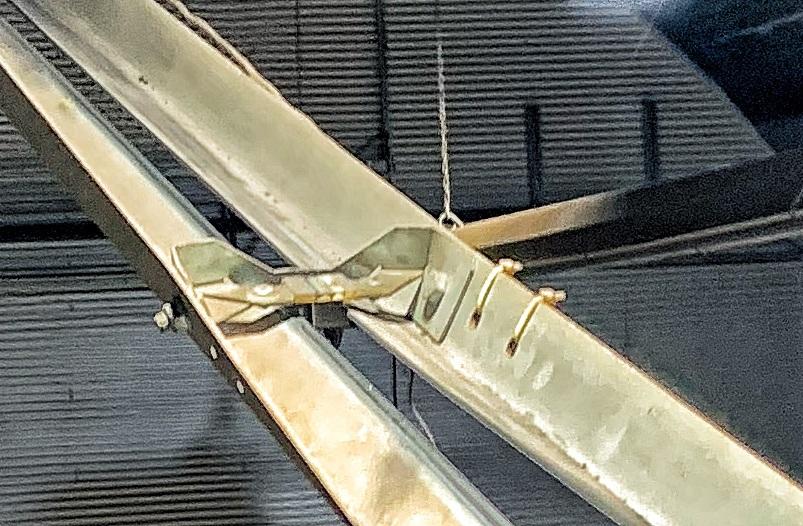
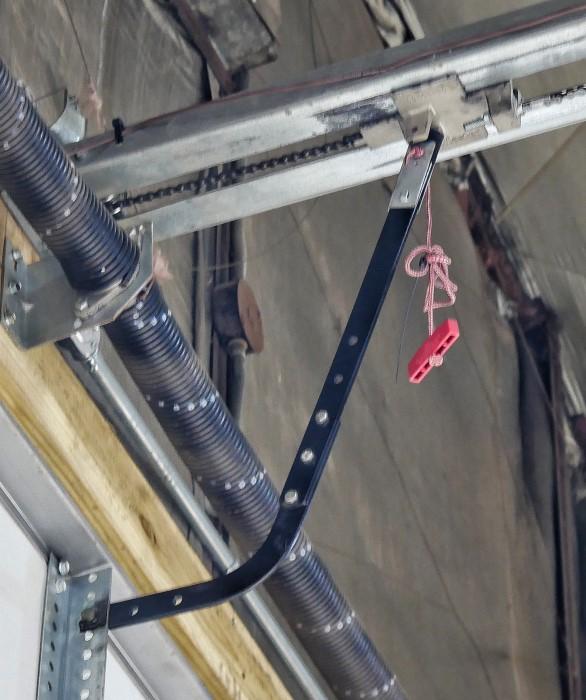
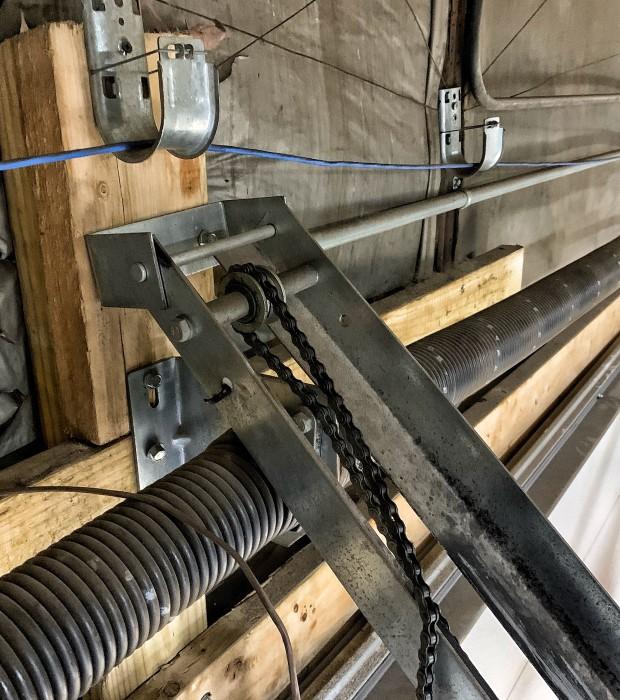
An overview of the damage. The track that guided the trolley was twisted and bent.
The lift dropped to the floor and I walked to the door opener. I hit the open button and the door fully opened, then I hit the close button and it closed.
Success was mine!

The Fabricator is North America's leading magazine for the metal forming and fabricating industry. The magazine delivers the news, technical articles, and case histories that enable fabricators to do their jobs more efficiently. The Fabricator has served the industry since 1970.
start your free subscription


Easily access valuable industry resources now with full access to the digital edition of The Fabricator.

Easily access valuable industry resources now with full access to the digital edition of The Welder.

Easily access valuable industry resources now with full access to the digital edition of The Tube and Pipe Journal.

Easily access valuable industry resources now with full access to the digital edition of The Fabricator en Español.
In this episode of The Fabricator Podcast, Caleb Chamberlain, co-founder and CEO of OSH Cut, discusses his company’s...


