Senior Company Trainer
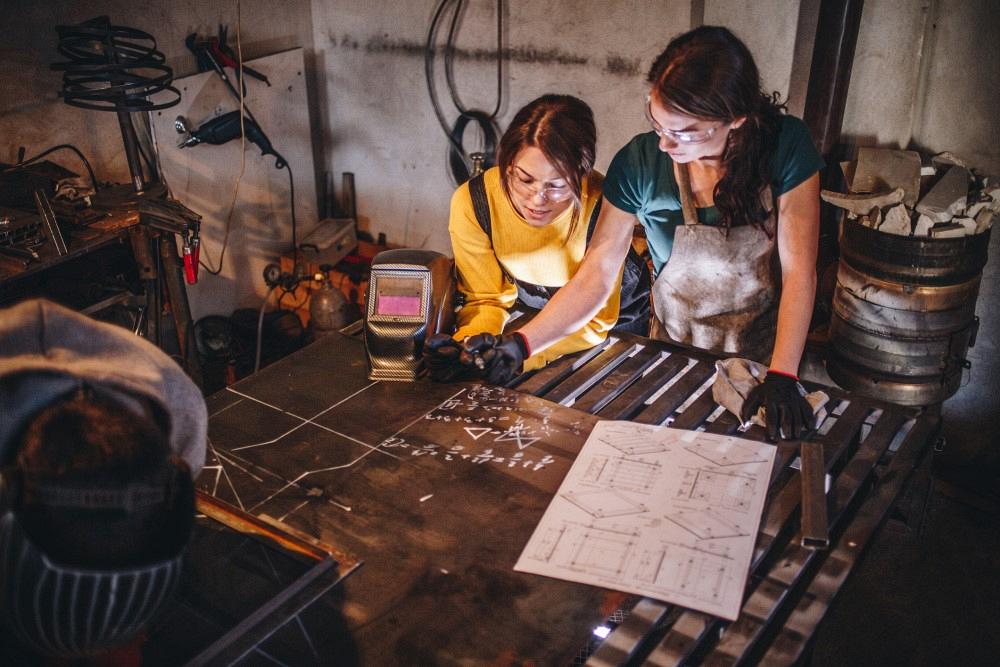
Blueprints can look like a foreign language to new welders. Getty Images
Q: I am the welding supervisor of a small manufacturing plant in Pennsylvania. We have new employees that know how to weld, but they are having trouble understanding the blueprints we are using. Do you have any suggestions that would help them?
A: I agree that understanding and following shop prints can be somewhat confusing and even intimidating for a new welder. Being handed a stack of prints and told to go to work is often a bit overwhelming. I had this happen to me early on in my career; however, I was teamed up with one of the more experienced workers who helped me understand the process.
Using shop drawings or prints is an important practice in the welding and fabrication industry. Three factors are involved in learning how to read them.
First is understanding the actual layout of the print itself. In the U.S. and Canada, most prints are laid out in third-angle projection. This generally shows three views, the front, top, and right side of the part. Additional views and details are often added when needed, occasionally on a separate page. Included on the print is the title block in the lower right corner, which shows the name and part number of the print. It also includes the company name, scale of drawing, date, drafter, inspector of the original print, revisions, material type, and tolerances. If it is a small part, you’ll find a bill of materials on the main print, but sometimes it’s listed on a separate page.
Second is understanding what all the different lines mean. Knowing the difference between object lines, hidden lines, centerlines, and dimension and extension lines will help a new welder visualize the part he or she is building or assembling. Each type of line is identified by a solid line, a dashed line, or combination of long and short dashes. The darkness or width of the line is also important.
The final and perhaps most important factor is understanding the basic AWS welding symbols and the many pieces of information the symbol represents. It is important to know that a weld symbol determines the type of weld joint that is to be made. The complete welding symbol contains additional information besides the weld symbol, such as location of the weld, size, depth, length, pitch, and process. Pocket handbooks and wall charts are freely available from several sources that show individual welding symbols, a combination of weld symbols, and how they all fit together.
New welders may need time and specialized training, as well as some hours working closely with a more seasoned employee, before they are able to read and understand everything on your shop prints. Remember that the three most important documents on the fabrication shop floor are a welding procedure specification; the shop drawings or prints; and quality, in-depth work instructions. These give your fabricators all the details for how, where, and what to weld.

Senior Company Trainer
Lincoln Electric Education Division


The Welder, formerly known as Practical Welding Today, is a showcase of the real people who make the products we use and work with every day. This magazine has served the welding community in North America well for more than 20 years.
start your free subscription
Easily access valuable industry resources now with full access to the digital edition of The Fabricator.

Easily access valuable industry resources now with full access to the digital edition of The Welder.

Easily access valuable industry resources now with full access to the digital edition of The Tube and Pipe Journal.

Easily access valuable industry resources now with full access to the digital edition of The Fabricator en Español.
In this episode of The Fabricator Podcast, Caleb Chamberlain, co-founder and CEO of OSH Cut, discusses his company’s...